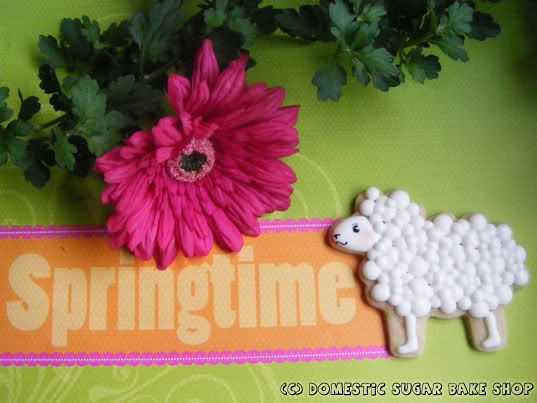
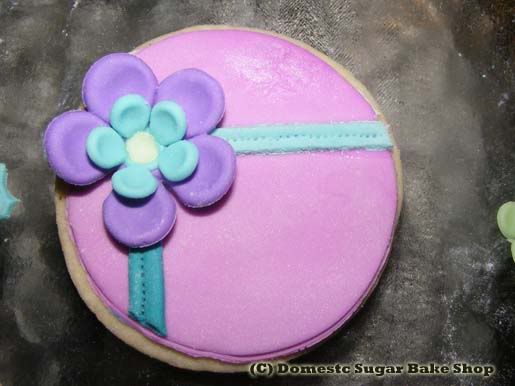
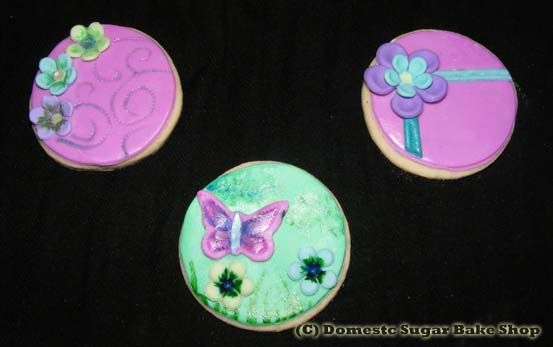
It is finally spring, the first day in fact. Time to celebrate. These cookies were a quick project to honor the passing of a dear friend. These cookies made me hopeful, for all the things I will accomplish in the coming spring.
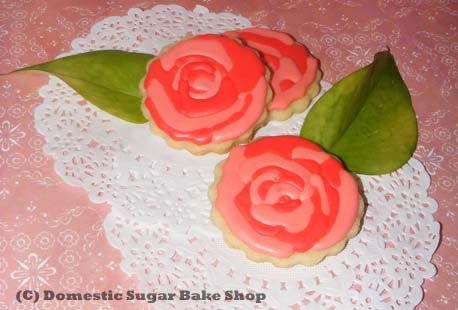
Hurray for the first day of spring. We've got about another month before the snow here is gone and I can start planting my spices. I am truly looking forward to getting out and hitting the pavement as well (running).
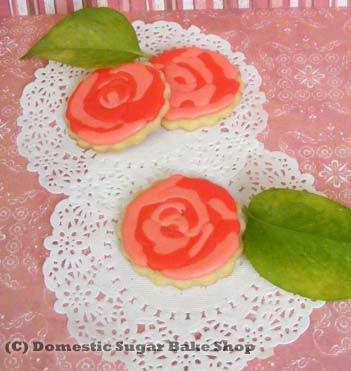
But, until I can get out and enjoy the magic of spring as it was intended to be enjoyed, I shall take a step back, and think of Rose's warm smile.
Now, on to other fun stuff. I've gotten this award from 3 people, and I've never seemed to have found the time to accept. So, to start, let me thank the three lovely people who nominated me:
Little Eme,
It's a Priceless Life, and
D'Lea Designs, THANK YOU!
To Accept the award, and promote others, there are rules:
1. Thank and Link back to the person who gave you the award.
2. Share 7 things about yourself.
3. Award 7 recently discovered great bloggers.
4. Contact the bloggers and tell them about the award.
Okay, so here we go.
SEVEN THINGS ABOUT MEGHAN!
1. My
favorite colours are Pink and Teal. I've actually decorated my house in pink and my hubbie calls it the 'pink princess palace,' even though he admits I am a good designer :)
2. I live in Canada (already stated), and was the
First Girl Scout in my home town (along with a friend of course!). Not Girl-Scout, but like the American BSA, I was a Scout in Scout's Canada, and it was not for the boys! I loved the fact that they did more than knit and bake (which in the early 80s was all my Brownie troupe did).
3.
I wear aprons around my home in the 1950s housewife-way. For some reason, I feel that is a tradition that should never end... and I have MANY MANY aprons.
4.
I love to draw, A LOT! I've been drawing since I was very young. Crayons are amazingly effective for shading :)
5.
I used to Cantor at my church. I never claimed that I had a good voice, but for some strange reason, I got to sing lead. YAY!
In my choir I also played flute :)
6.
Starbucks in a Chapters is the one place on this earth that I could spend an entire day! Seriously, I love to sit, drink my coffee and read... READ!
7.
My dream is to be the perfect hostess and wife and mother (the last part is going to be tough!). The 1950s were a glorious time of entertaining and having fun with friends. I hope that I can throw many dinner parties and gatherings.
Now to pass it on:
These blogs are awesome! Check them out and be inspired!
1. Manni @ iBake Cakes2. Lialoa3. Butter Hearts Sugar4. Sweet Creations by Stephanie5. Rollin' in Dough6.
148 Cookie Street7.
Fresh Cut FloursHope you enjoy the blog-hop! And thanks for the award :)

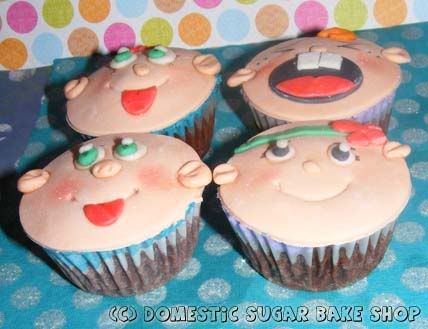
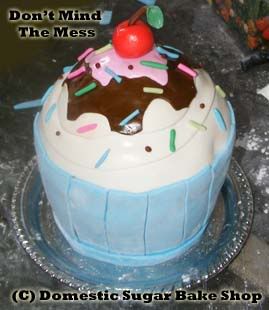
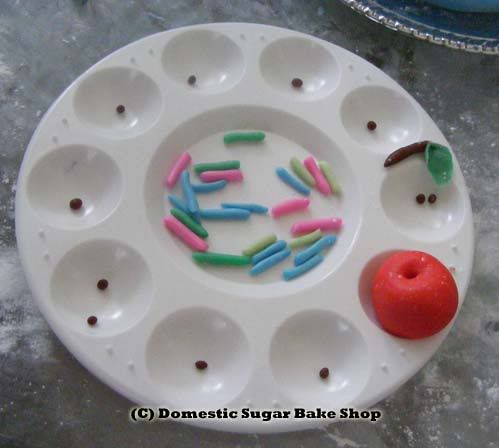
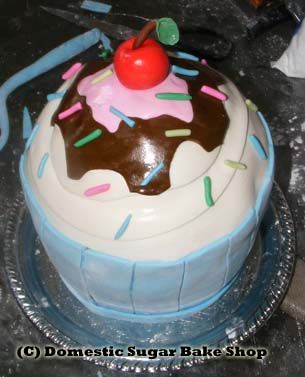
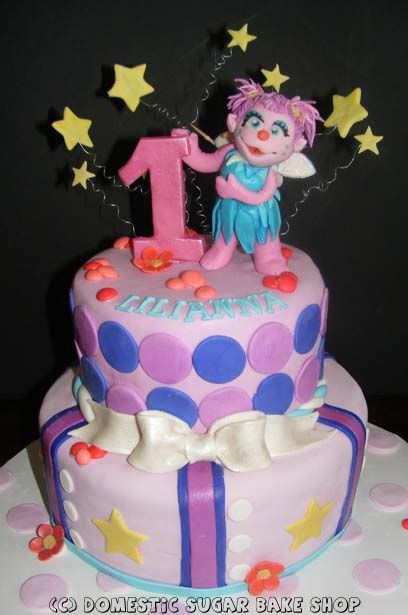 I truly enjoy making little gum-paste characters. Unfortunately, the first one I made for this cake had a little fall, and is currently warming a dumpster :( That's okay, that just means more work ... or play, depending on how you look at it.
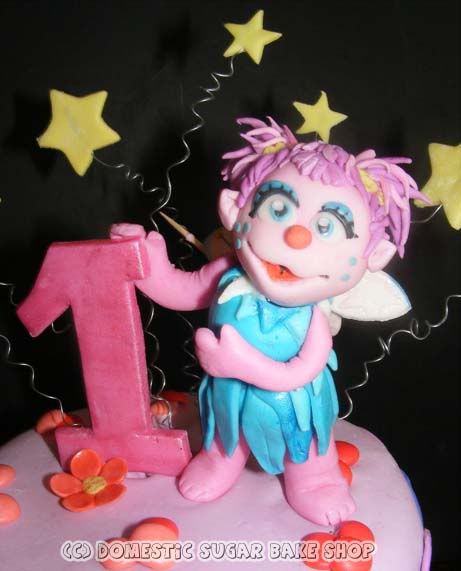


