YAY! I'm back to baking. I have to admit that this break was lacking greatly in this way... I really, REALLY wanted to do some baking, but had no way to, which was sad.
So, now to start this year off right! My first real post of the year (Minus
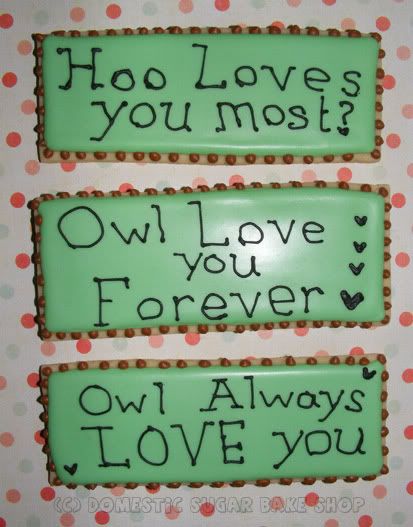
the 10 for 2011 post I did just after the New Year). Owls are awesome, and I am cheesy enough that I like playing with their name.
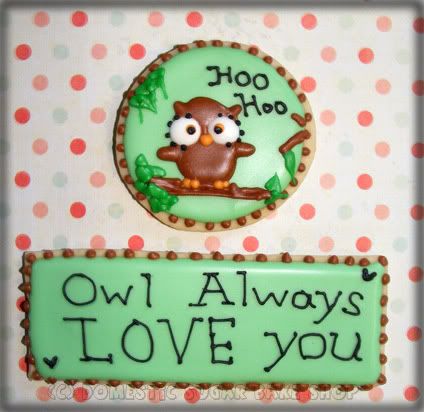
Yeah, That's right! Silly sayings make everything better. I told you all on my
Last Owl Cookie Post that I like to say silly things like Owl Always Love you. This time, however, I did not offer to do the dishes and instead spent the entire time creating a large sink full of piping bags, tips, spatulas, and bowls filled with rock-hard royal icing (which washes away with water... after soaking). One of the best things about cookies is the colours. I love adding different colours, but the problem will always be my reluctance to do the dishes afterwards.
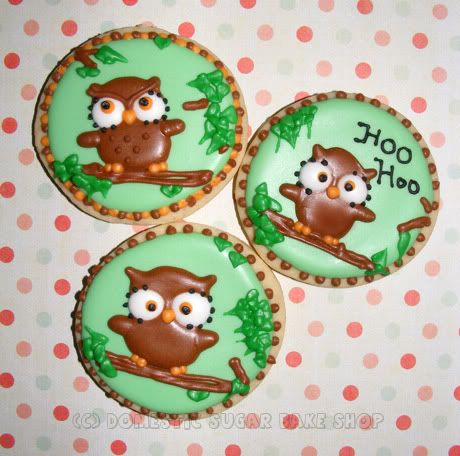
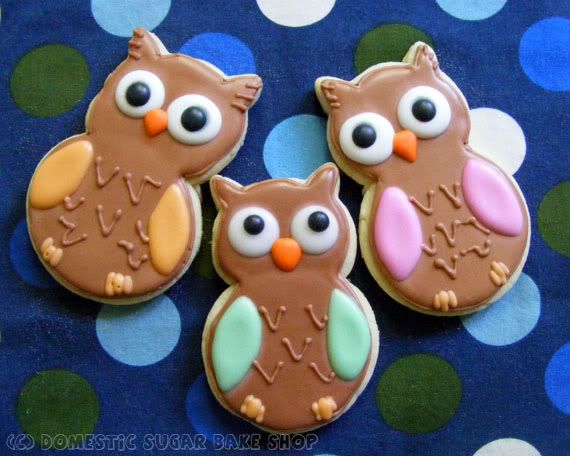
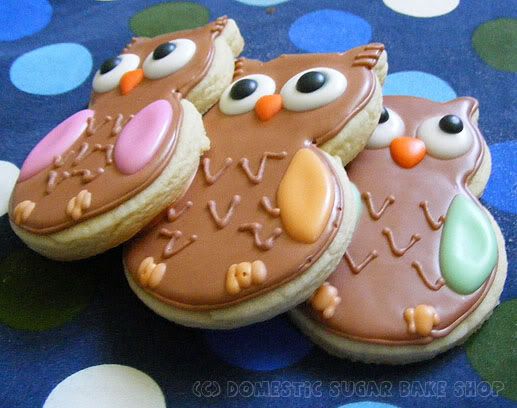
Looking up above, you will see the owls I created, one looks a little angry, but I like his crest. I keep thinking he is the daddy owl, and that those two beside him are the baby owls looking cute. I wanted to do a different kind of cookie this time, a round picture cookie, but I wanted to play with the owls as well, so I took a look through Google Images to see the different looks, and I didn't find anything of what I imagined. I instead took out a sheet of paper, and sketched out a design... then piped it together:
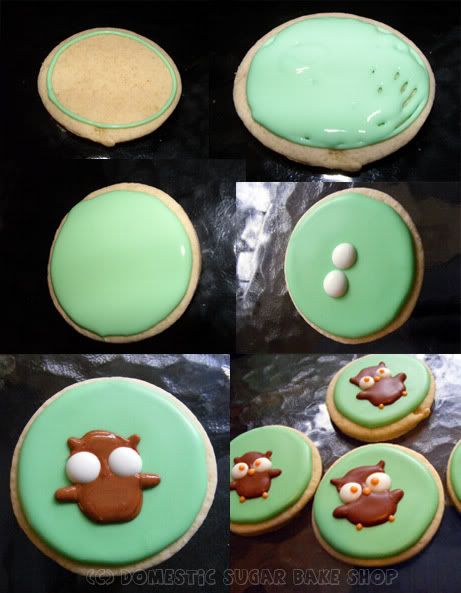
Of course the last thing I do is sketch in the details. Not a huge thing, but I got lazy and stopped taking pictures. You can fill in the blanks as to what came next.
How, I have had so many people asking me about my royal icing recipe, and I never know how to tell them that I don't have one, not written down anyway. I have tried to fill in recipes for this in the past, but now I just eye-ball it. I do have a formula for it, but it is loose.
Royal Icing a-la-Domestic Sugar(Yeild... lots, enough for a few piping bags at least)
5 tbsp Meringue Powder
1/3th c water
Dissolve Meringue Powder in the water, using a blender to froth it a little. Make sure that there are no 'crystals' of the powder left... some brands are granular in texture, try to use something like Wilton - though I hate to say it - as it is a better brand). Once it is dissolved...
1tbsp flavor (or equiv. I sometimes use flavor oils as they have a wonderful full, unique flavor... in those cases, use a drop or two).
3-5 c powdered sugar/Icing sugar
extra water (1/2c ?)
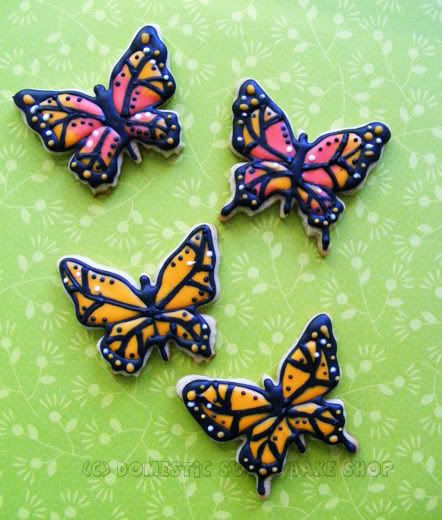
This is where things become different. Because icing can have different textures, you will need to eye-ball it to make it the way you want it. I use the 3 second test. If you add and mix up your icing, and you want it to be like the owls above (thick without boarders), then mix it up and run a spatula through it; count to three or five, or give it a little shake. If the icing has flattened out and you cannot see any lines sticking up, you are golden. If you can see lines, add a few drops extra water... and if it runs flat right away, add more Powdered Sugar.
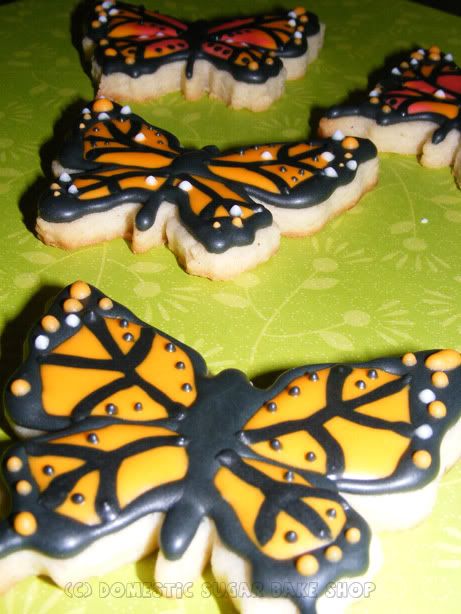
What I suggest is that you find what works for you. Many people out there who try flood cookies make very thin flood, trying to extend the life of what they have, and in truth, you will get a cookie with a boarder that is higher than the middle design. That is less attractive. Try to use a thicker flood whenever possible, that way the flood actually balances on top of the boarder line. Looking below, at the old owls, you can see that I piped a line around the cookie shape, then flooded it (rather than above where I didn't use a line at all to outline). You can see that the flood is thick, and above the line; you want that! The flood is thick and rich, it is not thin at all. Thinner Floods will dry and cave in.
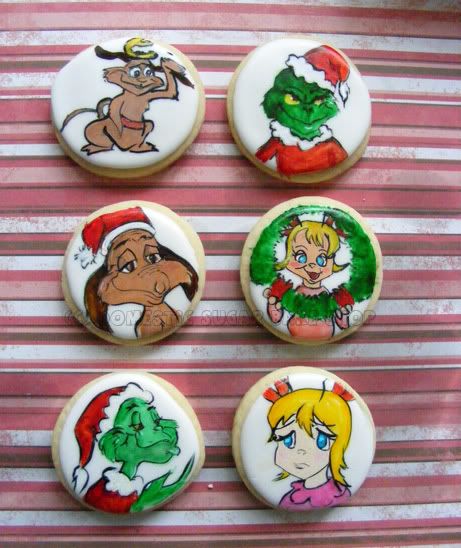
Well, in truth, I am not actually sure if my recipe helps in the least. I am not scientific about the flood. I just go with whatever I like. For example, below, on the cards, I used a thick flood (No lines necessary) and a thick, stiff icing (less , way less water) to pipe the words. Icing is not an exact science, and wherever you live, be it humid or cold like here, affects the icing. Just play around with the water/sugar ratio and see what happens. If you look at one of my first cookies, you can see that they are also not well filled with icing.

Okay, this post is wordy. Maybe some of you read it though and found it helpful maybe some of you didn't. I just home that you enjoyed the pictures at very least.
I wonder what I am going to do next... hmm? Any suggestions
\(°˛° ) ?

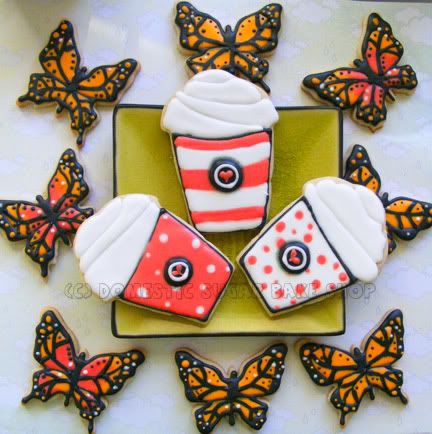
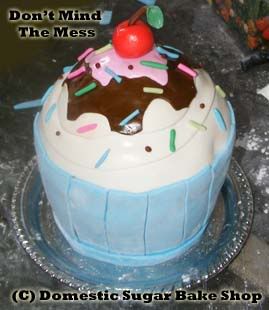
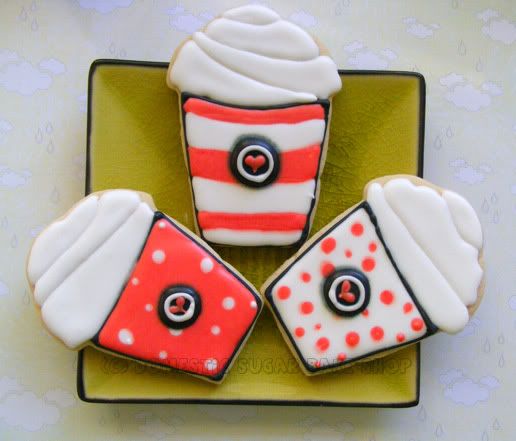 Back to cookies. This design is perfect in my opinion for Valentine's day as well. The Latte cup is not a cookie cutter I own, but a hybrid: CUPCAKE cutter with SQUARE cutter on the bottom = LATTE CUP cutter. HURRAY! I think finding new uses for old cutters makes my budget a little happier. Why not find another use?