I have been one busy bee! In addition to helping Fort High with their set design for "Little Shop of Horrors,"I had the privilege of getting recognition from the Fort Frances Times (the local newspaper). The lovely Peggy asked me to do an interview, talking about baking and showcasing what I do.
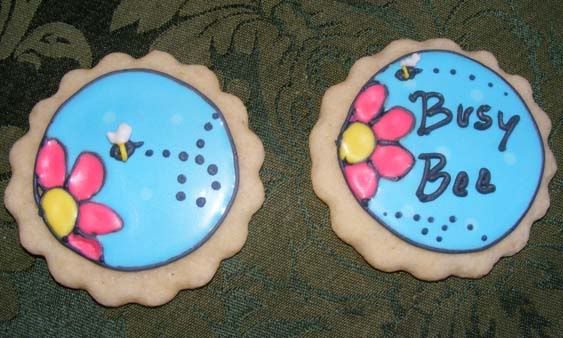
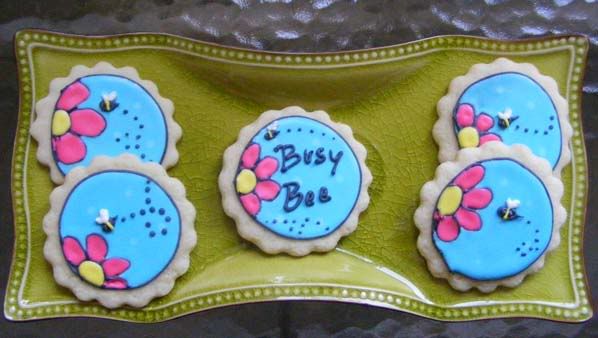
To say the least, I was excited. I made the cookies above to honor one of my favorite bakers, Bridget at Bake at 350. She recently made a similar cookie for her friend. Using her design, I added a little twist, making the Busy Bee Cookie.
I think they turned out quite nice. I showcased these cookies at my interview, and presented Peggy and her crew with the cookies as a thank-you for the recognition. I honestly don't think I'm exciting, and probably didn't give a great interview, but I enjoyed the idea.
Thank you Peggy, hope your team liked the cookies.
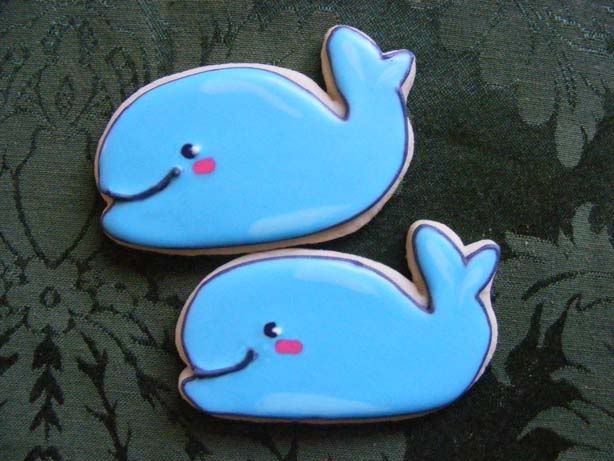
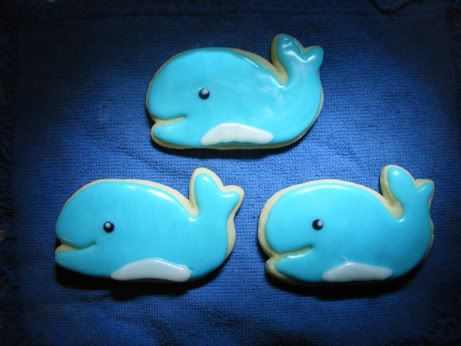
Now, I had a little of the Blue (both light and dark) left after making the Busy Bees, so I decided to reattempt my favorite cookie: The Blue Whale.
I think that the Royal Icing is much better than the other, corn syrup type; I just like the lines, and the smile. I think the black does a better job of making the whale look happy. I could not resist! Fat Happy Whales. :) Still, there are some bakers who make the corn syrup icing look easy.
Sunday, March 28, 2010
Thursday, March 25, 2010
Rainbow Celebration
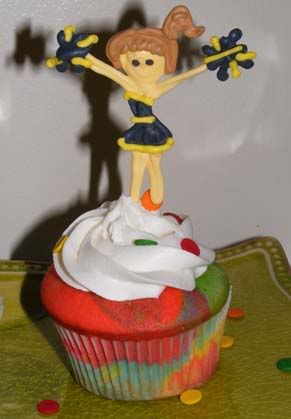
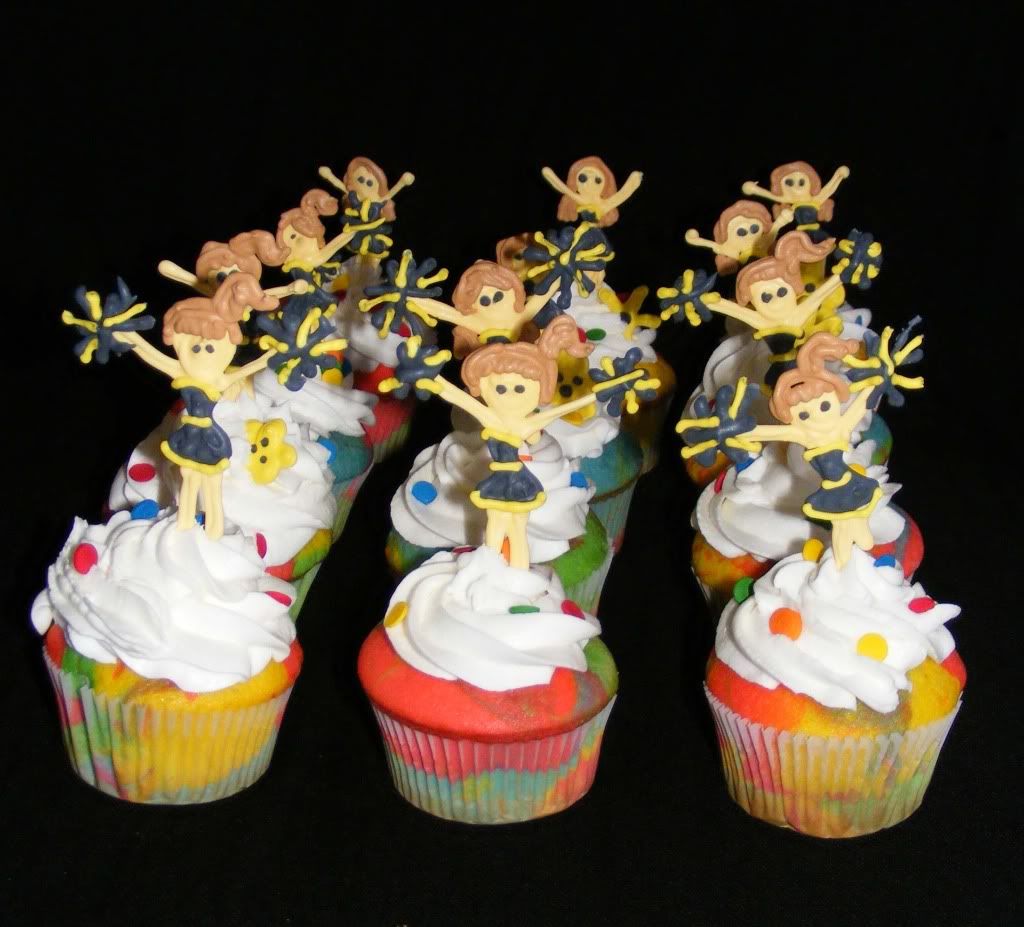
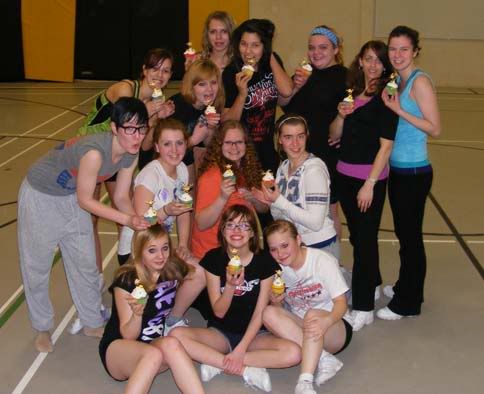
Today is the Cheerleading Season Wind-Up Party. We have done our thing, now it's time to party. I had asked Brooke, one of the girls, what I should make, and she suggested cupcakes. The next question was Chocolate, Vanilla, or Rainbow... was that really a choice? So, I ended up making these cute little cuppies:
This is what I love about Gel paste food-colorings, you can get them easily at craft stores, or online, and when used, your colours tend to be far more vibrant.
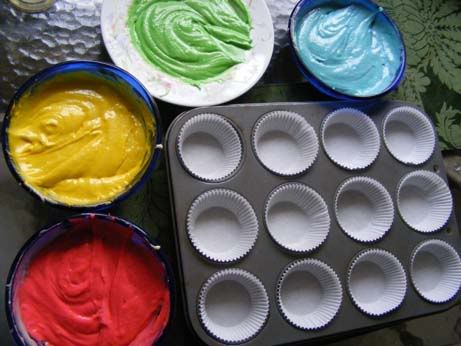
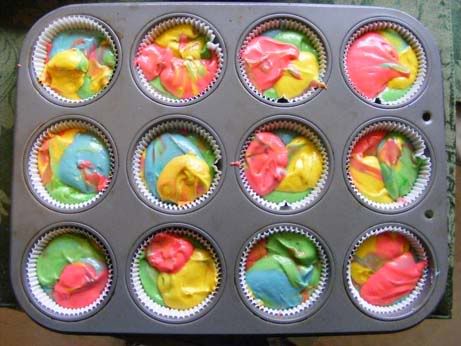
For these cuppies, the technique is simple: First, make a batch of vanilla cake. Then, divide it into the colours you wish; I made a rainbow of Red, Yellow, Green and blue.
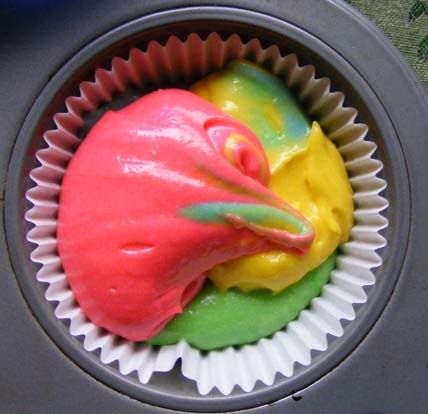
Next, take spoonfuls of the mixes and plunk them into the cuppie tins. Layering isn't necessary; I like to have the colours beside/on-top of each other.
Add some icing, then some sprinkles, and they are so cute. I did add the cheerleaders as an after thought, but they were not necessary to "make" the cuppies. I just figured the girls would love them. Here's a last little shot of the cuppies all done up:
This is what I love about Gel paste food-colorings, you can get them easily at craft stores, or online, and when used, your colours tend to be far more vibrant.
For these cuppies, the technique is simple: First, make a batch of vanilla cake. Then, divide it into the colours you wish; I made a rainbow of Red, Yellow, Green and blue.
Next, take spoonfuls of the mixes and plunk them into the cuppie tins. Layering isn't necessary; I like to have the colours beside/on-top of each other.
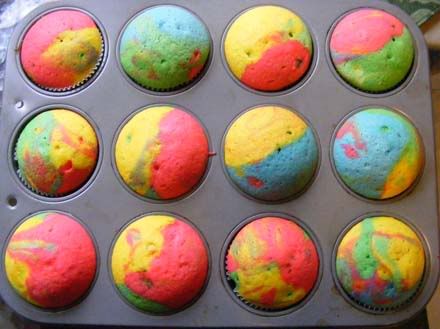
Layers of the colour, then it is ready to pop into the oven.
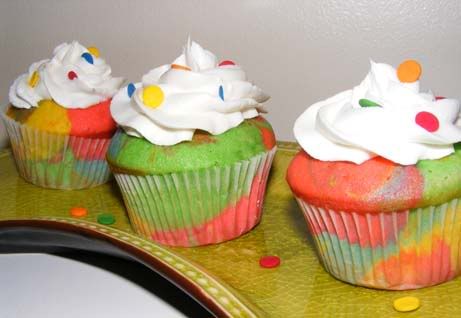
Add some icing, then some sprinkles, and they are so cute. I did add the cheerleaders as an after thought, but they were not necessary to "make" the cuppies. I just figured the girls would love them. Here's a last little shot of the cuppies all done up:
Monday, March 22, 2010
Small Inspiration
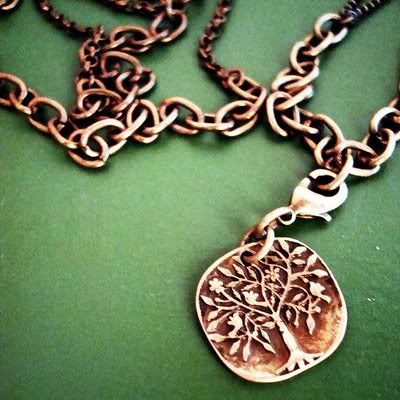
This week I had the pleasure of meeting a new friend, Alexis. While I always enjoy meeting new people, I found myself strangely delighted and inspired when talking to her. Why? Well, it was because of a little pendent she wore around her neck. It was quite a unique piece she picked up in the Toronto area, where she's from. While I could not find a true picture to show you (and did not have the guts to ask a new friend for a quick photo), so I searched the internet and found this picture:
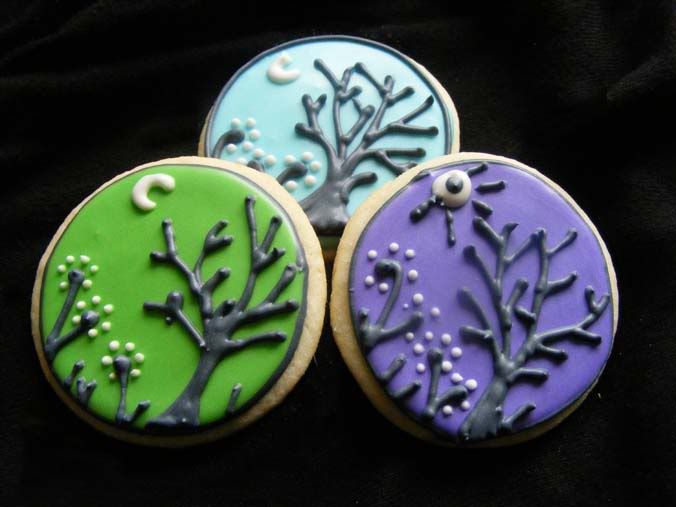
It is certainly not as nice as Alexis's piece, but it is still quite beautiful, and sets the stage for my inspiration. Based off of her necklace, I did a set of cookies:
These cookies are made to look much like her pendent. I loved how the tree was off-center, and the flowers were simply dots. Each of the three colors adds something unique to the cookie. All in all, I think they turned out nicely. Now, they are off to be wrapped as a gift to her for the small inspiration.
Friday, March 19, 2010
Wizards of Waverly Place Cookie
I'm sure most kids in the elementary schools have heard of this program by now:
I was approached by a wonderful parent who wished to order a set of cookies for her daughter's birthday. After brain-storming ideas (see previous post), we came up with with the idea of Wizard Hat cookies. I was all too excited about this project. Here's how I did them.
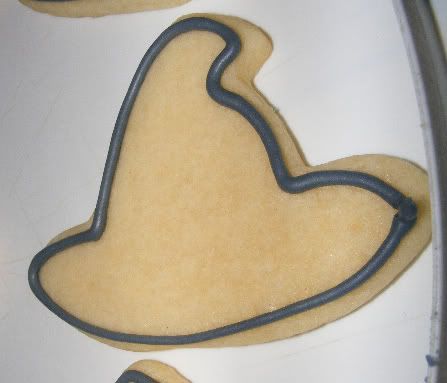
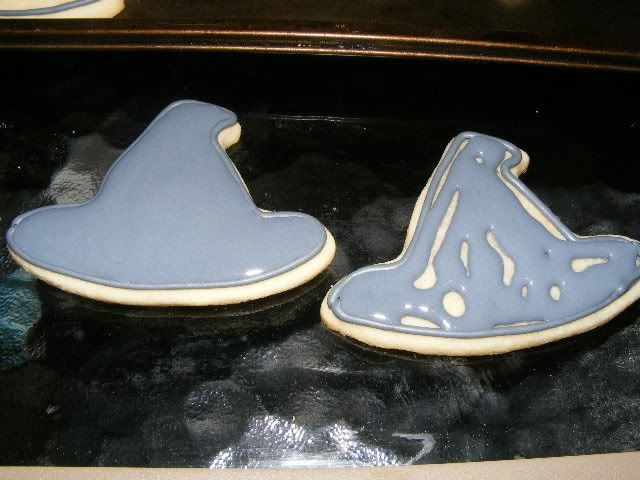
After cutting the cookies out from Sugar Cookie Dough, I pipe an outline of Royal Icing to prepare for the "flood," a thinned out version of Royal Icing that can be spread inside the outline.
I like to spread my flood with a toothpick, or a long pin. The benefit of a pin is to pop and bubbles that come to the surface. Tapping the cookie on the baking surface also helps to bring larger bubbles to the top of the icing, then you can get at them easily, dragging the pin down through the bubble. This is tedious, yes, but is necessary for smooth icing.
AFTER ABOUT 3-4 HOURS OF DRYING you should have a smooth, hard shell to work with on the cookie. Then, the real decorating begins.
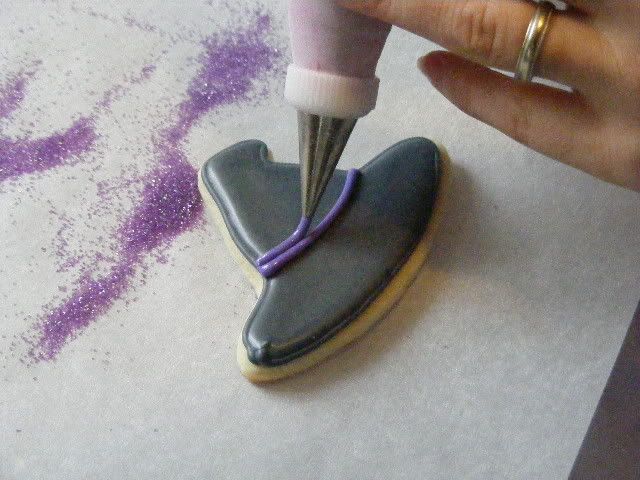
For the Wizard Hats, I lined the "ribbon" of the hat in purple, the child's favorite color, then...
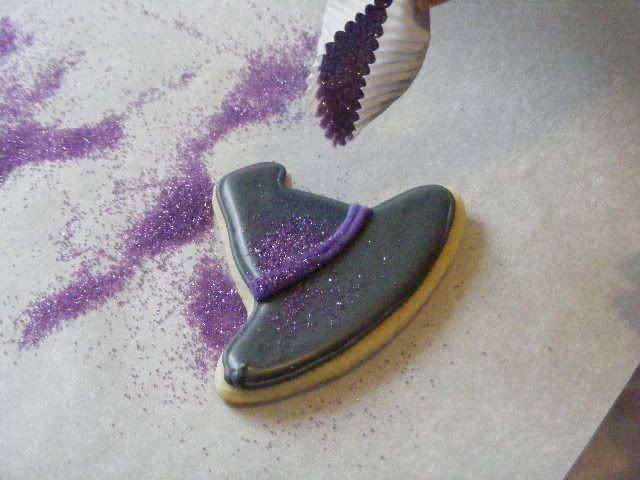
I dusted the wet icing with some sanding sugar. This gives it a nice, sparkly quality. I love to use small cupcake-cups to store and sprinkle the sugar, and place a piece of parchment on the bottom to catch the leftover sugar. The cup helps me control where the sugar falls, and the parchment helps me collect the loose sugar and funnel it back into the cup. No waste ☺.
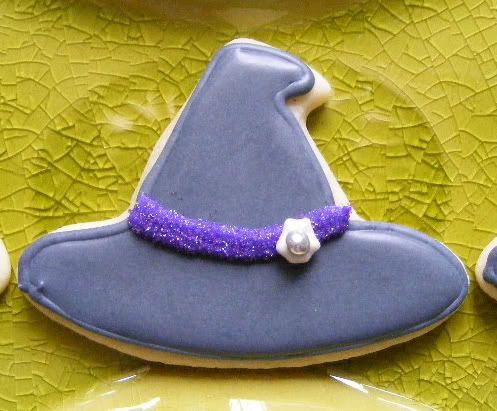
The last thing I do is to embellish the cookie.
Place a small dollop of white sparkle icing, then a little silver pearl in the center. Now, it's a crown fit for a queen!
Snap a few photos, and...
Now off to packing, then off to the customer.
Until next time ♥
Thursday, March 18, 2010
Domestic Goddess: One can never be too organized.
Organization before baking is a must! I always find it simpler to identify the task, list it out (pull out what you need), then to start baking.
For those who know me, this does not always work as I plan... I often forget ingredients, misjudge amounts of product I have remaining, or simply fail to look for an ingredient before I begin, only to find, halfway through a project, that I am missing a key part (like eggs).
I am no Domestic Goddess, but I certainly try. The best way to start a batch of cookies is to choose the design, colours, and extras.
For example, above is a sample of ideas I gave a client for their themed birthday party. I listed a few of the choices, talked about some of the colours and add-ons (with sketches), then allowed them to choose the option they liked best: the Wizard's Hat: black hat with purple ribbon, dusted with purple sugar dust.
Now, when I go to make the cookie, I have the list of what I need: Cookie Dough (Sugar Cookie/vanilla icing), black icing, purple icing, purple sugar dust, luster dust.
NOW, I'm ready to start baking the cookie!
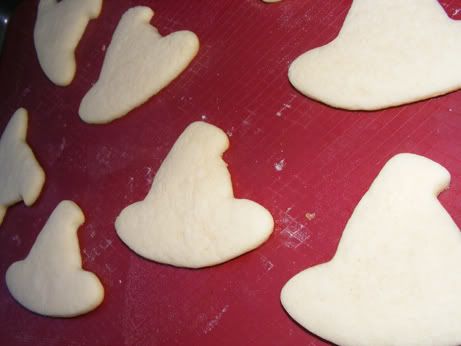
Soon these will be high-class hats, fit for a wizard!
Being prepared for a task by having a list and some brains really helps to make the task easier. Now, when I go to make the hats, list in hand, I can be sure that I will not be short on ingredients, or forget the choices. The drawing list helps me know exactly what I plan on doing, before I do it.
Now for a fun add-on:
I just came back from a trip to Thunder Bay (for those of you who don't know where that is, it is 4 hours away from Fort Frances, in North Western Ontario -- the middle of nowhere).
While I was down there, my mother and I took a classy shopping trip to the local Dollarama. There, we found these little gems:
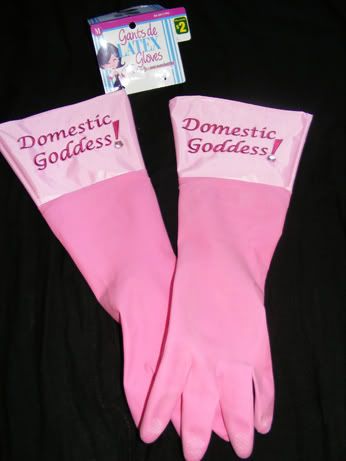
Now, normally I would be too cheap to buy silly plastic gloves, but my mom insisted that I buy these. As a kid, I would always joke about my name: Meghan sounds like Megami, which means goddess in Japanese. This translated into part of my blog title "Domestic Sugar" reminds me of the Domestic Goddess I always believed I was. To see that phrase on a pair of gloves is funny.
What is better, is that "DOMESTIC GODDESS" found its way into my life in other ways.
This charm I found in the Toronto Airport. ♥
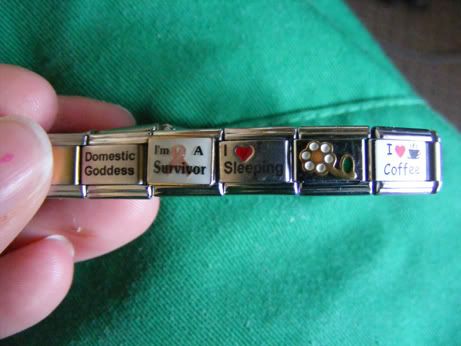
I'm guessing the name was fitting for me, since I run ito it so often. I may not be the most likely candidate for the title of Domestic Goddess, as my husband likes to remind me on my unorganized days, but Megami I will always remain, at least in my heart.
Until tomorrow, to see the conclusion of the Wizard Hat Cookies.
Friday, March 12, 2010
Cuppies
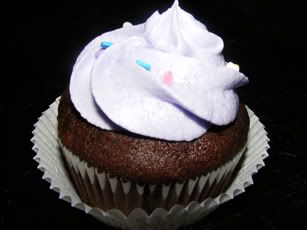
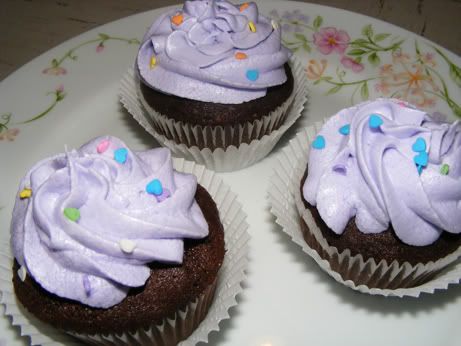
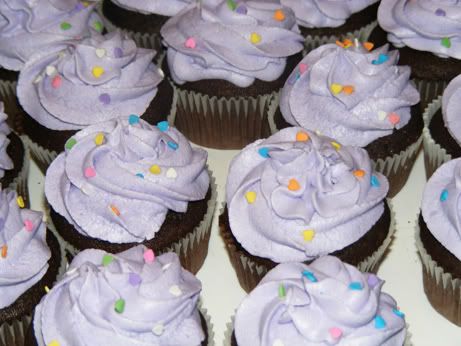
One of my co-workers is celebrating her birthday this weekend, so the department thought it would be fun to have a little party in the afternoon. I made cupcakes!
I made cute cupcakes with dark-chocolate cake (scratch) and Swiss-meringue buttercream. YUM! I love SMB, but it's a pain to make! I had a separation issue. It was like the butter decided to melt, after being in a cold room? I didn't quite understand that one, but sometimes, things just don't go as planned.
My biggest gripe is the photograpy. How do you make your images look good? I have a FujiFilm Finepix s700 camera, and I've got to tell ya, I've had nothing but trouble with it. Most of my pictures come out with a yellow tinge, or the flash makes everything white. I've tried everything! It is so frustrating that of the 50 or so pictures I take, two or three are good to use.
How do you take your photos? I would love to have someone give me some tips. I think it's just the lighting in my place, I hate the yellow lights in my dingy apartment. :'(
Any thoughts?
Wednesday, March 10, 2010
They Call me Ishmael...
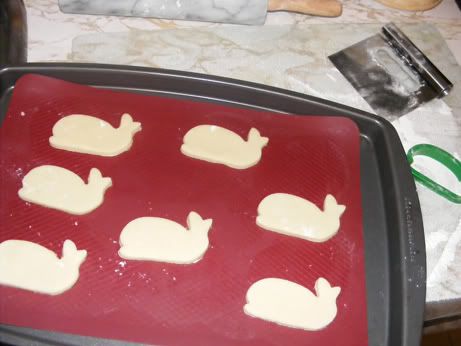
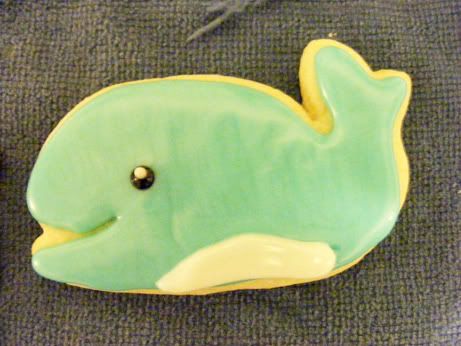
I did some playing around this week. I've had a lot on my plate, but with the Cheerleading season over, I figured I at least owed it to myself to play with some cookie decorating. So, I opened my bucket of 50 animal cutters and found this happy shape. I DIE!
I decided that I would try out a little recipe that I saw online. Some people like to use the Royal Icing for decorating cookies. Others use a corn-syrup based icing, which is a little paler and softer (texture-wise). It has the added benefit of drying faster as well, which to me sounded like a bonus for quick cookies. So, I decided to give this recipe a go. It was recommended by another baker who I like to follow, Cookie Crazie (SHOUT OUT!). The end result was a little shinier than I had hoped, and left little run-lines throughout the flood ( you can see them below).
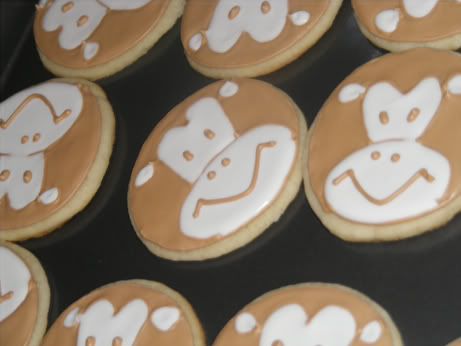
I suppose it is a recipe that is okay for playing with; certainly it was a nice base, but it did not wow me, and the end effect, while adorable in Whale Form, did not meet all of my expectations. Maybe it was because I used "Golden Corn Syrup" instead of "light," who knows, but the type of icing was a far cry from the stiff Royal Icing I so love.
Either way, I had a blast... come on... HAPPY WHALES! THEY ARE SO HAPPY! ☺
FAT-HAPPY-WHALES!!!
I decided that I would try out a little recipe that I saw online. Some people like to use the Royal Icing for decorating cookies. Others use a corn-syrup based icing, which is a little paler and softer (texture-wise). It has the added benefit of drying faster as well, which to me sounded like a bonus for quick cookies. So, I decided to give this recipe a go. It was recommended by another baker who I like to follow, Cookie Crazie (SHOUT OUT!). The end result was a little shinier than I had hoped, and left little run-lines throughout the flood ( you can see them below).
I suppose it is a recipe that is okay for playing with; certainly it was a nice base, but it did not wow me, and the end effect, while adorable in Whale Form, did not meet all of my expectations. Maybe it was because I used "Golden Corn Syrup" instead of "light," who knows, but the type of icing was a far cry from the stiff Royal Icing I so love.
Either way, I had a blast... come on... HAPPY WHALES! THEY ARE SO HAPPY! ☺
♥ ♥ ♥ ♥
I am guessing that I will have to play a little more with the recipe, and see that I can't change things up. I love these little critters though, and don't think that it was not worth the effort.
Let us see how the next couple of tries go.
Until then.
I am guessing that I will have to play a little more with the recipe, and see that I can't change things up. I love these little critters though, and don't think that it was not worth the effort.
Let us see how the next couple of tries go.
Until then.
Friday, March 5, 2010
Monkey Business
This week has been so busy! I cannot believe the weekend is finally here. TGIF! (does anyone else remember TGIF on ABC? That's what I'm thinking anyway).
This weekend is the Regional Cheerleading competition in Thunder Bay. This has been a big push, but the girls are ready to go down and compete. Lets just hope they have fun!
To mark the event, I made a little cookie for them. I realize that there are so many different things I could do, but I was inspired by THIS BAKER, and just had to try the pattern out.
Laurie is a talented baker, and I loved the simplicity of this cookie. I figured that the girls are going to go Bananas this weekend at the mall and at competition, so why not celebrate with some inner monkey! (That, and time was limited).
Hopefully this bunch will get a long well, and they won't get up to too much monkey business. Let's just hope they can climb to the top and become chief bananas themselves. (GO PUNNING).