Showing posts with label Sugar Flowers. Show all posts

Saturday, April 13, 2013

A Hard Lesson to Learn

This past month I learned a hard lesson. DON'T EVER FORGET YOUR CAMERA!

My friend, who recently had a baby, threw a wonderful baby shower. Of course, I insisted on bringing the cake! I stayed up all night making a gorgeous shower cake, complete with baby-pink-zebera stripes inside! I was thrilled with the final product and brought it to my friend's house, set it up and went for my camera.... not there.
I checked in my car, not there either....
I looked again in my supply bag.... not there.

Realizing I had made the most horrid mistake of forgetting my camera at a baby shower (where I still had not taken a photo of the cake), I began to ask around for a camera. Surely someone would have brought one. NOPE! The proud momma didn't... the proud papa didn't, and neither did the new grandma. WHAT IS GOING ON?!

In a panic, I began to wonder what to do. My only option was to find a camera. One of my friend's friends (who traveled from Winnipeg) offered hers, and I proceeded to take many lovely photos of the various parts of the cake, making sure to check balance and colour... her camera was awesome! Long story short, she never sent me the pictures.

In a scramble, my friend and I were able to come up with a few photos. I got lucky! Let that be a lesson to me! Don't forget your camera!!!!

So the cake:
Vanilla Fluff cake with pink-zebra patterned insides and pink vanilla buttercream. 
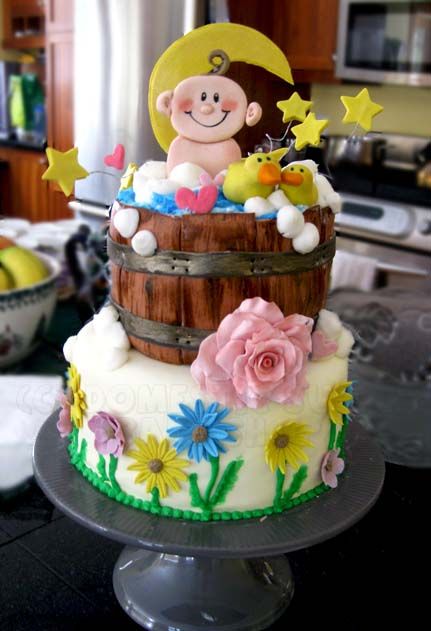

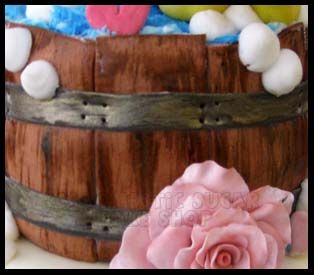
Though it is not the best photo, the barrel for the baby bath was awesome! I individually cut each 'panel' of the barrel and pock-marked the fondant , then brushed on the wood grain. I added a strip of black fondant, then added in the 'screws'. This photo, of course, does not do it justice!

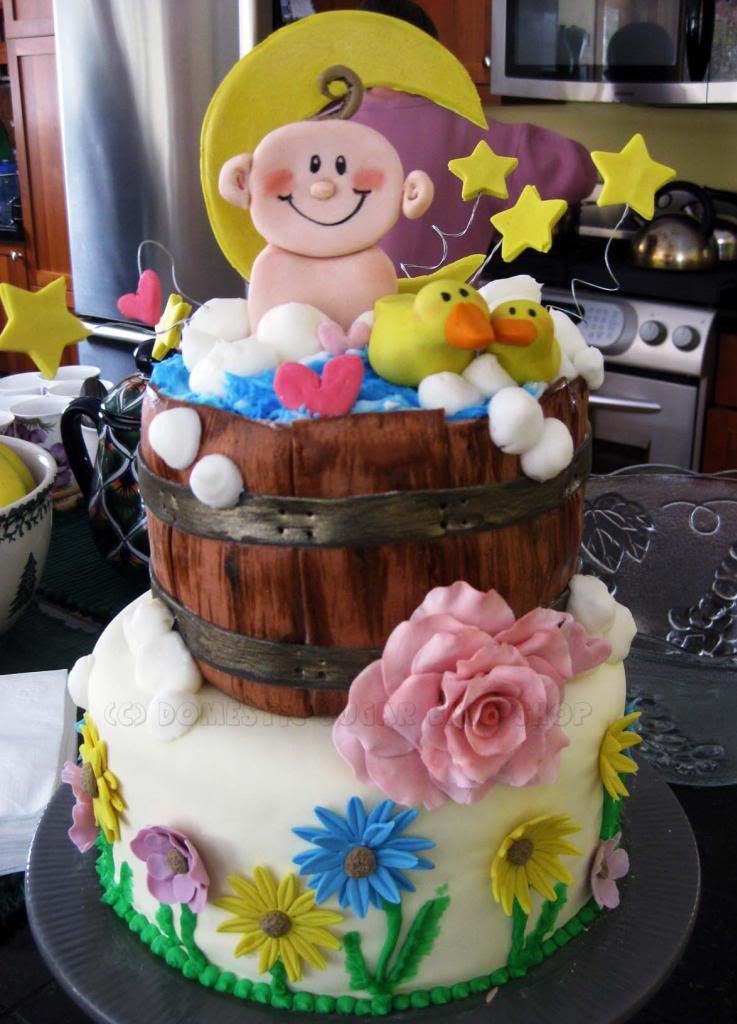
And of course, the baby in the bath is playing with her duckies. The water was awesome! stiff buttercream to make it look like moving bath water, and buttercream bubbles!


I now know that I need to be more cautious in the future! I am more upset that I got no good photos of baby Bea, who slept on my lap the entire shower!


post signature

Sunday, February 24, 2013

Anniversary - the Couples edition

Finally, some inspiration. Things have been busy in the Fort. Over the last little while I have been working hard on several creations (some unposted as of yet, sorry!).

So, it is with great pleasure that I post this update! The Kellar Cake - a 50th wedding anniversary!
Red-Velvet and Carrot Cake with Cream-Cheese buttercream, covered in MMF.


And of course, my personal update. I don't like adding too much in the way of personal information. True, I have been known to post personal images and updates sporadically, but this one is totally worth doing. This year, my husband and I are celebrating our 5th wedding anniversary (not our 50th, I guess we are 1/10th there!). I say this year, but in truth, we were married on a leap-year (Feb 29th 2008) and only have celebrated one anniversary.... so if you count non-leap years it is five, if not, I guess we are 1.25/5 years.  I suppose my husband's face says it all as I try on my dress for the last time.


What do people do with their dresses? Wreck them, store them for their children who will never want to wear them.... Me. I decided to donate mine. There is a great group in Thunder Bay that sends dresses to people who cannot afford to buy them. I am very happy knowing my dress will have a new life with someone! So... I tried it on. One thing I always thought with my dress.... I AM BATMAN! 

Other silly things being done... a Quincy-hut outside of my house.... we've had a lot of snow! Two people can sit up or crouch in this beast! My husband says I can live in that, and he gets the house.


And of course, after-school snowshoeing on the lake. What a wonderful way to enjoy where you live. 


post signature

Saturday, December 29, 2012

Winter Wedding

This cake was near and dear to my heart, and in truth, had to be baked twice before I was happy with the results! But, with all my heart, I wanted it to be perfect.

So, with much fussing and playing, I managed to create a winter-themed cake with a rather large Poinsettia on top.


With a little bit of a twist, this is an egg-nog cake with vanilla-bean buttercream. The cake is covered in MMF, and decorated with sugar flowers/snowflakes (a combo if you will). I had no time to order a snowflake plunger set this year. Rats! Maybe next...


 Because the Poinsettia is so large, it actually dented to the top of the cake! I have never done a single flower on top, and was rather pleased with the off-set aesthetic of it.


 And of course, this was a drop-in wedding, so Cupcakes make things a little more munchable! I was rather pleased all around.


So, now I have some extra cake in the house... I wonder what I will use it to make next :)
Happy New Year!


post signature

Sunday, December 2, 2012

A Sugar FLower Spread

HUZZAH! Baking in my new home has been wonderful!

In my last post, I showed you some pretty sugar cherry blossoms I had been working on...


Well, those flowers went to a cake I was making... One for my grandmother's 90th birthday party. The party was held in my home town, four hours away, so I had a lot of transportation woes... but ultimately, the cake turned out okay, for not having all my tools and tricks available.


Since I had to do a four hour commute for the celebration (YAY, grandma is totally worth it), I decided to pre-bake all cakes and cupcakes (a total of 90 of them), at home, then transport them and assemble everything at the church. Luckily for me the church had a lot of items at my disposal, and the ladies were super nice in helping me find all my gear. I had so many people watching me put it all together, which was funny, but I enjoyed it :) I don't usually get people interested in my caking.. my husband certainly finds it boring.  


I did all the sugar flowers at home too... I made two large stargazer lilies, one orchid, several cherry blossoms and about 30 blue flowers (bluebells?)... which are so tiny they just act as filler. The cake was gorgeous! As I have said before, my camera is no-go until my computer is up, but luckily my aunt had hers!


So, with only a few cupcakes at a time, we decorated the table.... The whole room was filled with cupcake-style decorations... including cupcake confetti!!! I ABSOLUTELY had so much fun running around with confetti screaming SPARKLE SPARKLE!!! My husband, who is used to such outbursts, just laughed, while my family looked a little confused... SPARKLES ARE AWESOME!!


 My next thing to do on my list is to put up my Christmas tree and to make my house all sparkly! I am guessing that will wait until next week, as my tummy is a little unhappy at the moment. Still, it was a great weekend!
Cheers all!
post signature

Wednesday, November 28, 2012

Not dead yet, just don't have the NET!!

I had mentioned a while back that I would be moving to a new home... MAGIC! Well, I am in, and have been cleaning ever since (Newly built homes have a lot of dust!!). Needless to say it has been some time since my last update. It feels strange typing an update to what amounts to a personal journal or diary of baking, but here I am, out of habit, feeling a little guilty for not having posted anything recently!

One of my biggest problems is that I do not have the ability to edit the photo sizes of my camera pictures, so while I have baked up a storm, I have been unable to actually take any good pictures. I decided that I would use my Instagram photos as a sort of update... So, here we go!

 Home
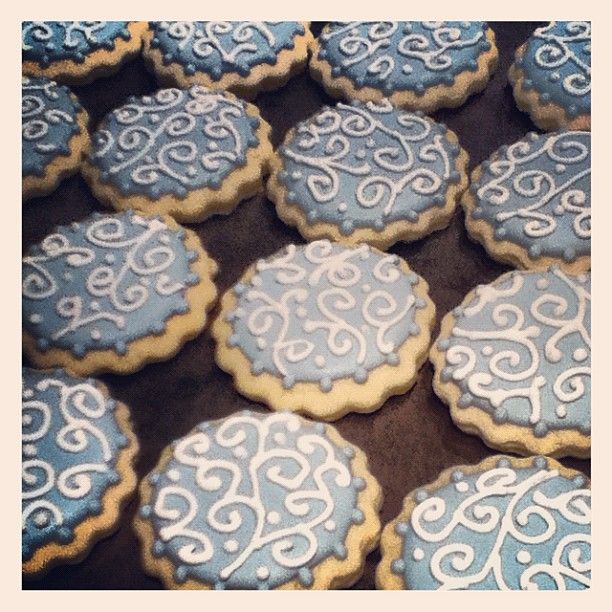
 First Cookies for Snow Storm Party

 Power Outage after Snow Storm Party


 Dreaming of warmer places
Oh look, Coconuts...

First Cake...

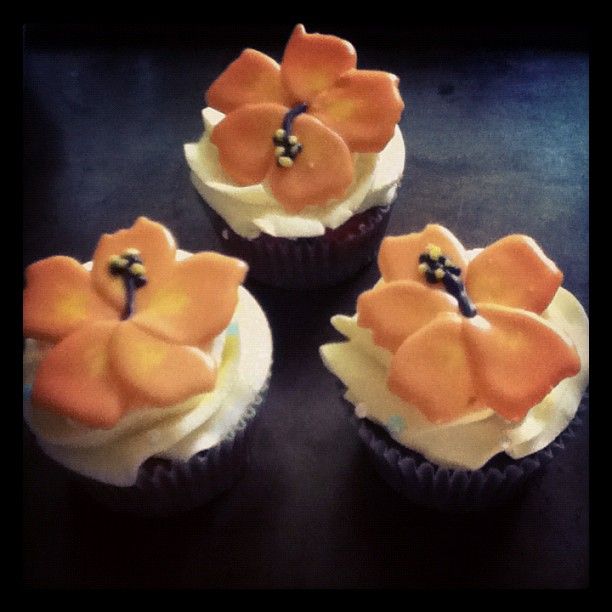
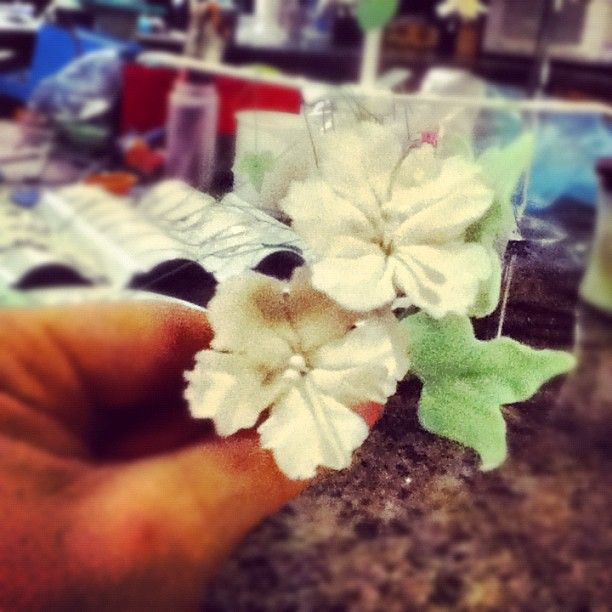
Sugar Flowers for a big celebration...

Exhaustion!!!


post signature


Monday, August 13, 2012

Tutorial: Butterfly Cake Topper

 Hey! Me again!

For my cakes, I like to add small details which add height and sparkle, so my Sugar Butterflies have become a hit! Here's a tutorial on how to make your own Sugar Butterflies:


As in all my tutorials, I try to keep the materials simple. In the tutorial I use a ball tool and a foam mat to ruffle the edges of my butterfly; you can skip this step and just do a flat butterfly! As always, work with what you have! You can substitute the ball tool for a toothpick and  roll the edges of the toothpick on the butterfly's wings.....

What you need:


  1. Sugarpaste/Gumpaste
  2. Butterfly Cookie Cutter
  3. Rolling Pin
  4. Ball tool (optional)
  5. Foam Mat (optional)
  6. Dowel
  7. Food Color (gel kind like Americolor)
  8. Water
  9. Paintbrush


Step 1:


Roll out the gumpaste. You will want it to be fairly thin, maybe 2mm thick or so. Using your favorite butterfly cutter,  cut out the shape of the butterfly.

Step 2:


Using a ball tool, thin out the edges of your butterfly's wings to give the wings that whimsical look. I try to spread the butterfly's wings, and leave the body thick. This will be important when you dowel your butterfly.


As you can see, the spread butterfly is larger than the cutter. This is important! Your butterfly should be wider and longer than the original cut out for when you have to put the backing on him.

Step 3:


Now, take your thin dowel and lay it down the center of the butterfly's body on the underside. Allow the butterflies to dry in this way (Overnight, or 8hours)

Step 4:


When your butterfly is nice and hard, carefully remove him and put it upside down. Roll our another butterfly to be the backing. To secure him, simply add a little water to the backside of your butterfly, then apply. Again, allow time to dry. I try to make sure the 'head' of the butterfly is sealed well, and make sure the dowel does not poke through the top of the piece. By creating a dome on the top, the stick will have something more to keep it in place.

Antenna: At this time, you can choose to place antenna into the butterfly. Simply use a floral stamen (optional, found at a craft store) in the top between the two layers. When it dries, they will be secure.

Step 5:


Now for the sun part: DECORATING! Taking your gel paste food color, water it down, and paint the edges and body of the butterfly. Keep in mind that the as the butterfly dries, the shininess of the 'paint' will dull. No worries!

Step 6:


Depending on your pattern, you can paint the inside any way you wish. For this one, I decided to make a Monarch butterfly, so I painted the 'cell' veins through the body. Once the black is done, allow time to dry (10 min?).

Step 7:


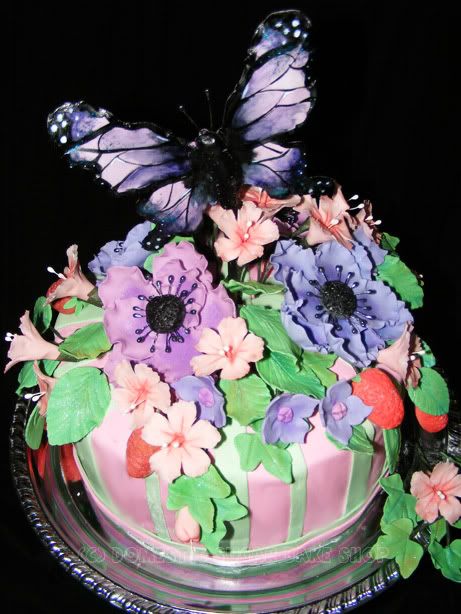
Now, when the black color is dry (this is tacky, as you can see), paint in the color. You can choose to fill all the cells, or just one or two for a stained-glass look. The Flower Garden Cake had purple gumpaste with a few cells painted.

Step 8:


Add a contrasting colour to the edges of the butterfly....


Blend the colors together with a clean, lightly dampened paintbrush. You can add in the darker black if you wish by swishing it with the paintbrush.

Step 9:


Allow time for the fully coloured butterfly to dry. If you wish, you can paint the stick the colour of the cake (for instance, I have painted them black/white before). You can even add stripes or polka-dots to the stick to give them character.


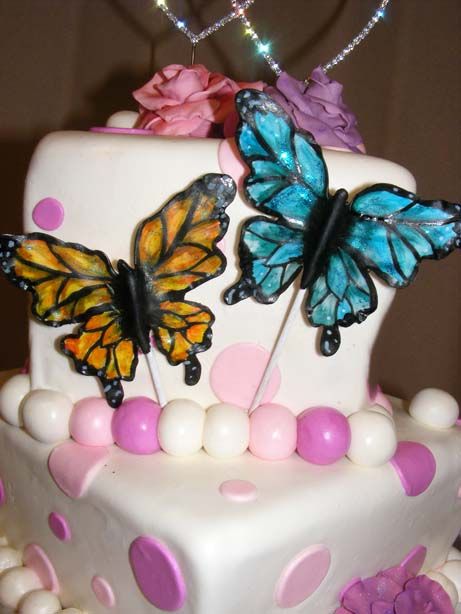
Here are the to I used on Linda's Pink Wedding Cake.


Now You too can make Butterflies! HURRAY!

post signature

Tuesday, August 7, 2012

Pink wedding!

I loved the setup for this wedding. Pink and Fuchsia were the colours, and boy did they fit the bride and groom! The spread included on two tier cake (with Polka-dots), one Ice-creme cone cake, and one gluten-free orange-almond cake. I was super happy to pull myself out of my baking funk, and to get to work on a real project!


The cake included small sugar flowers and sugar butterflies! I loved the cake flavors she choose. The top tier is Chocolate, the bottom, Lemon.... In the other cake, almond and then strawberry. FUN! I love the not-so-basic flavors!


The whole room was decorated in pink bows and white tulle. I loved the bride. Her bubbly personality and cute babushka to hide her hair from her husband was just adorable!


So, I now have two tutorials to post as a result! I guess you'll have to check back later to see what they will be :)

post signature