Showing posts with label Tutorial. Show all posts

Monday, August 13, 2012

Tutorial: Butterfly Cake Topper

 Hey! Me again!

For my cakes, I like to add small details which add height and sparkle, so my Sugar Butterflies have become a hit! Here's a tutorial on how to make your own Sugar Butterflies:
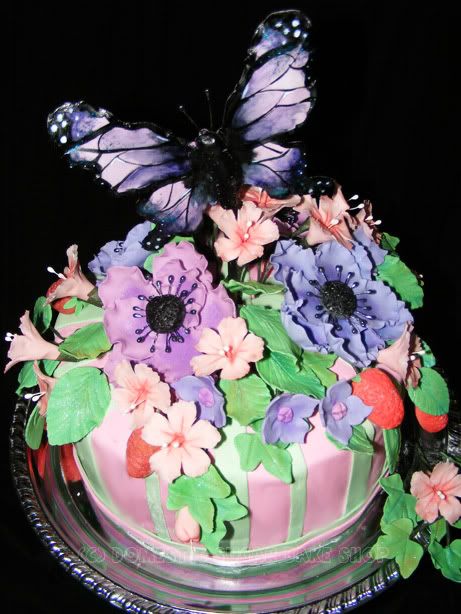


As in all my tutorials, I try to keep the materials simple. In the tutorial I use a ball tool and a foam mat to ruffle the edges of my butterfly; you can skip this step and just do a flat butterfly! As always, work with what you have! You can substitute the ball tool for a toothpick and  roll the edges of the toothpick on the butterfly's wings.....

What you need:


  1. Sugarpaste/Gumpaste
  2. Butterfly Cookie Cutter
  3. Rolling Pin
  4. Ball tool (optional)
  5. Foam Mat (optional)
  6. Dowel
  7. Food Color (gel kind like Americolor)
  8. Water
  9. Paintbrush


Step 1:


Roll out the gumpaste. You will want it to be fairly thin, maybe 2mm thick or so. Using your favorite butterfly cutter,  cut out the shape of the butterfly.

Step 2:


Using a ball tool, thin out the edges of your butterfly's wings to give the wings that whimsical look. I try to spread the butterfly's wings, and leave the body thick. This will be important when you dowel your butterfly.


As you can see, the spread butterfly is larger than the cutter. This is important! Your butterfly should be wider and longer than the original cut out for when you have to put the backing on him.

Step 3:


Now, take your thin dowel and lay it down the center of the butterfly's body on the underside. Allow the butterflies to dry in this way (Overnight, or 8hours)

Step 4:


When your butterfly is nice and hard, carefully remove him and put it upside down. Roll our another butterfly to be the backing. To secure him, simply add a little water to the backside of your butterfly, then apply. Again, allow time to dry. I try to make sure the 'head' of the butterfly is sealed well, and make sure the dowel does not poke through the top of the piece. By creating a dome on the top, the stick will have something more to keep it in place.

Antenna: At this time, you can choose to place antenna into the butterfly. Simply use a floral stamen (optional, found at a craft store) in the top between the two layers. When it dries, they will be secure.

Step 5:


Now for the sun part: DECORATING! Taking your gel paste food color, water it down, and paint the edges and body of the butterfly. Keep in mind that the as the butterfly dries, the shininess of the 'paint' will dull. No worries!

Step 6:


Depending on your pattern, you can paint the inside any way you wish. For this one, I decided to make a Monarch butterfly, so I painted the 'cell' veins through the body. Once the black is done, allow time to dry (10 min?).

Step 7:


Now, when the black color is dry (this is tacky, as you can see), paint in the color. You can choose to fill all the cells, or just one or two for a stained-glass look. The Flower Garden Cake had purple gumpaste with a few cells painted.

Step 8:


Add a contrasting colour to the edges of the butterfly....


Blend the colors together with a clean, lightly dampened paintbrush. You can add in the darker black if you wish by swishing it with the paintbrush.

Step 9:


Allow time for the fully coloured butterfly to dry. If you wish, you can paint the stick the colour of the cake (for instance, I have painted them black/white before). You can even add stripes or polka-dots to the stick to give them character.


Here are the to I used on Linda's Pink Wedding Cake.


Now You too can make Butterflies! HURRAY!

post signature

Monday, June 11, 2012

Stacked Book Cake Tutorial

Okay, this one has a lot of images!

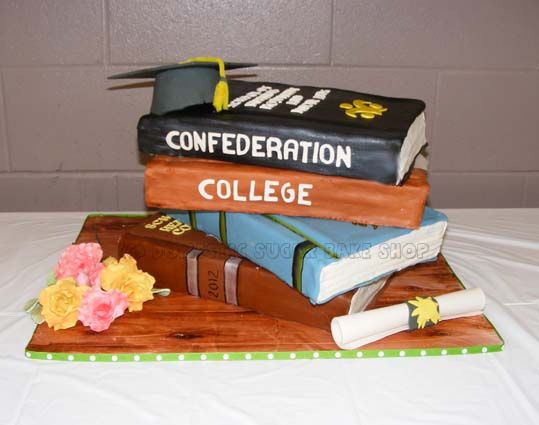
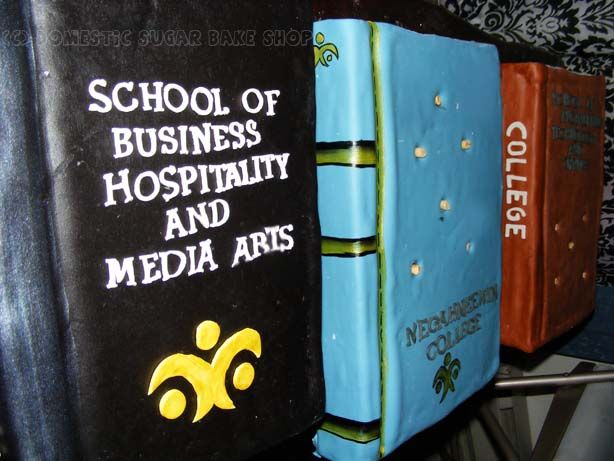
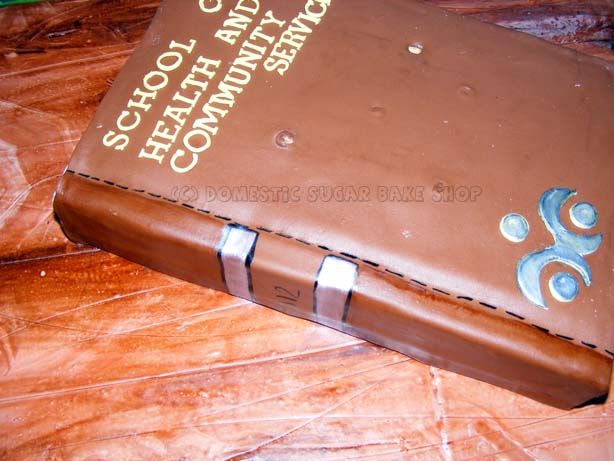
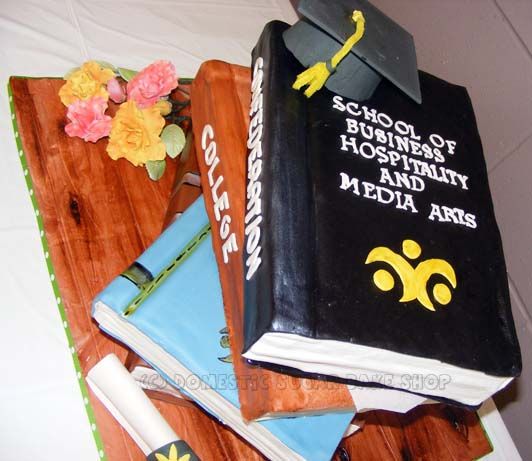
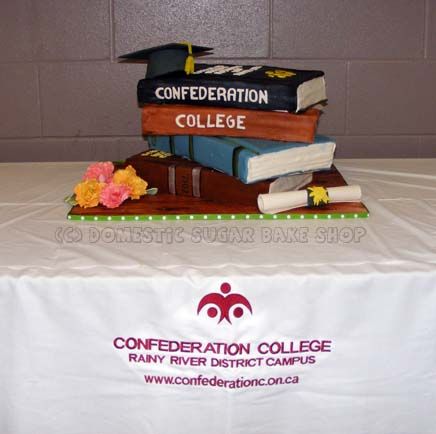
I have been meaning to do a book cake tutorial for a while, so I am very glad that I got another chance to make one. One of my friends at our local Confederation College asked me to make the grads a cake. How could I refuse? We decided that the stacked book cake would be ideal! Let's see:


So, what do you do to make the stacked book cake?
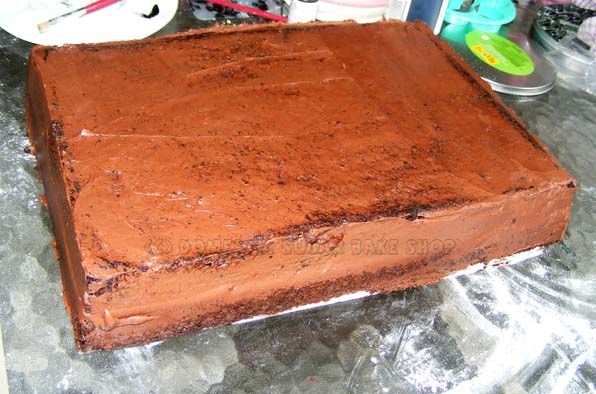
First, start by baking your favorite flavor of cake in a rectangular pan. If you only have a square, you can simply cut one side a little to make it into a rectangle. These books had to feed a lot of mouths, so I'm using a 12x9 pan.


Cut the cake, fill it, then dirty-ice it. Place in the fridge, and let settle up.


Next, begin by rolling out white fondant. I like to use MMF.
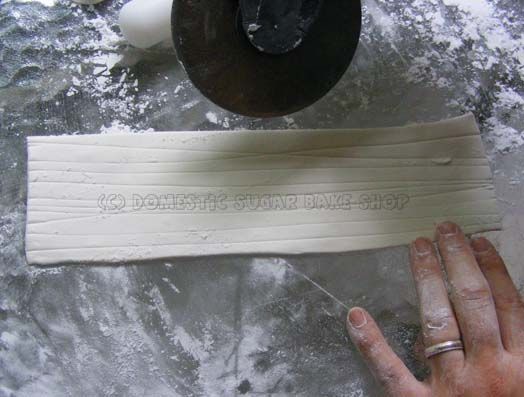
Measure the width and height, then, using a pizza cutter, cut it out to the right size.


Next, put book page lines in it using the pizza cutter and a light touch. You don't want to go through the fondant, so make sure that you press only hard enough to make lines. Don't worry if they are perfectly straight.


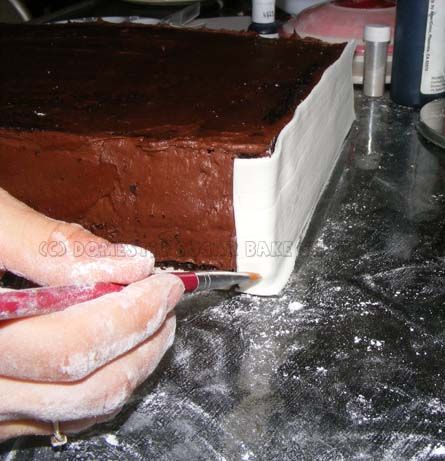
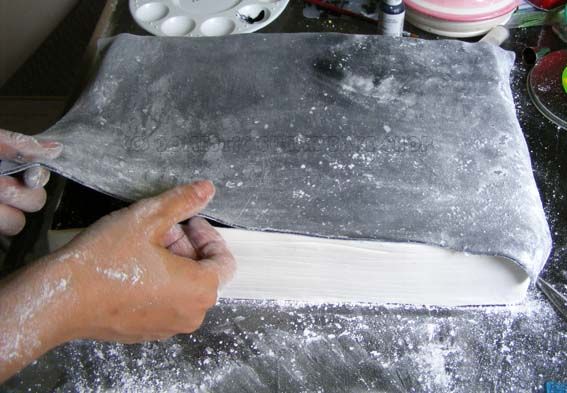
Now, remove the cake from the fridge and ice again. Put the fondant on the sides of the cake first, then the front. You only need to cover three sides white, the back will be the book's spine. I like to add a little water to help the 'pages' stick to each other. Use your fondant smoother or a smooth surface to flatten the fondant.


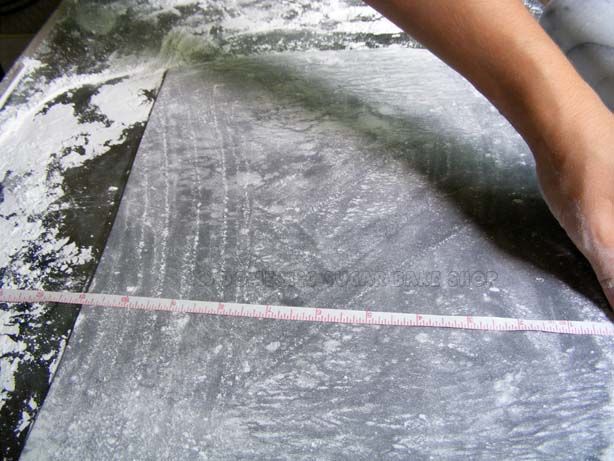
Now, measure out the book's top and roll out enough fondant to cover the top/spine of the book. I like to use a small tape measure to be sure it will cover the whole cake.


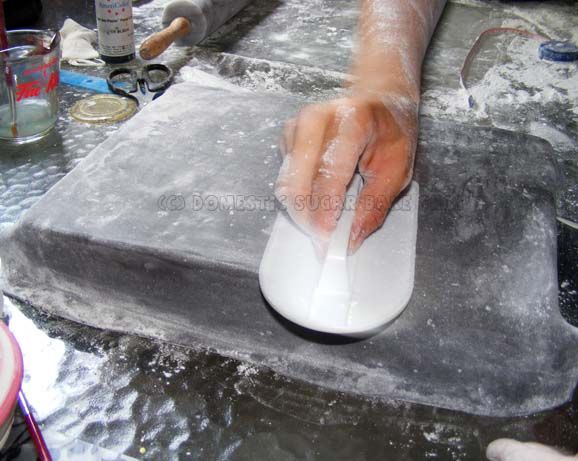
Again, use your fondant smoother to flatten the top of the cake.


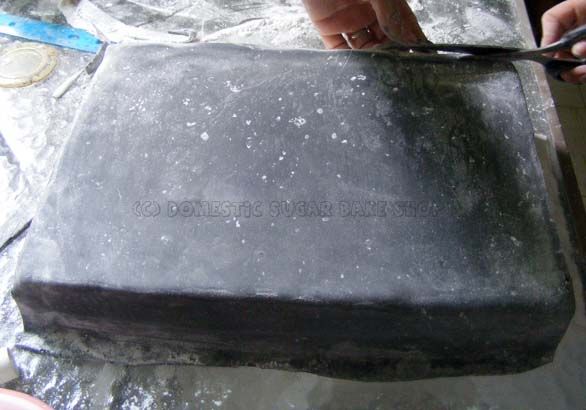
 Trim any excess fondant with a pair of sharp scissors. Once it is smooth, dust off excess powdered sugar, and you can sponge the top if you want more of a textured look.

If you wanted, prior to rolling out the fondant, you can use a pattern maker to indent the fondant with some shape.... I like it to be slightly pocked.

And that's all!
Here are some examples:


Note that in the centers of the book there are round dowels. If you plan on stacking the cakes, you will need to be sure that each cake is on a cake board of its own, and that there are dowels enough to support the weight of the cake.


When stacking the cakes, be sure to distribute the weight evenly. If you plan on moving the cakes, you may wish to consider a middle, center post to hold all the cakes together. These cakes were made to be separated.


Hope this helps, and  I hope you enjoyed the tutorial!

post signature

Saturday, March 17, 2012

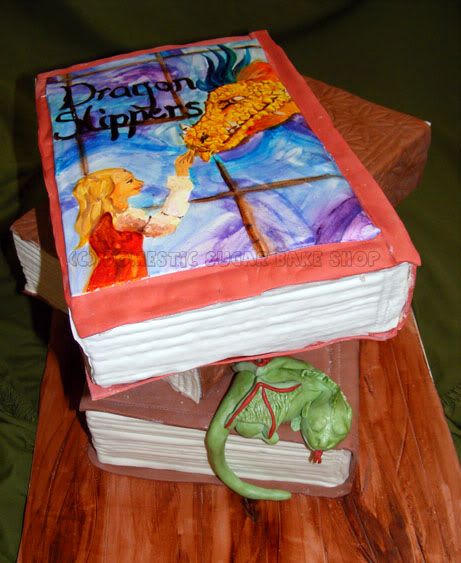
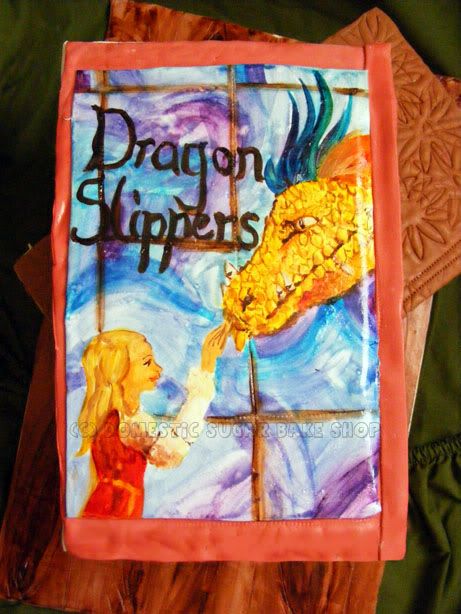
Book Cake: Dragon Slippers

My Final Cake for the March Break!

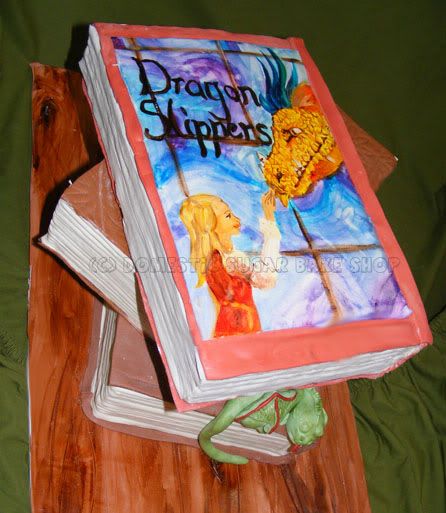
I am super happy with this cake. The series which starts with the book "Dragon Slippers" by Jessica Day George is a favorite of my friend's daughter. The lovely Courtney is super into the books, and requested this cake for her birthday. Or rather, a cake with the idea of Dragon Slippers. With some painting, the cake was personalized.

I used edible food color on Marshmallow Fondant to paint the book's cover. I let layers dry as I painted in order to prevent bleed.

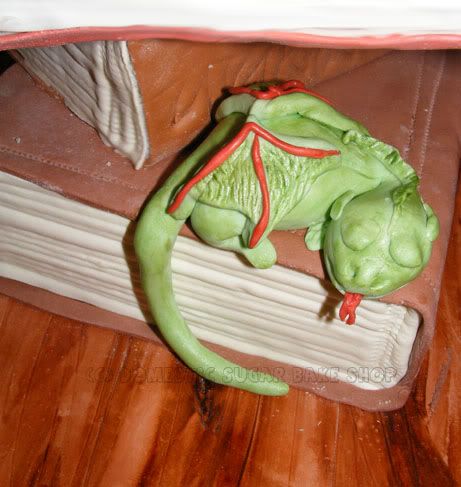
And, of course, the books would not be perfect unless there was a little accent on the book.

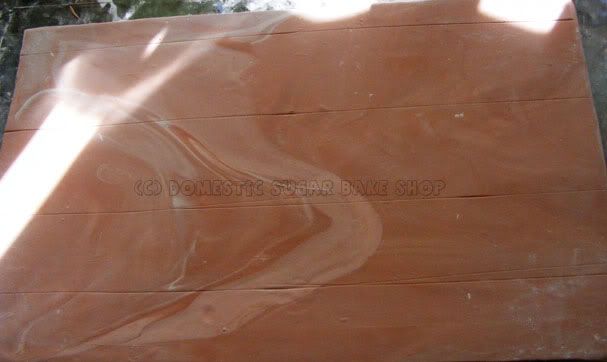
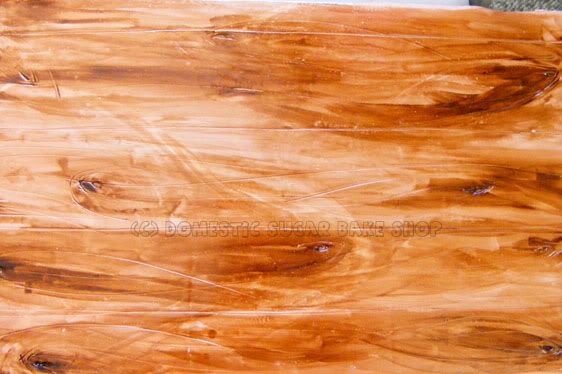
Now, if you looked very closely, you'll notice a wood grained board on the cake. That is my latest plaything. Using three colors of MMF (White, Tan and Brown) I marbled and rolled out a sheet big enough for the cake board.
Next, I cut lines in the MMF to look like planks.

Next, using a pointy tool, I cut small holes into the MMF, where the knots of the wood would be. Then, I used thye same tool to add lines for the wood grain.
Finally, using Edible Brown Food Gels (I Used Americolor), I added in detail where the knots were, and lightly brushed the rest of the 'wood' with lots of water. This added a sheen to he wood, making it look like a polished wooden plank. Great for this cake! I just stacked the books on as per normal.


So, March Break Madness is over. I'm sad. I love making cakes! I was super super happy with all of them! Now, I have to get ready to go back to work. BOO! I have two more days of glorious sunshine. I guess I will go and enjoy it.

post signature

Friday, January 6, 2012

Hooo Will Always Love you ?

YAY! I'm back to baking. I have to admit that this break was lacking greatly in this way... I really, REALLY wanted to do some baking, but had no way to, which was sad.
So, now to start this year off right! My first real post of the year (Minus the 10 for 2011 post I did just after the New Year). Owls are awesome, and I am cheesy enough that I like playing with their name.


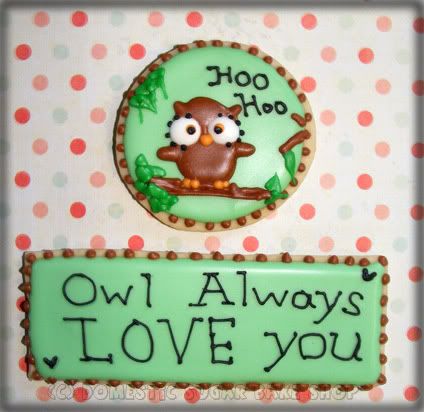
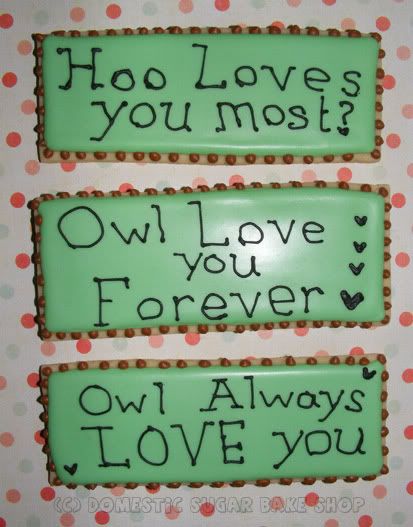
Yeah, That's right! Silly sayings make everything better. I told you all on my Last Owl Cookie Post that I like to say silly things like Owl Always Love you. This time, however, I did not offer to do the dishes and instead spent the entire time creating a large sink full of piping bags, tips, spatulas, and bowls filled with rock-hard royal icing (which washes away with water... after soaking). One of the best things about cookies is the colours. I love adding different colours, but the problem will always be my reluctance to do the dishes afterwards.

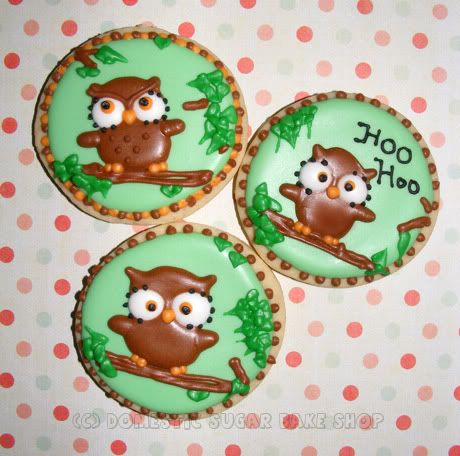
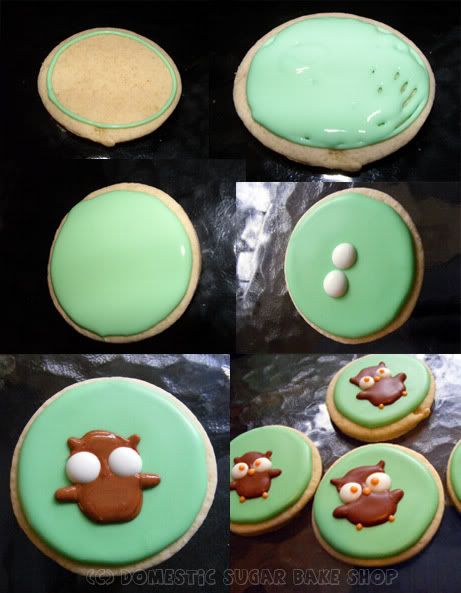
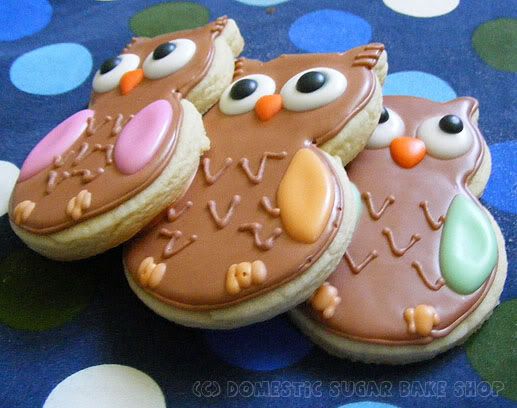
Looking up above, you will see the owls I created, one looks a little angry, but I like his crest. I keep thinking he is the daddy owl, and that those two beside him are the baby owls looking cute. I wanted to do a different kind of cookie this time, a round picture cookie, but I wanted to play with the owls as well, so I took a look through Google Images to see the different looks, and I didn't find anything of what I imagined. I instead took out a sheet of paper, and sketched out a design... then piped it together:

Of course the last thing I do is sketch in the details. Not a huge thing, but I got lazy and stopped taking pictures. You can fill in the blanks as to what came next.

How, I have had so many people asking me about my royal icing recipe, and I never know how to tell them that I don't have one, not written down anyway. I have tried to fill in recipes for this in the past, but now I just eye-ball it. I do have a formula for it, but it is loose.

Royal Icing a-la-Domestic Sugar
(Yeild... lots, enough for a few piping bags at least)

5 tbsp Meringue Powder
1/3th c water

Dissolve Meringue Powder in the water, using a blender to froth it a little. Make sure that there are no 'crystals' of the powder left... some brands are granular in texture, try to use something like Wilton - though I hate to say it - as it is a better brand). Once it is dissolved...

1tbsp flavor (or equiv. I sometimes use flavor oils as they have a wonderful full, unique flavor... in those cases, use a drop or two).
3-5 c powdered sugar/Icing sugar
extra water (1/2c ?)

This is where things become different. Because icing can have different textures, you will need to eye-ball it to make it the way you want it. I use the 3 second test. If you add and mix up your icing, and you want it to be like the owls above (thick without boarders), then mix it up and run a spatula through it; count to three or five, or give it a little shake. If the icing has flattened out and you cannot see any lines sticking up, you are golden. If you can see lines, add a few drops extra water... and if it runs flat right away, add more Powdered Sugar.

What I suggest is that you find what works for you. Many people out there who try flood cookies make very thin flood, trying to extend the life of what they have, and in truth, you will get a cookie with a boarder that is higher than the middle design. That is less attractive. Try to use a thicker flood whenever possible, that way the flood actually balances on top of the boarder line. Looking below, at the old owls, you can see that I piped a line around the cookie shape, then flooded it (rather than above where I didn't use a line at all to outline). You can see that the flood is thick, and above the line; you want that! The flood is thick and rich, it is not thin at all. Thinner Floods will dry and cave in.

Well, in truth, I am not actually sure if my recipe helps in the least. I am not scientific about the flood. I just go with whatever I like. For example, below, on the cards, I used a thick flood (No lines necessary) and a thick, stiff icing (less , way less water) to pipe the words. Icing is not an exact science, and wherever you live, be it humid or cold like here, affects the icing. Just play around with the water/sugar ratio and see what happens. If you look at one of my first cookies, you can see that they are also not well filled with icing.


Okay, this post is wordy. Maybe some of you read it though and found it helpful maybe some of you didn't. I just home that you enjoyed the pictures at very least.

I wonder what I am going to do next... hmm? Any suggestions \(°˛° ) ?

post signature

Sunday, January 1, 2012

Top 10 for 2011

Hey Everyone!

Been having a ball this break, but I am super exhausted now. Instead of baking (of which I still have tonnes), I am doing my yearly 10 for the year.

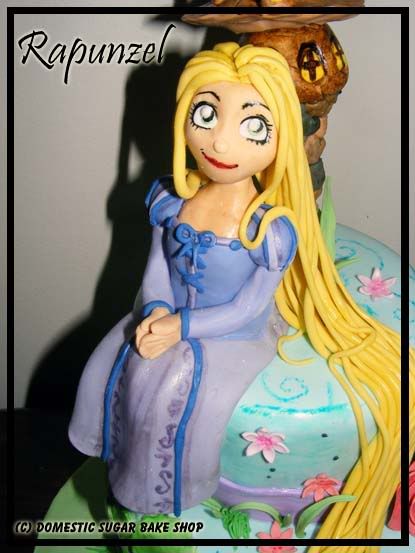
Coming in at Number one is my first Rapunzel/Tangled Cake. I love this cake. It was my first big project of the year and it was absolutely fun. I am surprised at how popular it is, and am super glad that people like it.

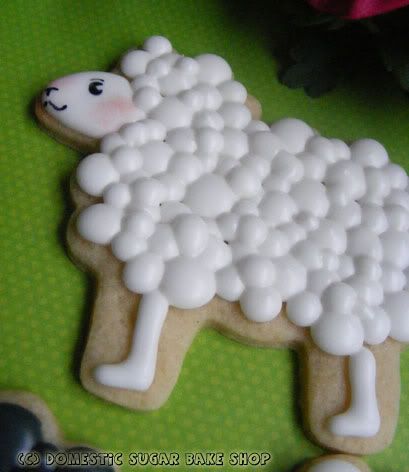
My Little Lambs made quite the stir. I love the effect of the bubbles for fluffy wool.

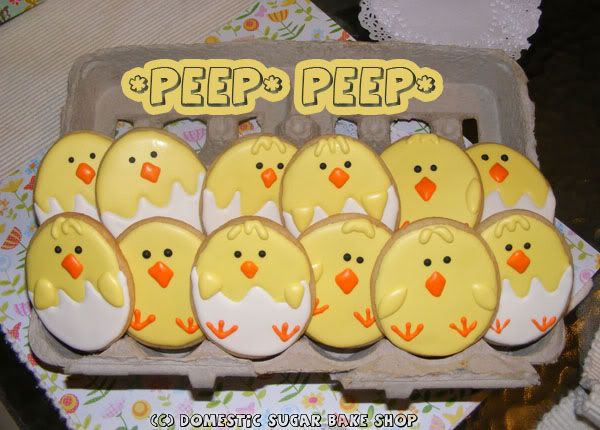
And Who does not like these little Chickies, all snuggly warm in their carton.

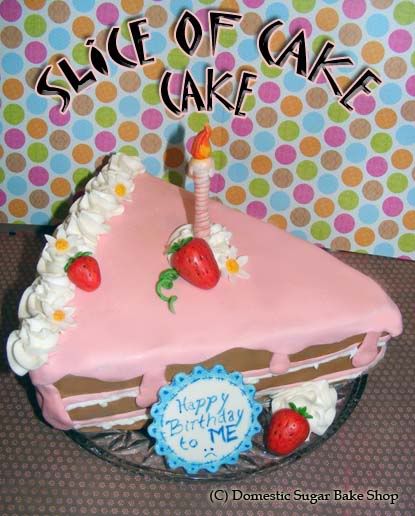
My personal favorite was actually my Birthday cake for this year past: The Slice of Cake Cake.

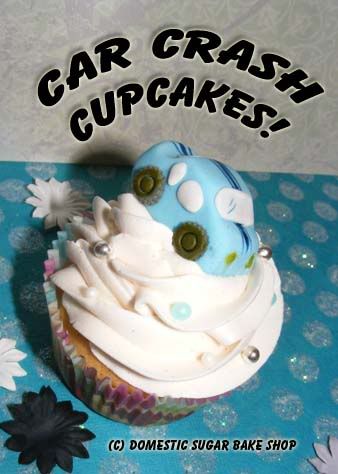
My Car Crash Cupcakes told the wonderful story about how we need to get a new car :)

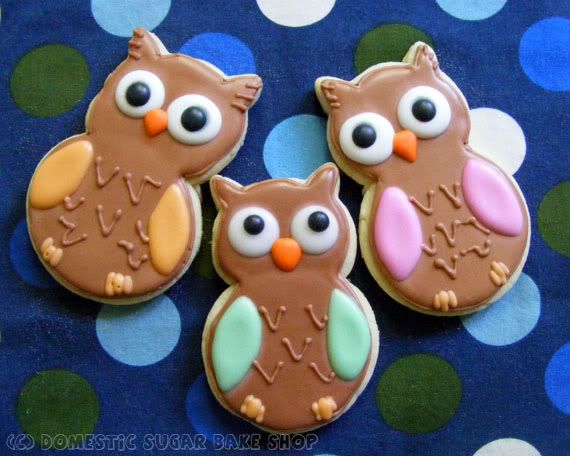
Owl cookies are super popular, and apparently, so were the Owls I made for my School's pot-luck.

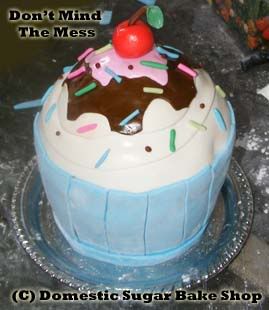
And this year, being the year of Tutorials, was a great one for my small Cupcake Cake Tutorial.

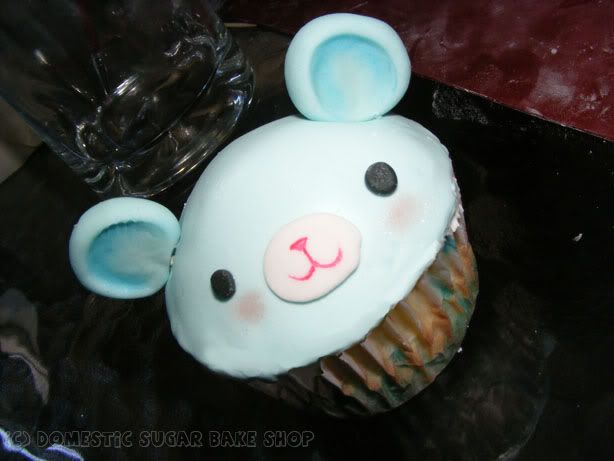
This post is a favorite: The Cuppy Bear I made for a guest tutorial. Super cute!

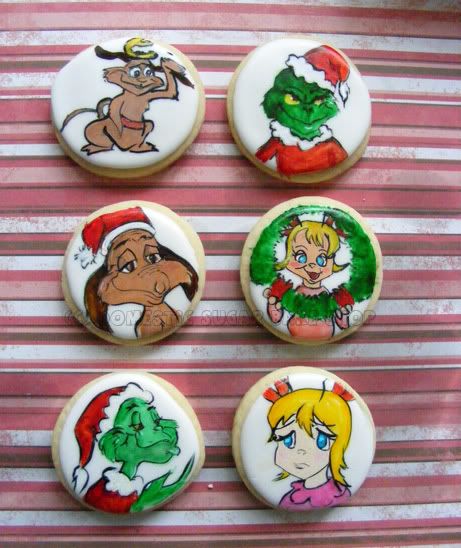
And this Year's painted Grinch Cookies was pretty awesome as well.

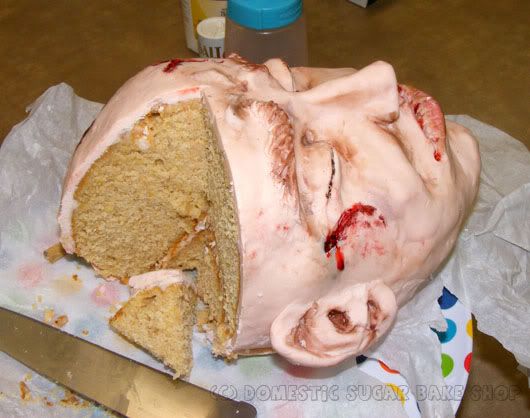
And finally, let's not forget the Uncanny Valley Head Cake, which freaked out my kids and coworkers alike.

Well, those are my 10 for 2011. What did you do this past year?

post signature