Showing posts with label Featured. Show all posts

Sunday, January 1, 2012

Top 10 for 2011

Hey Everyone!

Been having a ball this break, but I am super exhausted now. Instead of baking (of which I still have tonnes), I am doing my yearly 10 for the year.

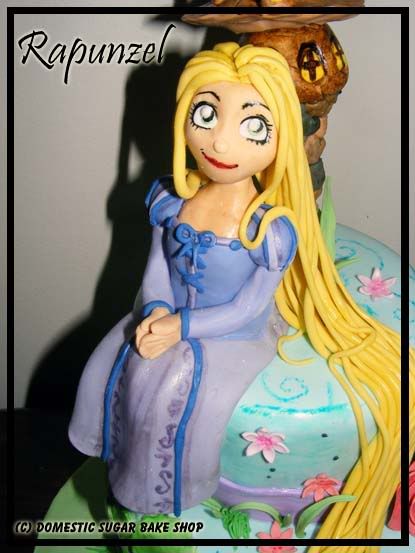
Coming in at Number one is my first Rapunzel/Tangled Cake. I love this cake. It was my first big project of the year and it was absolutely fun. I am surprised at how popular it is, and am super glad that people like it.

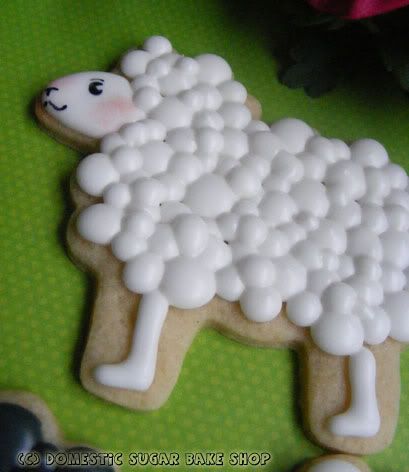
My Little Lambs made quite the stir. I love the effect of the bubbles for fluffy wool.

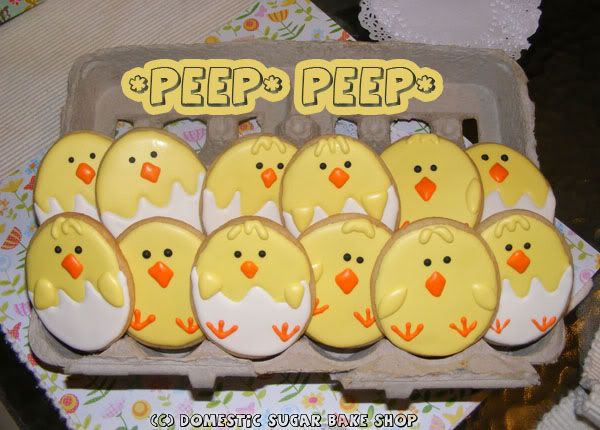
And Who does not like these little Chickies, all snuggly warm in their carton.

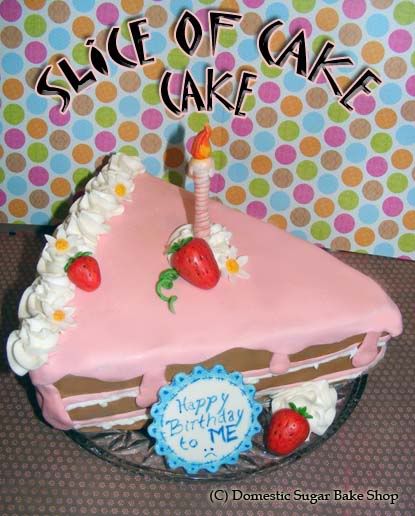
My personal favorite was actually my Birthday cake for this year past: The Slice of Cake Cake.

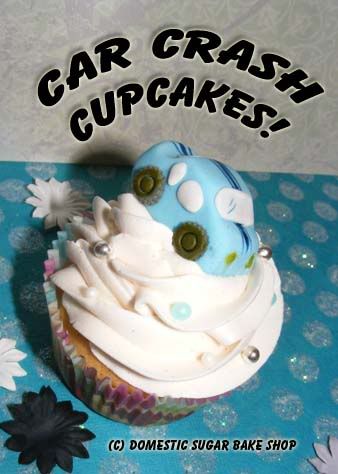
My Car Crash Cupcakes told the wonderful story about how we need to get a new car :)

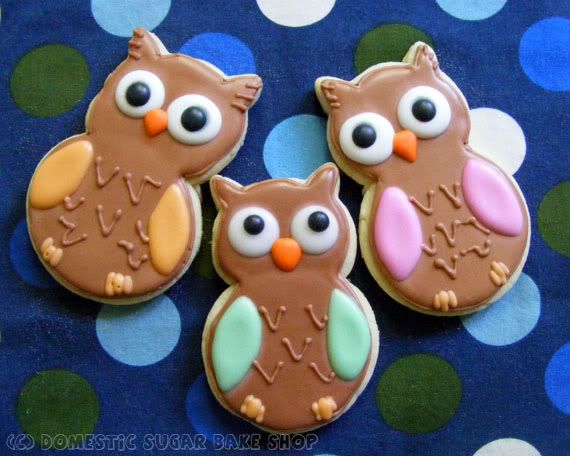
Owl cookies are super popular, and apparently, so were the Owls I made for my School's pot-luck.

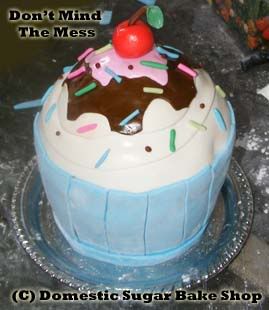
And this year, being the year of Tutorials, was a great one for my small Cupcake Cake Tutorial.

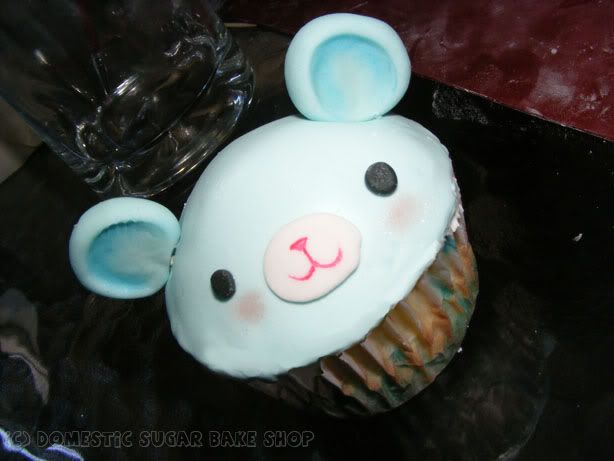
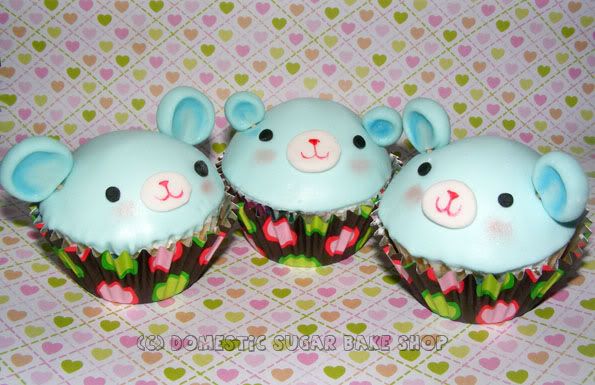
This post is a favorite: The Cuppy Bear I made for a guest tutorial. Super cute!

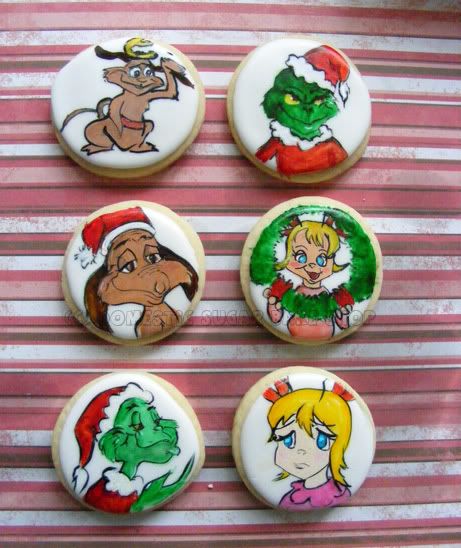
And this Year's painted Grinch Cookies was pretty awesome as well.

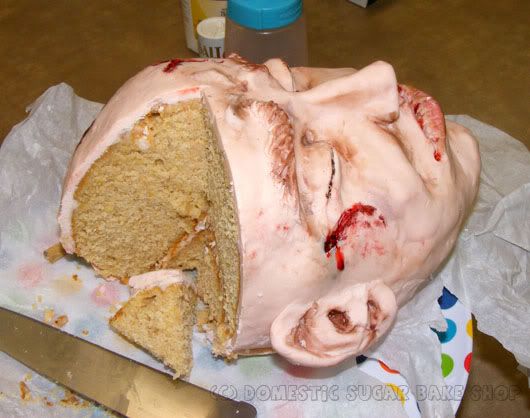
And finally, let's not forget the Uncanny Valley Head Cake, which freaked out my kids and coworkers alike.

Well, those are my 10 for 2011. What did you do this past year?

post signature

Tuesday, August 23, 2011

Guest Post @ Snips and Spice


Posted on August 23rd 2011 at the

Hello Everyone
Meghan from Domestic Sugar here!


I love creating special treats that are both beautiful and edible. I am super excited to be able to participate in Cupcake Month with all these crazy good cuppy artists! Cupcakes (hereafter known as Cuppies) are the most adorable dessert. What privileged child does not have a great memory of eating a cuppy that was super crazy delicious. I remember going to a party once, to see these MONSTER cuppies with a ring of chocolate sprinkles and a crazy beautiful sugar flower in the center.

Anyway, this is my little addition to the party. I made these cuppies for my niece and nephew whom I love super lots!
ENTER THE CUPPY-BEAR!


So, what will you need to make these cuties?
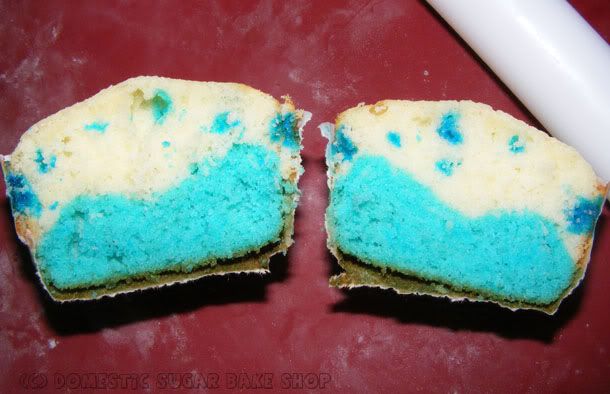
You will need to make some cuppies. Since these are cuppy-bears and they are blue, and it is raining (three reasons), I made some rainy insides:


To make the rain puddle insides, follow these directions, or just skip ahead to the Cuppy-bear part.

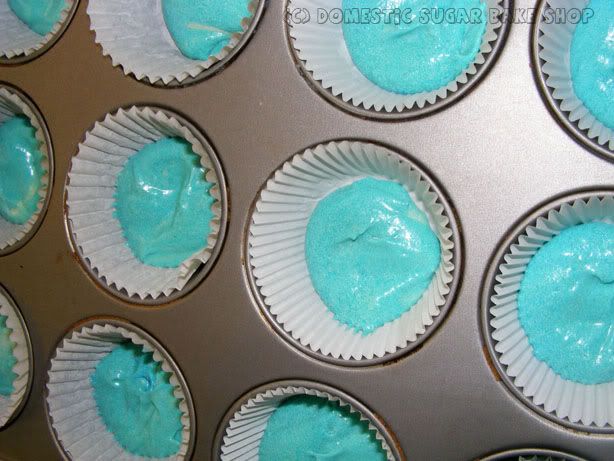
First, make a batch of your favorite Vanilla / White cake. It does not matter if it is from a box or from scratch. Take about One Cup of the mix out and dye it blue, leave the rest white. You will also need some Blue Jimmies (sprinkles) but I'll show you why in a bit.


In your cuppy liners, fill the bottom 1/4 with the blue and spread it all about the bottom so as to cover it.


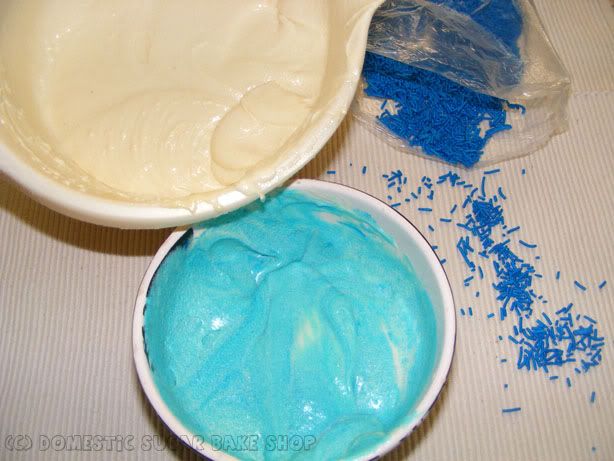
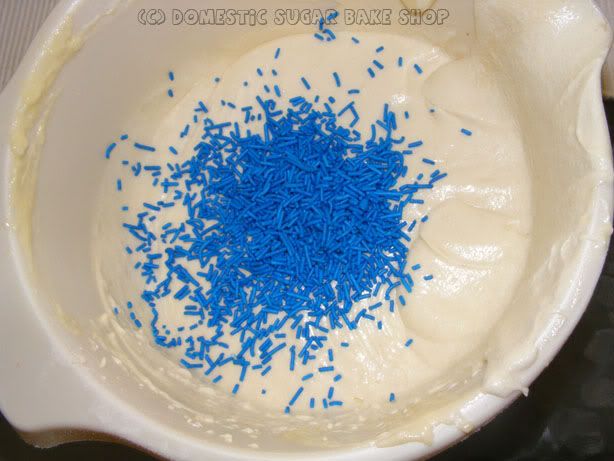
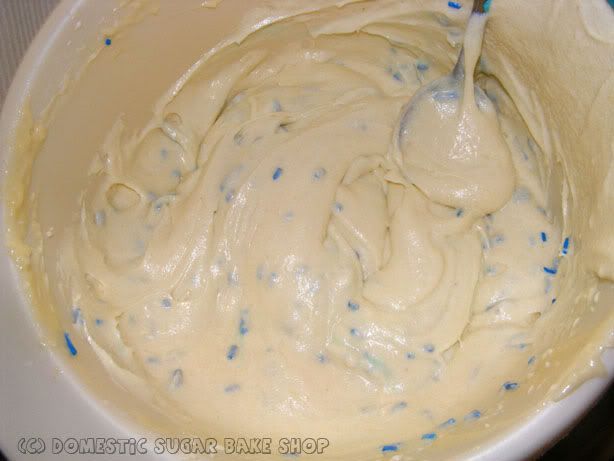
Now, go back to the white mix, and take about 1/3c of Jimmies and add it in. Stir lightly. Jimmies can bleed a little if over-mixed, so make sure you only stir enough to mix in.


Like so:


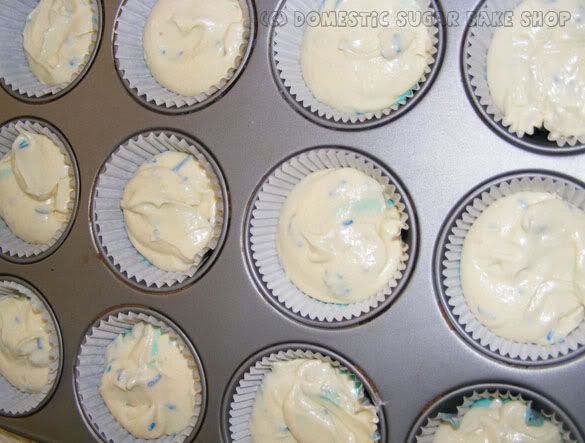
Now, fill the wrappers on top of the blue (3/4 to the top), and bake 'em as usual.


While those are baking, go to the decorating phase.
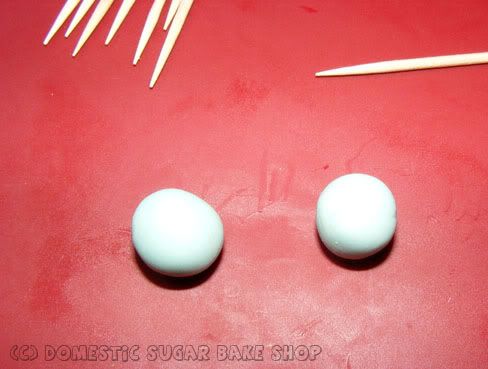
Take some gum-paste (any colour) and roll them into small balls. Try to keep them about the same size and not too big. These will make the ears of the bear.


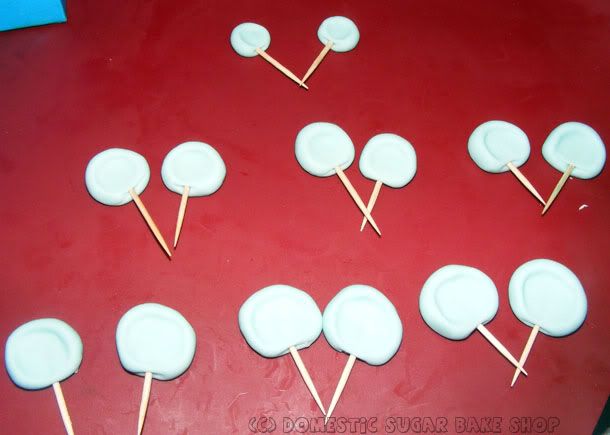
To make good ears, poke toothpicks into the bottom of the cuppy and then squash the center of the ear down with your finger. This will indent the ear, flatten it, and set the toothpick in.


Sets of Ears? CHECK!
Let those dry while the cuppies bake/while you get fondant and icing ready.

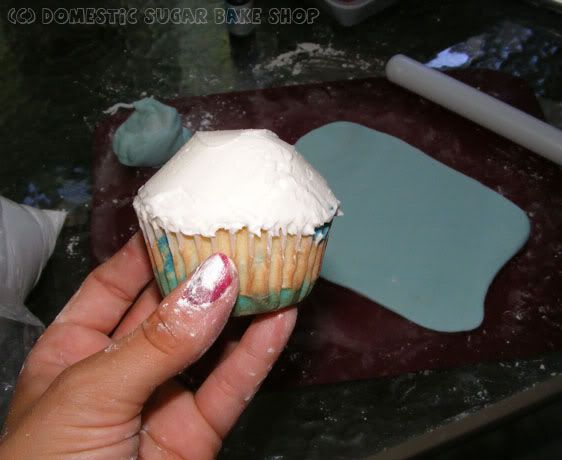
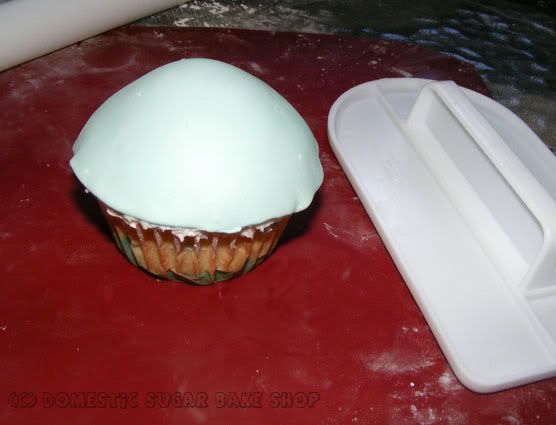
When the cuppies are done, and cool. Take your icing (whatever you choose), and using a butterknife, create a dome on the top! Make it as smooth as possible.


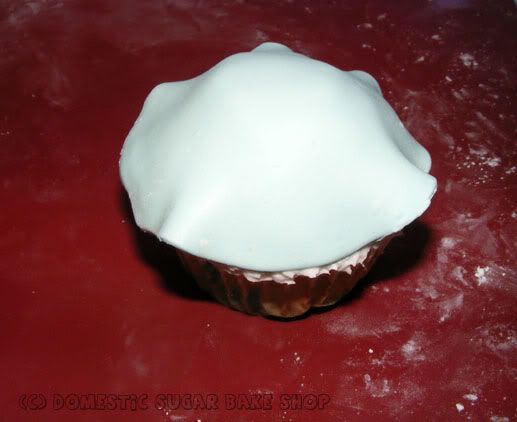
Now, roll out your fondant, and using a large circle-cookie-cutter, cut a circle of fondant. Lay the fondant on the the cuppy and begin to smooth it out.


I like to use a fondant smoother. Get them as smooth as possible and then fold down the edges (not shown).


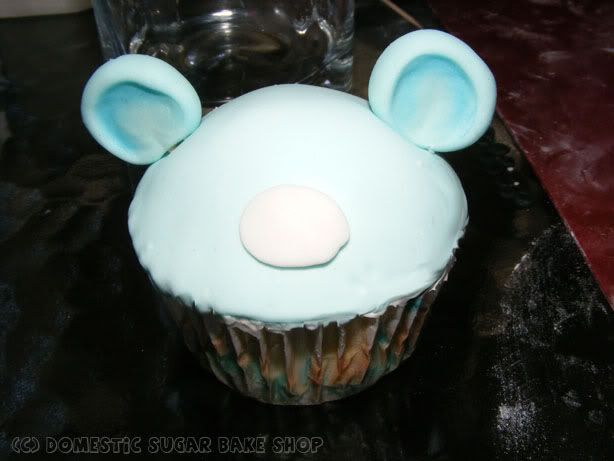
Now, pick in the ears:


Then using bits of gumpaste or fondant, roll out a middle oval for the nose. Secure it with a little water:


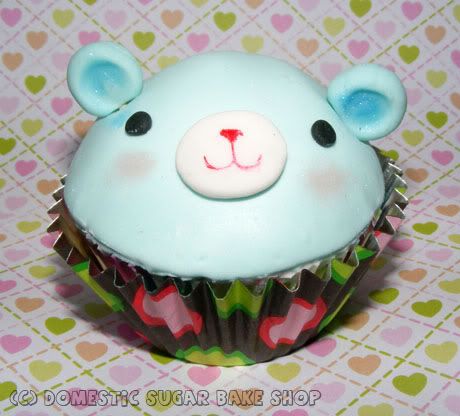
Next, with extra fondant or gumpaste, add on eyes. You could also just draw on the eyes.


Finally, add on the smile with a little foodcolor and water. I paint it on with a paint brush. If you have food-grade luster dust, you can even give the bear rosy cheeks and shade in the ears.

SHE'S ALL DONE. Man, that was easy right?


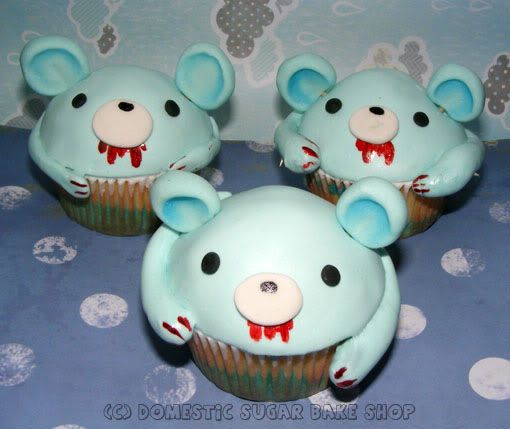
This idea could be used for other things, like a GLOOMY-BEAR FOR EXAMPLE:


I know, Gloomy Bear is supposed to be Pink.... Oh well! I just wanted to play.
If you wish to add in arms, just roll out some extra fondant or gumpaste and glue it down with dabs of water.


And now you know how to make an awesome Cuppy-Bear (or an even more rocking GLOOMY CUPPY-BEAR).

I hoped you all enjoyed the Tutorial. To see more, check out the blog:
Http://domesticsugar.blogspot.com
or
Google: DOMESTIC SUGAR BAKE SHOP


I hope you all enjoyed the LONG tutorial as much as I did making it.
Until then!
Friday, October 1, 2010

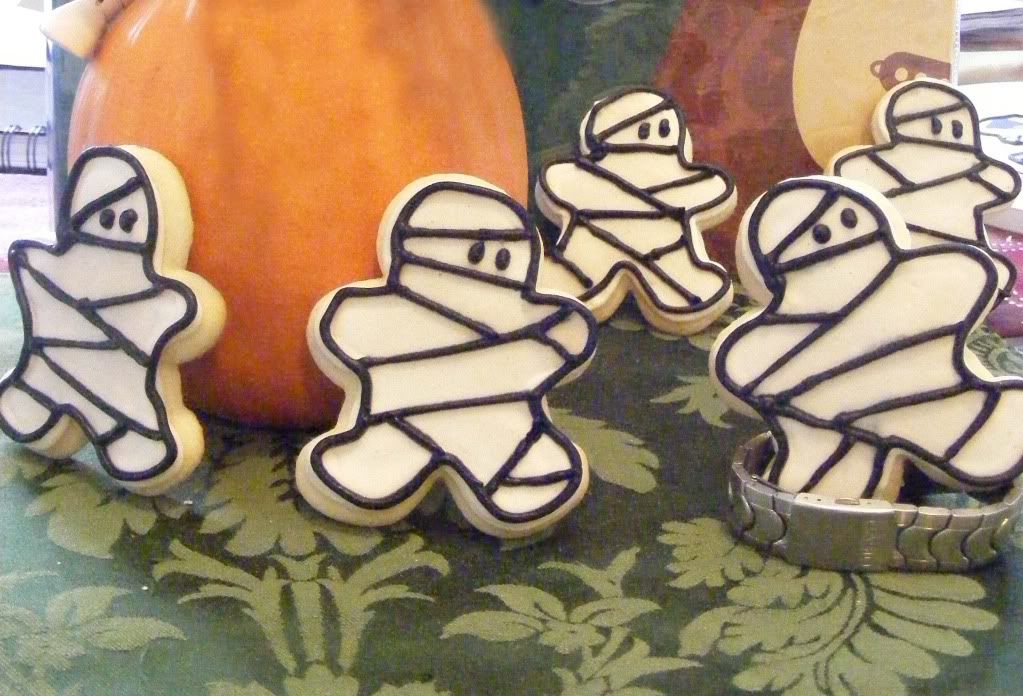
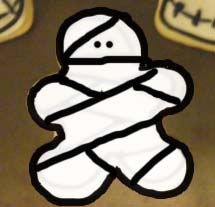
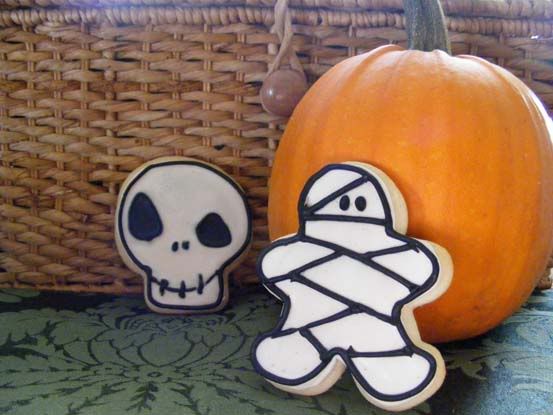
Mummy cookie featured on Pink Little Cake

Meghan of Domestic Sugar.

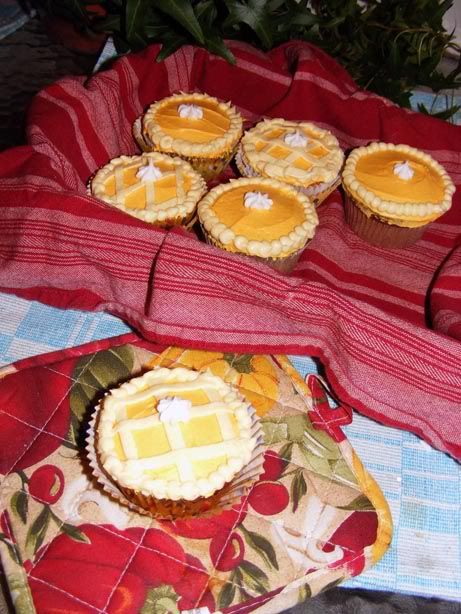
Meghan's Pumpkin cupcakes were just featured on "Cupcakes take the Cake", they look absolutely delicious. I totally love the fact that on her blog she describe herself as "teacher by day, baker by night", just like me, except that I'm not a teacher, just a night baker. Please if you haven't stop by her blog, do so, you will find the most delicious treats there.

This is Meghan...


Meghan from Domestic Sugar here! Today's post is all about Mummies - and not the type you want hug! This cookie was the first decorated cookie I ever made, and has since become a favorite! It's simplicity and cute-osity continues to make it a yearly favorite in my home. I am super excited to be here to tell you the process to make this easy, cute, fun Halloween cookie!

(RAWR! - Mummy cookies begin their take over march across the table)

To start, I take a simple gingerbread man cookie cutter (there are many different types, choose the one you like best). I roll out my cookie dough, cut out the shape, bake and let cool. For the cookie dough, I like to use Gingerbread. I don't know what it is about fall and Halloween, but you need to have more spice than sugar:

Domestic Sugar Gingerbread Cookies:

1/2 c butter/margarine 1/2 c sugar
1/2 cup molasses 1 large egg yolk
2 cups sifted flour 1/2 tsp salt
1/2 tsp baking powder 1/2 tsp baking soda
1 tbsp cinnamon 1 tsp ground cloves
1 tsp ginger 1/2 tsp nutmeg

Baking Instructions:

1. Cream butter and sugar until smooth. Stir in molasses and egg yolk.

2. In separate bowl, mix dry ingredients: flour, salt, baking powder and soda, cinnamon, cloves, ginger and nutmeg.

3. Slowly incorporate ingredients, blending in molasses as you add. Mix until smooth (and fragrant).

Chill at least 1 hour (or overnight)
Roll dough about 2 inches thick, cut with cutter, place on baking sheet, then chill for 3 min in the freezer before baking.
Bake at 350 degrees for 8-10 min.


For my cutter, I like the rounded gingerbread man. I find that it is easy to work with.You can buy it from WalMart if you want this exact cutter. It's pretty common.

Using maple-flavor royal icing (replace vanilla with maple extract - it will make the cookie slightly less white, but the difference is minimal), create two colours, white and black. Both will need a thick piping icing.

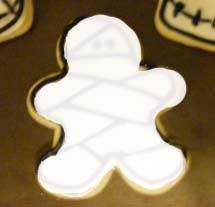
First, outline in white, then flood in white so the whole cookie is put white and covered though.
Let dry for 2 hours.


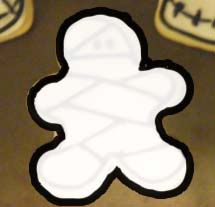
Next, take the black outline icing and trace around the outside of the cookie.


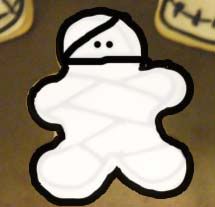
Next, create a side-ways V shape in the head, and add the eyes.


Finally, paint lines in black across the body of the mummy to show off his bandages.


The final cookie is far from evil, but may just take over your home and your heart! Hopefully he will help you catch the fever for cookie decorating!


Happy Halloween Everyone!

post signature

Saturday, September 25, 2010

Recipe Post: Pumpkin Cupcakes and Maple Cream-Cheese Frosting

I got featured on Cupcake Takes the Cake... SQUEE! How exciting!

Had some people ask for the recipe, so, here it is! It's honestly so delicious!

Pumpkin Cupcakes

From Martha Stuart Online

  • 2 cups all-purpose flour
  • 1 teaspoon baking soda
  • 1 teaspoon baking powder
  • 1 teaspoon coarse salt
  • 1 teaspoon ground cinnamon
  • 1 teaspoon ground ginger
  • 1/4 teaspoon freshly grated nutmeg
  • 1/4 teaspoon ground allspice
  • 1 cup packed light-brown sugar
  • 1 cup granulated sugar
  • 1 cup (2 sticks) unsalted butter, melted and cooled
  • 4 large eggs, lightly beaten
  • 1 can (15 ounces) pumpkin puree

Directions

  1. Preheat oven to 350 degrees. Line cupcake pans with paper liners; set aside. In a medium bowl, whisk together flour, baking soda, baking powder, salt, cinnamon, ginger, nutmeg, and allspice; set aside.
  2. In a large bowl, whisk together, brown sugar, granulated sugar, butter, and eggs. Add dry ingredients, and whisk until smooth. Whisk in pumpkin puree.
  3. Divide batter evenly among liners, filling each about halfway. Bake until tops spring back when touched, and a cake tester inserted in the center comes out clean, 20 to 25 minutes, rotating pans once if needed. Transfer to a wire rack; let cool completely. (Makes 18-20 cupcakes)

Maple Cream Cheese Buttercream:

1/2 c cream cheese
1 1/2 c shortening
3 oz real maple syrup
4 oz heavy cream
8 cups sifted powdered sugar

1. Cream cheese and shortening.
2. Alternate adding cream/maple/sugar
3. Whip until smooth.

To make the Pie look like Pie, I simply used an orange icing, smoothed with a knife, then using a piping bag of lightened icing (about the colour of pie crust), I piped on a trellis cross-cut, then using a rounded tip, piped on the border. Finally, using white icing, I piped a dollop of 'whipped cream' in the center. PIE! YAY!

Happy Baking!

post signature