Showing posts with label Girlish. Show all posts

Tuesday, October 22, 2013

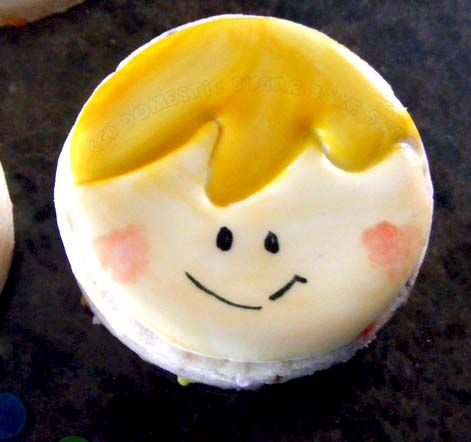
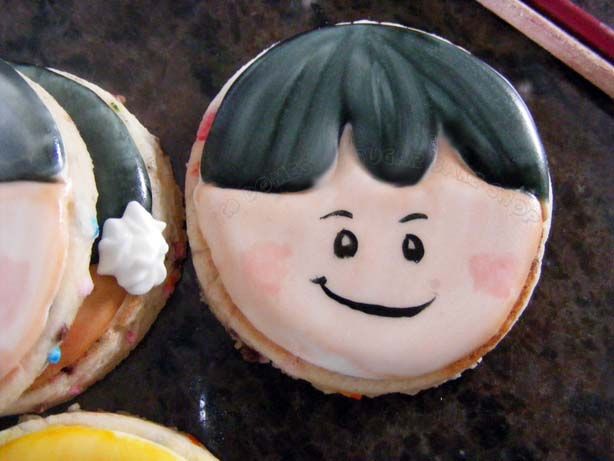
Lazy Dayz - Painted Face cookies

I felt a little lazy, but still wanted to have some cookies. So I painted faces onto the white-based flood cookies. Kinda cute actually :)


 post signature


Saturday, April 13, 2013

A Hard Lesson to Learn

This past month I learned a hard lesson. DON'T EVER FORGET YOUR CAMERA!

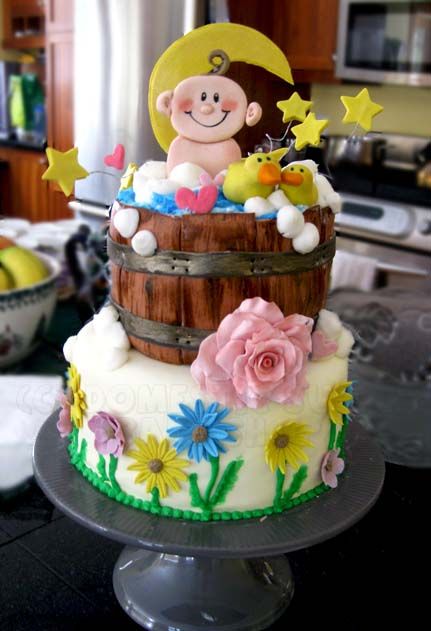
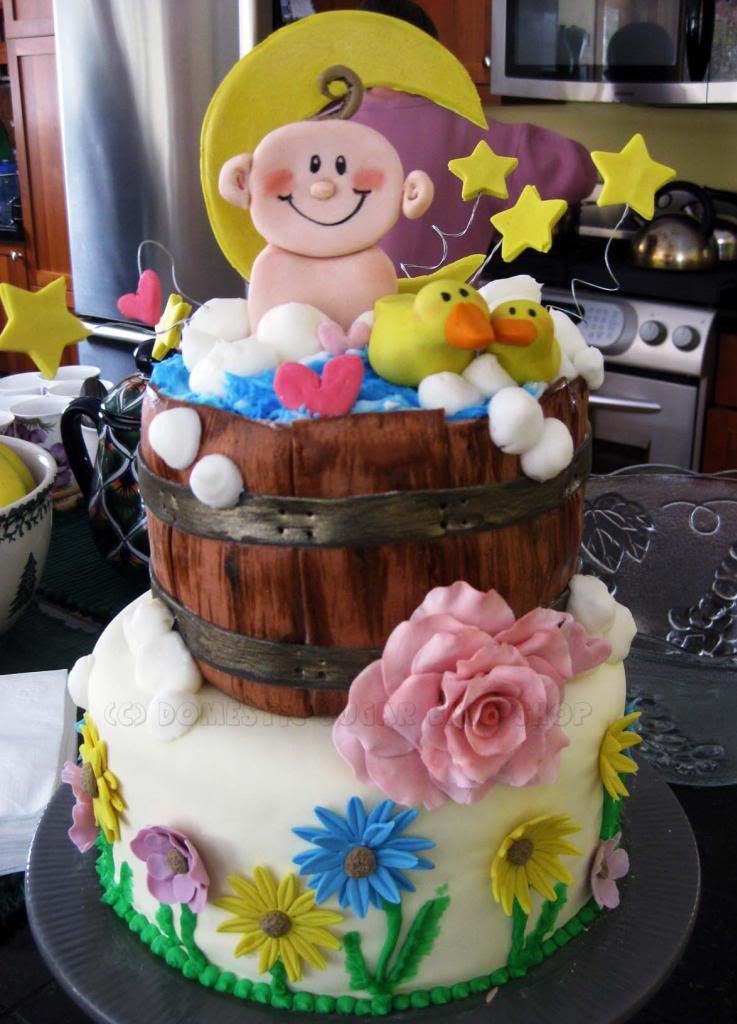
My friend, who recently had a baby, threw a wonderful baby shower. Of course, I insisted on bringing the cake! I stayed up all night making a gorgeous shower cake, complete with baby-pink-zebera stripes inside! I was thrilled with the final product and brought it to my friend's house, set it up and went for my camera.... not there.
I checked in my car, not there either....
I looked again in my supply bag.... not there.

Realizing I had made the most horrid mistake of forgetting my camera at a baby shower (where I still had not taken a photo of the cake), I began to ask around for a camera. Surely someone would have brought one. NOPE! The proud momma didn't... the proud papa didn't, and neither did the new grandma. WHAT IS GOING ON?!

In a panic, I began to wonder what to do. My only option was to find a camera. One of my friend's friends (who traveled from Winnipeg) offered hers, and I proceeded to take many lovely photos of the various parts of the cake, making sure to check balance and colour... her camera was awesome! Long story short, she never sent me the pictures.

In a scramble, my friend and I were able to come up with a few photos. I got lucky! Let that be a lesson to me! Don't forget your camera!!!!

So the cake:
Vanilla Fluff cake with pink-zebra patterned insides and pink vanilla buttercream. 


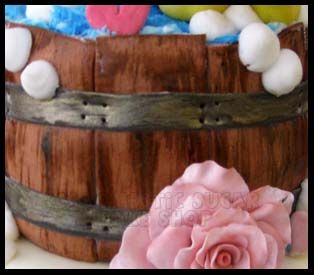
Though it is not the best photo, the barrel for the baby bath was awesome! I individually cut each 'panel' of the barrel and pock-marked the fondant , then brushed on the wood grain. I added a strip of black fondant, then added in the 'screws'. This photo, of course, does not do it justice!


And of course, the baby in the bath is playing with her duckies. The water was awesome! stiff buttercream to make it look like moving bath water, and buttercream bubbles!


I now know that I need to be more cautious in the future! I am more upset that I got no good photos of baby Bea, who slept on my lap the entire shower!


post signature

Sunday, April 7, 2013

Fifty Shades of Chocolate Cake

Okay... have you read the books?
The hype of the Fifty Shades series had a lot of women (and secretly, men) whispering in dark corners. The story of how a normal female reporter gets swept into a dark secret world of passion captured audiences around the world.

Now, I read the series, and was not at all embarrassed to admit it... and I thought, while not well written, to be fun and entertaining (she says about a 'dirty book).


I know of at least one person who refused to read the books on anything but a Kobo for fear of being caught reading 'dirty books.' How dirty can a series be if seemingly the whole world is speaking about it? How can people, knowing that many of their friends have read it, be ashamed of reading the series? This paradox had me chuckling. Of course a book with this hype would certainly garner more readers. Additionally, the movie, set to come out some time in the future, released the name of Christian as Ryan Gosling (really?).


Fun Fact: Did you know that the Fifty Shades series started out as a Twilight fan fiction story (using Bella and Edward as the characters Anna and Christian)? Hmmm.... try to imagine the story now? It seems strange to me!


Okay, so this post has been less about the cake above, and more about the thoughts on the book/movie. Sorry... it is just that when I think about the book, I find it hard to picture a movie being made of it. The subject matter would make the movie too risque to put into theaters, meaning they will have to dull it down, which I think defeats all the fun of the books. I mean, we are talking about a book made to entertain adult audiences with its different content (not at all like a Harlequin Romance book).


But who would not like to see the embodiment of Christian Grey swooning over Anastasia? Really? Super fun (and completely superficial) story-lines are super fun to read/watch... or will it be? Can they actually take the content of the book (beyond the crazy romance which is quite messed up) and make it into a good story? (Wow, I am using a lot of brackets today!)


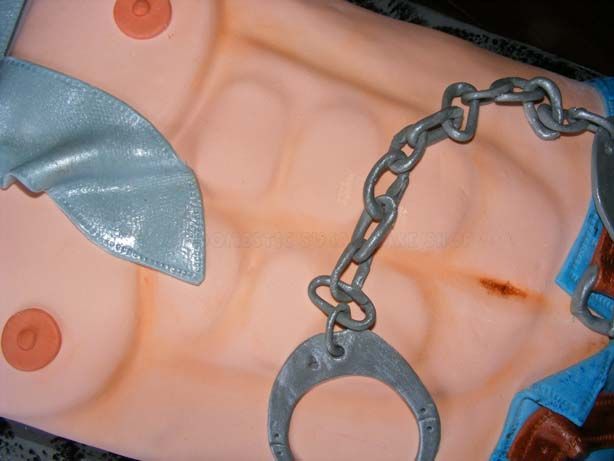
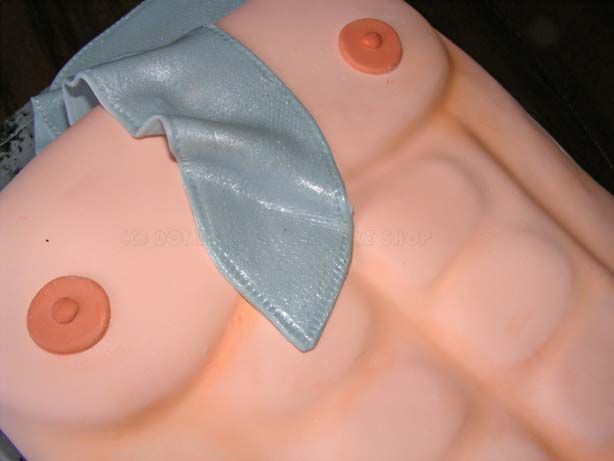
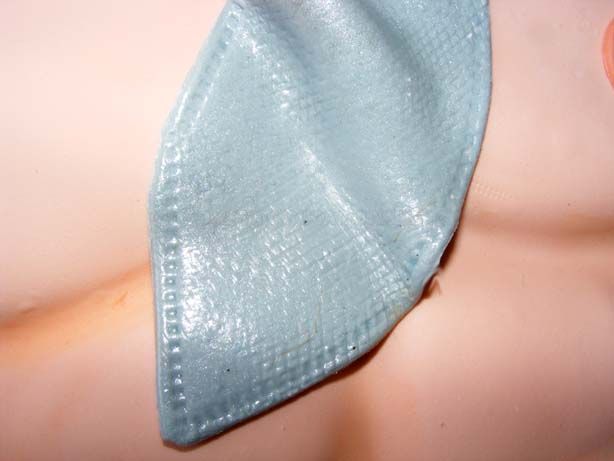
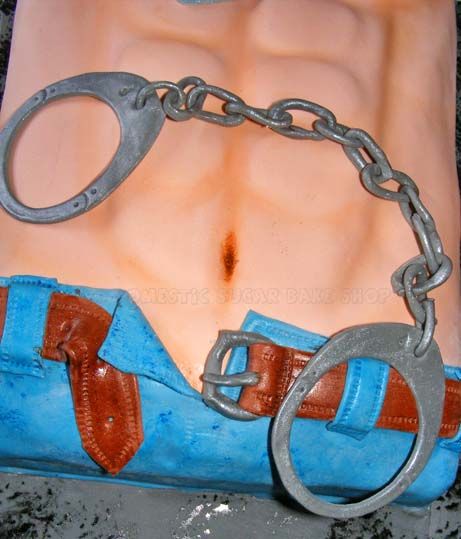
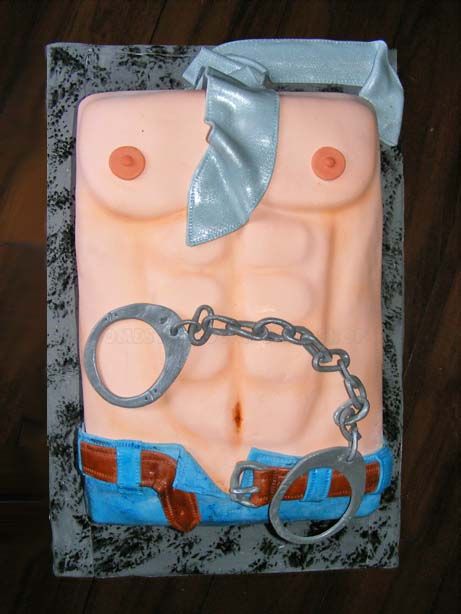
 Anyway... here it was, a chocolate fudge cake with chocolate fudge icing, topped with MMF, decorated to look like Christian Grey's lovely chest! Made as a Bachelorette cake. Hope you enjoyed the rant :)


post signature

Sunday, March 3, 2013

Cookies... an experience

 Lately, as you may have noticed, my creative cookies juices have not flowed. I have had no interest or inspiration in terms of creating decorated cookies. Maybe because of my icing woes (getting the icing to flow thought the tip without interruption... or maybe it's because I've been lazy (most likely option). Either way, cookies have not been given their due.

So when LilaLoa decided to have a cookie photo challenge, I thought... this is my excuse! So, here I am with a cookie update. I decided to try something completely different in terms of cookie decorating. I have been known to paint on cookies, but mostly elaborate designs. I decided to try this with a more simple design...


My challenge was to go out in the winter weather, braving cold temperatures, and adding the sparkly balls just popped the colours.


So, overall I would say that painting a whole cookie is not as fun as decorating the whole cookie. I had done one more cookie pattern, but am going to save that one for later. I do like the lighting outside! Maybe when the weather is warmer, I shall endeavor do more frequently take my photos outside!

post signature

Sunday, January 6, 2013

New Year's Resolution - A Pin-up

I think New Year's resolutions are silly. The ideas is solid! Choose something that you want to change in yourself or in your life, and make a strong effort to achieve that goal using the start of a new year as an excuse for a fresh start. You can... live better, eat clean, work harder, gain some kind of fame... etc.

The trouble is every year, millions of people make the same resolution... lose weight.
Ah YES! The infamous weight loss goal. The thing that is the hardest to do, and yet, the one that makes us feel better, Silly as it is.

Yet... every year, I make it my goal! I want to look good!


That is not to say that every year I vow to loose 20 pounds (which is hard.....), but I do try to do something... work on my Yoga skills, or try to get a 4-pack (not a 6.... I don't like the look), lift a heavier weight set. But every year it is something 'fitness' related.  Let's face it.... we all want the same thing (maybe?).

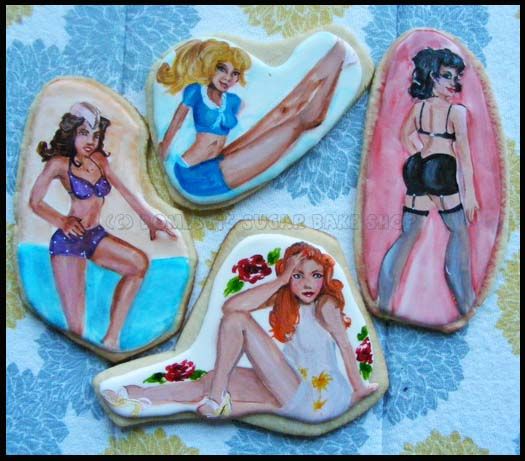
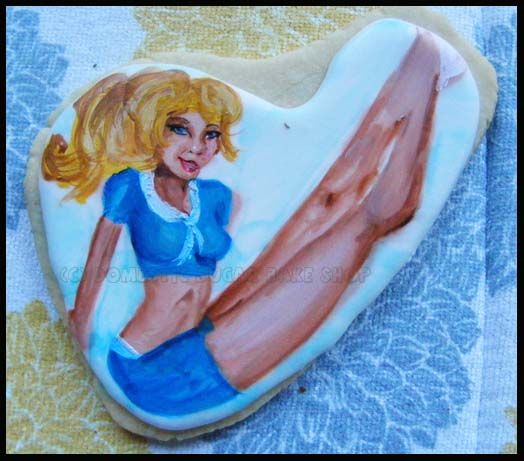
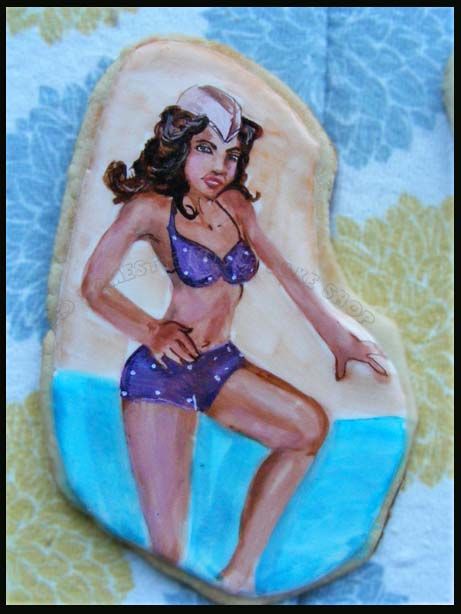
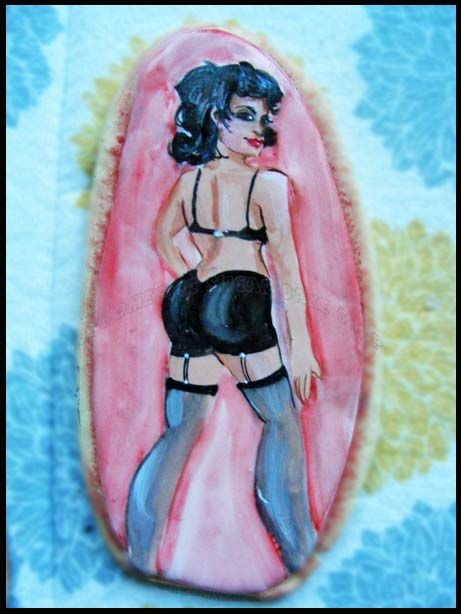
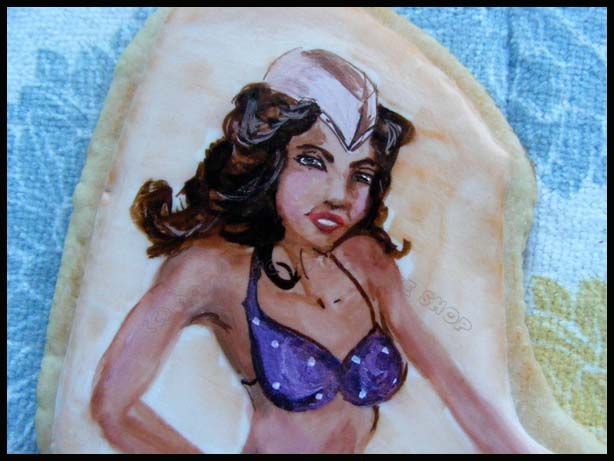
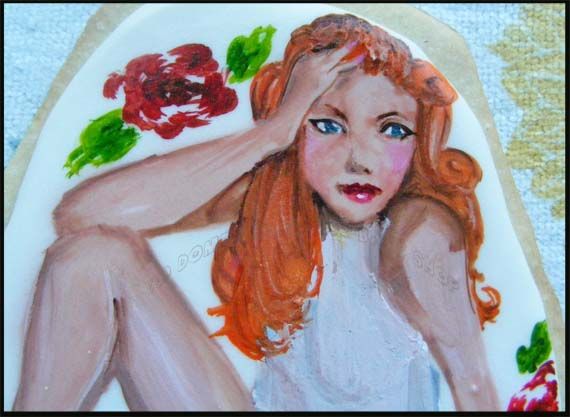
So, inspired by this double-edged sword of a resolution, I resolved to make pin-up cookies!

Blonde: Fun-loving


Brunette: Practical and hard-working


 Red-Head: Sexy and flirty


 Raven-Haired: Adventurous


But is weight loss a silly resolution? Sometimes people just need an excuse to get off the couch! The best way to set the goal is to have a goal at the end. Try to avoid the pitfall of a scale.Weight fluctuates, and muscle does weigh more than fat!

I like goals of time commitments (waking earlier to do an exercise - which is only hard until your body gets used to the routine), or a flexibility component, which takes time and practice. I am stubborn, and so should anyone be who has a resolution they want badly to achieve! And so far, beyond an injury I have, I have obtained my Resolutions!

The truth is, whatever your resolution, just be sure to stay true to yourself. Change is never easy. Over the last  10 years, I have discovered that no matter what I resolve to change or to work at, I must always remain true to myself.

So, whatever your personality or goals, I wish you luck!


Oh! I almost forgot!

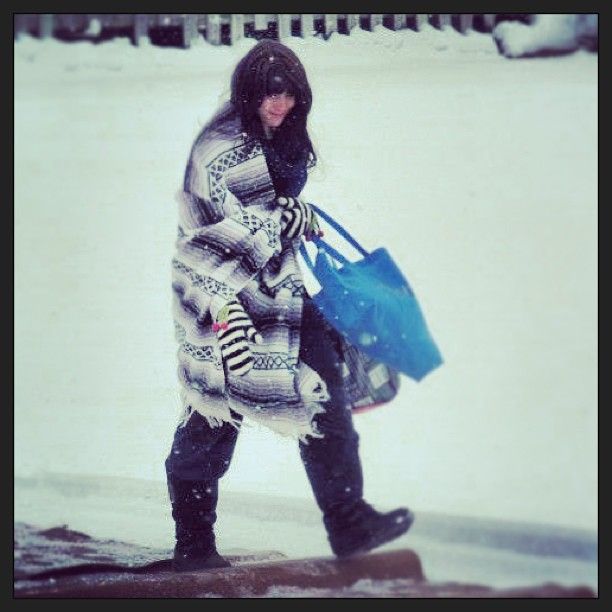
As always, our town's annual Polar Plunge was going on.... And as always, My adventurous spirit was the perfect excuse to take the walk....


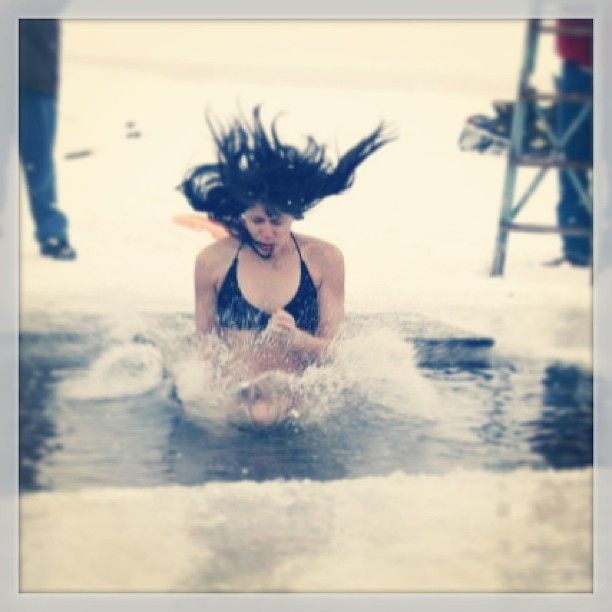
 Then the plunge!


 This year, the water was not as cold as previous years (or maybe it does not phase me as much)! But certainly, jumping into a hole cut in the ice is never an easy task. What a refreshing way to start the year!

Happy New Year everyone!

post signature

Sunday, December 2, 2012

A Sugar FLower Spread

HUZZAH! Baking in my new home has been wonderful!

In my last post, I showed you some pretty sugar cherry blossoms I had been working on...


Well, those flowers went to a cake I was making... One for my grandmother's 90th birthday party. The party was held in my home town, four hours away, so I had a lot of transportation woes... but ultimately, the cake turned out okay, for not having all my tools and tricks available.


Since I had to do a four hour commute for the celebration (YAY, grandma is totally worth it), I decided to pre-bake all cakes and cupcakes (a total of 90 of them), at home, then transport them and assemble everything at the church. Luckily for me the church had a lot of items at my disposal, and the ladies were super nice in helping me find all my gear. I had so many people watching me put it all together, which was funny, but I enjoyed it :) I don't usually get people interested in my caking.. my husband certainly finds it boring.  


I did all the sugar flowers at home too... I made two large stargazer lilies, one orchid, several cherry blossoms and about 30 blue flowers (bluebells?)... which are so tiny they just act as filler. The cake was gorgeous! As I have said before, my camera is no-go until my computer is up, but luckily my aunt had hers!


So, with only a few cupcakes at a time, we decorated the table.... The whole room was filled with cupcake-style decorations... including cupcake confetti!!! I ABSOLUTELY had so much fun running around with confetti screaming SPARKLE SPARKLE!!! My husband, who is used to such outbursts, just laughed, while my family looked a little confused... SPARKLES ARE AWESOME!!


 My next thing to do on my list is to put up my Christmas tree and to make my house all sparkly! I am guessing that will wait until next week, as my tummy is a little unhappy at the moment. Still, it was a great weekend!
Cheers all!
post signature

Sunday, October 14, 2012

Princess and the Popstar Cake

Well, as you may have noticed, posts are becoming fewer and far between. My apologies! I'm close to moving into my new home, and have packed most of my baking gear. I am officially 17 days from moving!

I did, however, manage to get some time to bake one last cake before the move. This cake was actually baked last weekend, but I've been too busy to post it up:


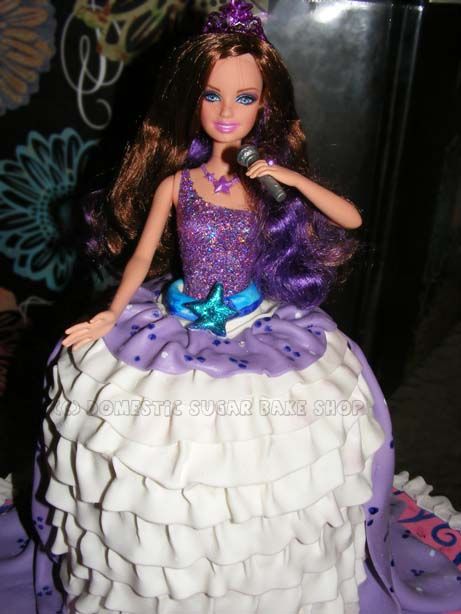
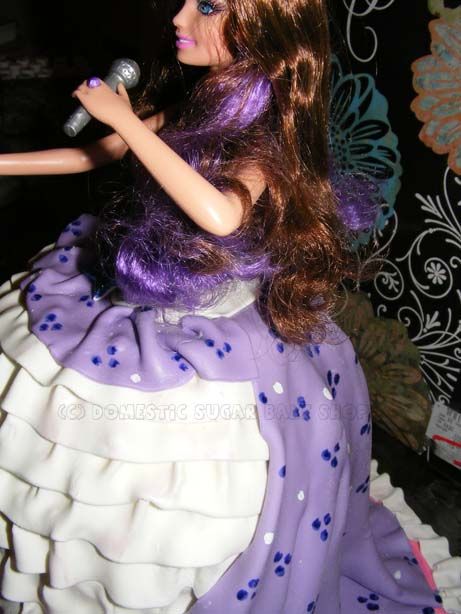
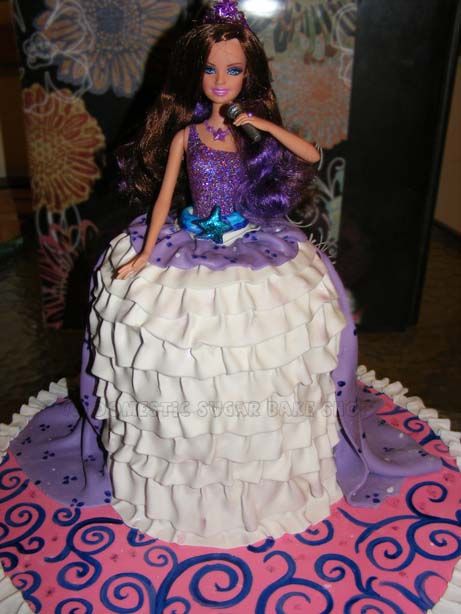
This cake is for Barbie: The Princess and the Popstar movie. The family requested something with sparkles, purple and pink. Well, what is Barbie about if not sparkles, purple and pink?! I tried to model the dress from the movie, but of course, it stops at the knees, so this is a longer version of it.


You may well remember my last Barbie Cake and the subsequent Tutorial... I did much the same thing, but this 'dress' is a little puffier and has ruffles! I painted a little dotted pattern on the dress, which is MMF.

Question Insert::: How do you get the dress off of the doll?

You want the short answer? You cut it off. This may seem like a horrible idea, but it is not. The doll itself has a dress that is not removable! That is the bottom line. The dress at the back has a small attachment (I believe this one was to a star). You need to take an exacto-knife and make a small slit up that hold, then will have to sew the dress later (when you give the doll for a gift) up with a snap-clip (a snapping button). While it seems crazy to buy a doll to cut up, little girls will want to play dress-up with the dolls, and removing and repairning the dress makes that possible. After the cake is done, and the doll is cleaned, you can re-attach the dress by buttoning it around that star. It will also make a cute gift to give the dress in a small gift-package on the side :)
Hope that is helpful.


Okay, I hope that I can at least have one last cake before Halloween (our move-in date). I want to at least do my classic Halloween Head cake before it's time to move. We'll see though. Until then, thank you so much for all of your support! I am honored to see Domestic Sugar grow!


post signature

Monday, August 13, 2012

Tutorial: Butterfly Cake Topper

 Hey! Me again!

For my cakes, I like to add small details which add height and sparkle, so my Sugar Butterflies have become a hit! Here's a tutorial on how to make your own Sugar Butterflies:


As in all my tutorials, I try to keep the materials simple. In the tutorial I use a ball tool and a foam mat to ruffle the edges of my butterfly; you can skip this step and just do a flat butterfly! As always, work with what you have! You can substitute the ball tool for a toothpick and  roll the edges of the toothpick on the butterfly's wings.....

What you need:


  1. Sugarpaste/Gumpaste
  2. Butterfly Cookie Cutter
  3. Rolling Pin
  4. Ball tool (optional)
  5. Foam Mat (optional)
  6. Dowel
  7. Food Color (gel kind like Americolor)
  8. Water
  9. Paintbrush


Step 1:


Roll out the gumpaste. You will want it to be fairly thin, maybe 2mm thick or so. Using your favorite butterfly cutter,  cut out the shape of the butterfly.

Step 2:


Using a ball tool, thin out the edges of your butterfly's wings to give the wings that whimsical look. I try to spread the butterfly's wings, and leave the body thick. This will be important when you dowel your butterfly.


As you can see, the spread butterfly is larger than the cutter. This is important! Your butterfly should be wider and longer than the original cut out for when you have to put the backing on him.

Step 3:


Now, take your thin dowel and lay it down the center of the butterfly's body on the underside. Allow the butterflies to dry in this way (Overnight, or 8hours)

Step 4:


When your butterfly is nice and hard, carefully remove him and put it upside down. Roll our another butterfly to be the backing. To secure him, simply add a little water to the backside of your butterfly, then apply. Again, allow time to dry. I try to make sure the 'head' of the butterfly is sealed well, and make sure the dowel does not poke through the top of the piece. By creating a dome on the top, the stick will have something more to keep it in place.

Antenna: At this time, you can choose to place antenna into the butterfly. Simply use a floral stamen (optional, found at a craft store) in the top between the two layers. When it dries, they will be secure.

Step 5:


Now for the sun part: DECORATING! Taking your gel paste food color, water it down, and paint the edges and body of the butterfly. Keep in mind that the as the butterfly dries, the shininess of the 'paint' will dull. No worries!

Step 6:


Depending on your pattern, you can paint the inside any way you wish. For this one, I decided to make a Monarch butterfly, so I painted the 'cell' veins through the body. Once the black is done, allow time to dry (10 min?).

Step 7:


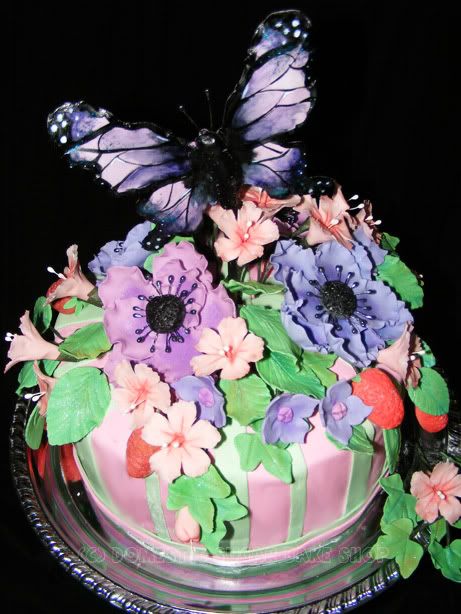
Now, when the black color is dry (this is tacky, as you can see), paint in the color. You can choose to fill all the cells, or just one or two for a stained-glass look. The Flower Garden Cake had purple gumpaste with a few cells painted.

Step 8:


Add a contrasting colour to the edges of the butterfly....


Blend the colors together with a clean, lightly dampened paintbrush. You can add in the darker black if you wish by swishing it with the paintbrush.

Step 9:


Allow time for the fully coloured butterfly to dry. If you wish, you can paint the stick the colour of the cake (for instance, I have painted them black/white before). You can even add stripes or polka-dots to the stick to give them character.


Here are the to I used on Linda's Pink Wedding Cake.


Now You too can make Butterflies! HURRAY!

post signature