Sunday, July 24, 2011

Gluten Free Almond-Orange Cake

Lately, I've been feeling adventurous. I guess not enough to burn my house down, but enough to make things interesting. I've taken to going online, finding a random recipe, and trying it out. Now, normally, people will try a recipe first before they adapt it. Me, I tend to adapt things, then try the original. This cake is another one of those cases. And, don't worry, it turned out great!


Gluten Free Almond-Orange Cake
Adapted from The Cooking Nook

1 cup almond flour (finely ground almonds)
8 tablespoons granulated sugar (DIVIDED)
4 large eggs, separated
the zest of one orange (large)
1/2 teaspoon ground cinnamon
1 pinch salt
Powdered 'sugar for dusting
fresh berries and whipped cream for garnish (OH YEAH!)

Preheat the oven to 325°F.

1. Line the bottom of a 9-inch cake pan with parchment, grease sides, and set aside.

2. In a small bowl, mix almond flour and 2 tbsp sugar, if needed place in food processor to ensure the almond flour is fine. Set aside.

3. In a food processor, process egg yolks (4) and 2 tbsp sugar with the orange zest, salt and cinnamon. Process for 1 minute (or until egg yolks are a light yellow). Add to almond mixture (well mixed, but not over played with).

4. In another clean bowl, foam egg yolks, then add 2 tbsp sugar and whip on high until they glossy peaks form. Gently fold in egg white mix to egg yolk mix (until just incorporated. DO NOT OVERMIX). Place mix into the cake pan, and place in oven. Bake for 20-25 minutes, or until toothpick comes out clean.

5. Cool completely on a wire rack (any extra time in the pan will continue to cook it). Dust with powdered sugar and serve with whipped cream and berries.
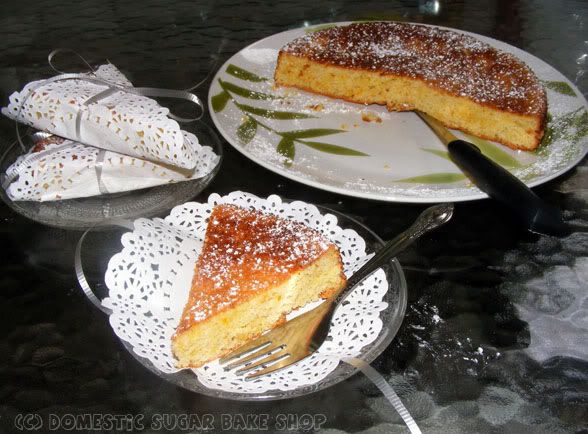

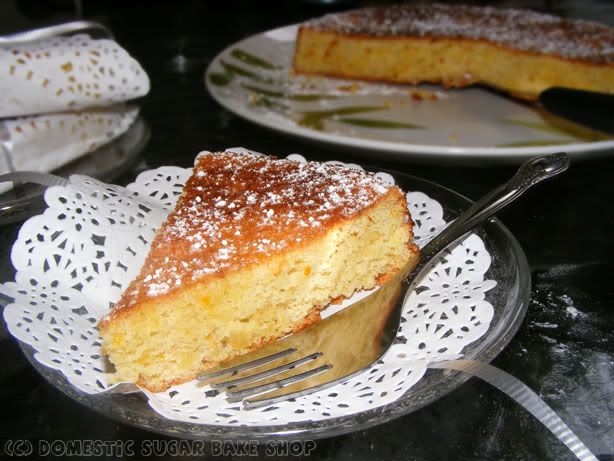
This cake is a nice light cake, VERY LIGHT, due to it's ingredients. It is also very good for people who are diabetic (that was the reason I made the cake in the first place). I liked this cake more than the other one I tried a week back (it was too moist, almost like a wet sponge). The cake itself tends to be a little dry and has a gritty texture due to the almonds, so I would recommend the whipped cream just to soften. Another option is to spritz it after it's cooled with some coconut rum and water, then cover it overnight to let it soak in. I like that option very much.

Well, since tomorrow is my challenge run (I'm running from my place to a resort!), I need to get to bed and get some rest. I hope you are all enjoying a great summer!
CHEERS!


post signature

Monday, July 18, 2011

ლ(இ◒இლ) DONUTS!

No really, EVERYBODY LOVES DONUTS! Especially me. Maybe that's why I decided to try my hand at making them. I've honestly been wanting to try it for a while. I am certainly no daring baker, but this would have been my challenge.

Before I go on a rant, and show you how I made my donuts, here's some music to get you into the mood!


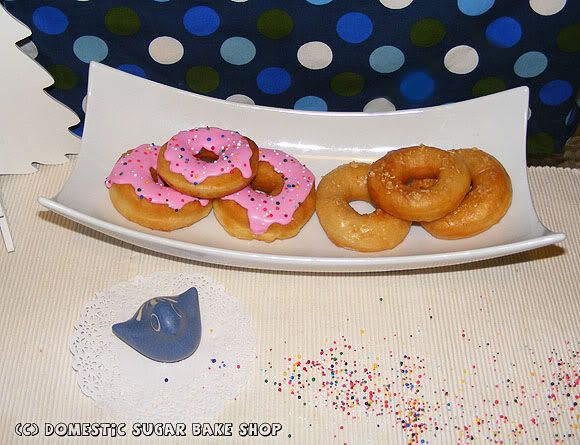
And, because my hubbie looked at my pink donuts and wanted me to post the donut, here's another image:
Okay, now we are sufficiently ready to talk about the donuts and the making!
♥ ^_______^ ♥

I've never actually been able to eat donuts. I love them, but cannot digest them well, they cause bad sadness. Still, they are adorable. I think of Donuts as on par with a Macaron in the realm of cuteness! No less, white donuts are amazingly cute with pink icing. I love pink!

Where's my recipe? Super easy!

Everybody loves Donuts!


2 1/2 tsp yeast
2 1/2 tbsp warm water
1 tbsp sugar

3 ¼ cups all-purpose flour (plus extra for dusting)
1 cup whole milk (homo milk) warmed (not hot)
1/4 cup butter/margerine
3 large egg yolks (save one egg white for icing)
2 tbsp sugar

About 8 cups vegetable oil for deep frying - you will need to fill a pan 2 inches full from the bottom.

Directions:

1. mix yeast, water and 1 tbsp sugar into a small bowl. Mix a little by swirling, then let yeast froth until doubled.

2. Mix flour, milk, butter, eggs and sugar into a bowl. Beat together and add yeast mix. Mix low until incorporated, then turn up the speed to medium and beat for 2 minutes, or until mix starts to stick to the sides of the bowl.

3. Scrape the dough into a ball, and place in a clean container. Grease the top with cooking spray and let rise in a warm, draft-free spot for about an hour to an hour and ten.


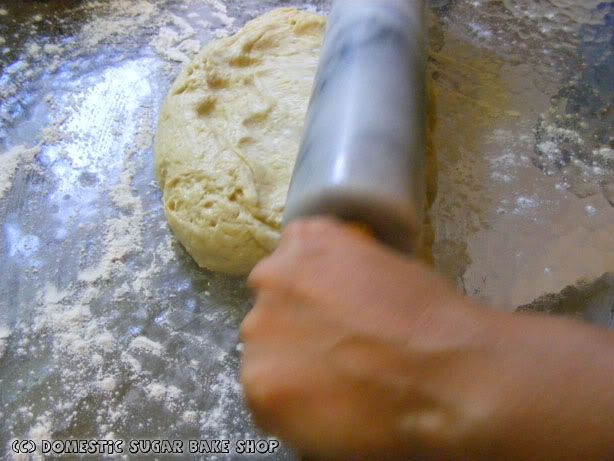
4. When the dough is ready, take it and put it on a lightly floured surface. Roll out 1 inch thick.

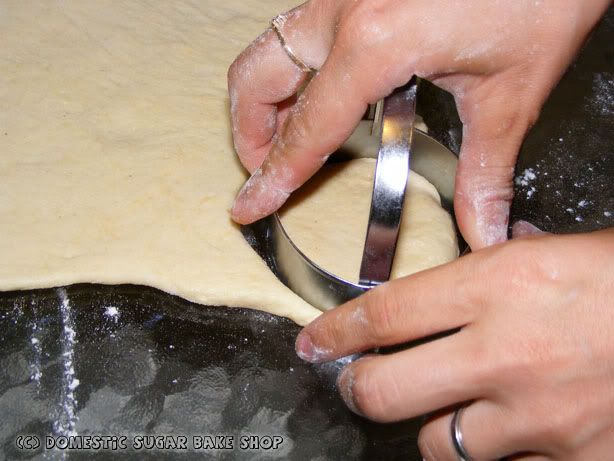
5. Using any size cookie cutter, (round), cut a circle of dough out.

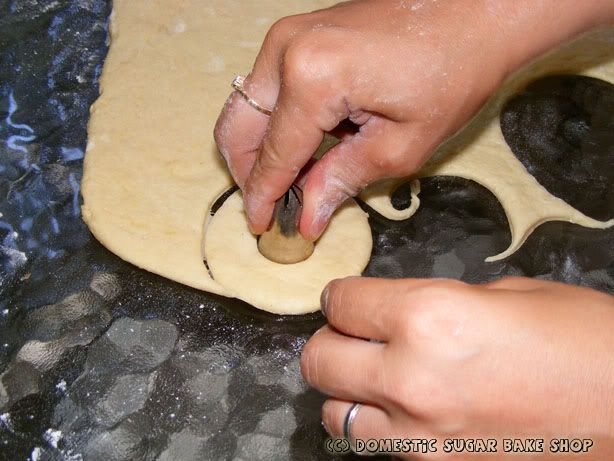
and then using a smaller cutter, or piping tip, cut a smaller circle into the dough.

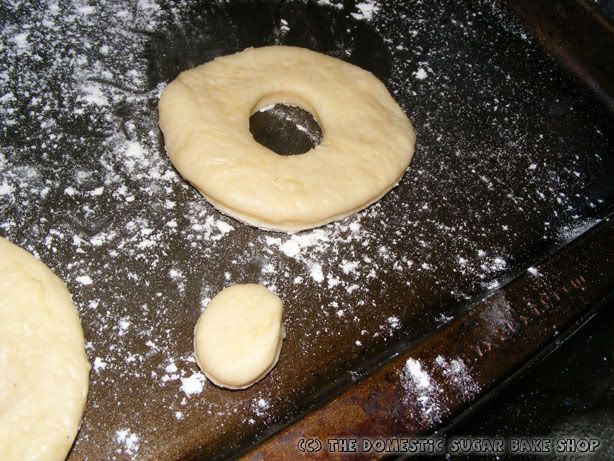
TA-DA!
Sine you can't re-roll the dough (as it gets tough and chewy), I save the donut holes to eat!

Now, let the dough rest for 15 minutes to rise a little, but mostly to soften it.

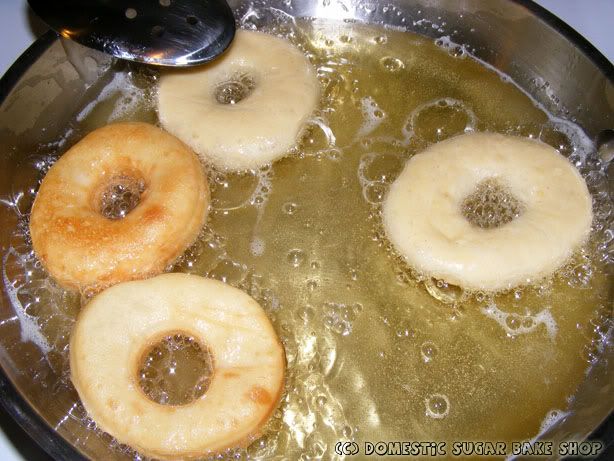
6. Warm up the oil SLOWLY on medium-low heat. The best way to test if the oil is ready is to take drop (literally a drop) of water and flick it into the oil (stand back). If the oil begins to pop the water, it's ready! DO NOT BOIL THE OIL. Put your donuts into the oil and fry until golden brown. If you look above, the two bottom donuts are ready to be taken out, and the tops need to be turned. The dough puffs up nicely and becomes really fluffy!

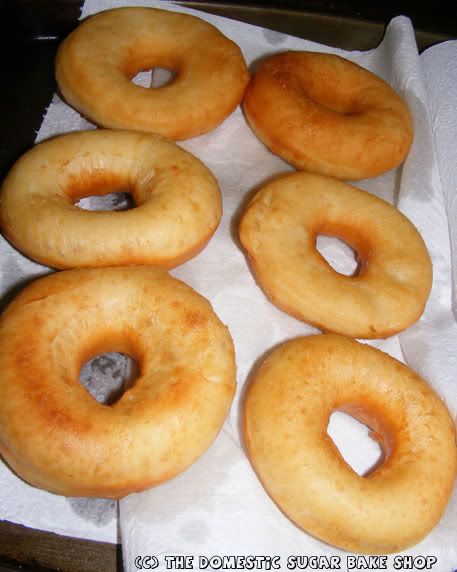
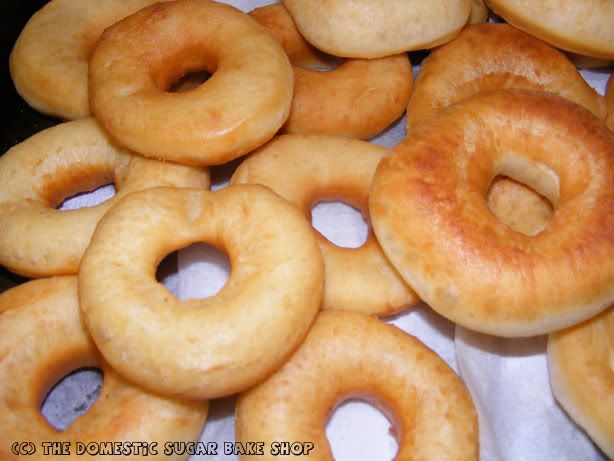
Once the donut is pulled, place on a paper towel to take any excess oil off.

YUMMY!
Now for icing, glaze or topping!

You could simply go for the cinnamon sugar option by rolling the donut in a cinnamon sugar mix, or you can glaze... or ice. Here's what I used:

Donut Icing:

5 tbsp icing sugar
1 tsp flavor (I used cotton candy)
2 tbsp water
1 tbsp light corn syrup
1 egg white (frothed)
color (optional)

Mix ingredients together until you can see the icing integrate into itself in 3 seconds (without tapping). It should be thin enough to run, but not run all the way off the donut. Load into a piping bag and pipe onto donuts. Add sprinkles if desired. Let dry 1 hour.

Maple Donut Glaze:

5 tbsp icing sugar
2 tbsp maple syrup (real is best)
3 tbsp water
1 tsp maple extract
maple syrup flakes (optional)

Mix ingredients until very thin and runny. Dip donuts into glaze, cover all of the donut, then place on a wire rack to drip dry. While still wet, sprinkle maple syrup flakes onto donut for decoration.

SO PRETTY!


Well, hopefully you've all been enjoying some great weather. We're still pushing 100F here, which is killing me! Thank goodness for water and swimming! Hopefully you've all been enjoying good weather and are staying safe. Boiling oil is a little hot for this weather, but that's okay... at least I can eat one donut. My rare treat!

Goes off singing the "Doughnut Song"

post signatureLink

Friday, July 15, 2011

Summery Ladybug Cookies

It is a hot summer!

I mean really hot! My running's been down, even though I'm training for my silly fall marathon... all I can feel is the humidity. The best part of living on the lake is the idea that at the end of a run, or of a long day, you can jump in the lake! It's perfect weather for swimming! Next year's Triathlon should be easy, right?

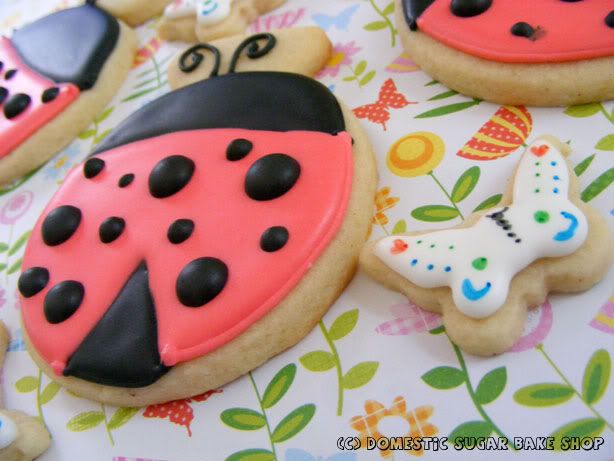
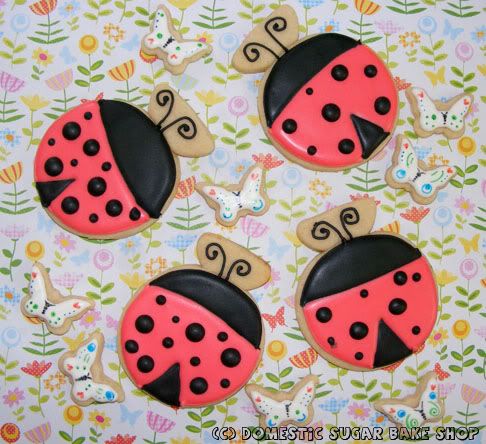
I hope everyone is beating the heat and staying healthy. When the heat gets bad, I pull out some cookie dough, cut a few shapes (7 min in the oven), then I decorate. Here's my latest, Ladybugs! (with tiny butterflies).

It's funny, I bought a mold for a ladybug a while back to make ladybug cookies for a then order, but I never much cared for the cutter. The cutter in question had legs. I don't know why, but I never cared for the legs on the bug, and no matter how I used the cutter, I never liked the outcome. Since I like to experiment with my cutters, I made a new ladybug shape using a round cookie cutter (for the body) and a Hershey kiss cutter (for the antenna). I like this design a olot more!< I guess the moral is that you don't always need a cutter. Many of the food bloggers out there seem to be doing this 'make a new design from an old cutter' trick. Basically, you have to look outside of the box. And while the lady bugs are not exactly 'outside of the box' or revolutionary, they still look adorable!

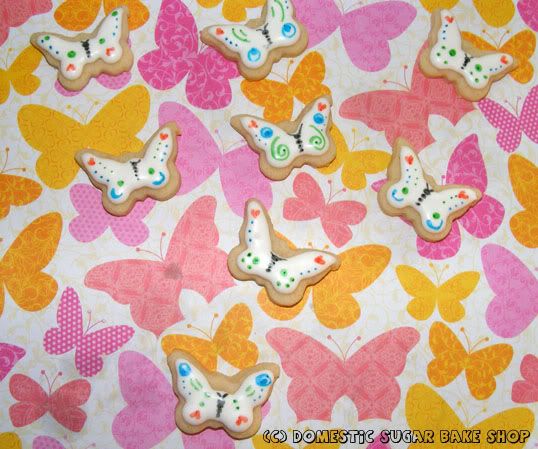
For the little butterflies, I wanted to use the small bit of dough I had left over. I just piped on white icing and then drew on the butterflies quickly with a food marker. Bite-sized fun! (Why do they call food fun?).

So, now I'm off to take a nap. That is the other great thing about summer... napping! I've got a lot of work ahead in the coming weeks, and I really should start planning for the new school year.
I guess I'm going to have to think about work soon... sigh!

Stay cool!

post signature

Monday, July 11, 2011

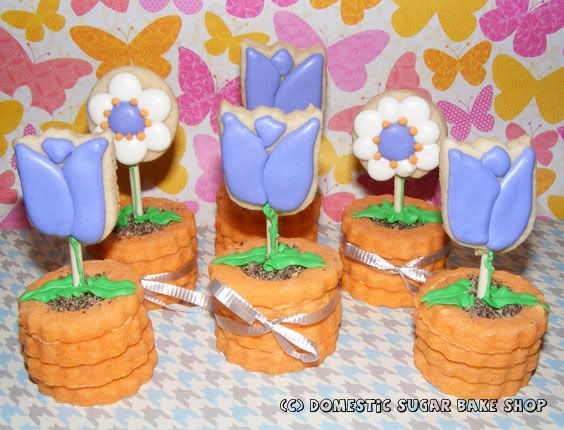
Sugarbelle's Flower Pot Cookies

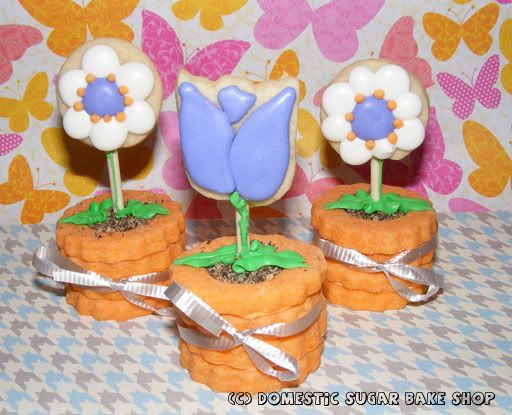
I absoolutely adore Sugarbelle. She has talent, enthusiasm, and is very creative! So, when I saw her flowerpot creation this past May, I just had to try it out.
The best thing about her creations, is that they are all very unique. I love that at any given time, going to visit her site, you'll find something quite inspiring, with great colour and beauty.

I realize my little flower pots are nothing like hers, but I think given my intention (to give away) and my love of decorating, I am quite happy with the result.

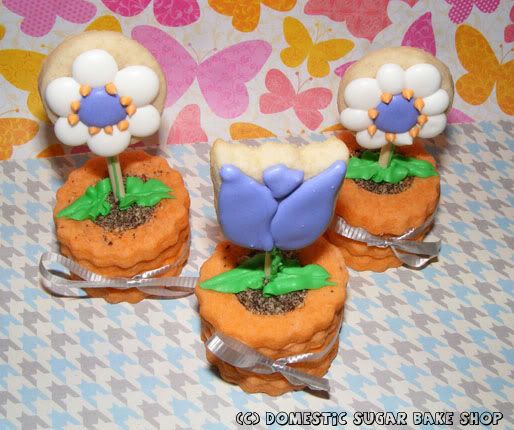
These "May" flowers are super easy to make. Actually, I didn't do a tutorial on them because Sugarbelle already did, but you simply stack round cookies and stick a cookie-on-a-stick in the middle. For my creation, I used cookie-crumbs for dirt.


(Mandatory Top View)

Well, my camping trip this year got cancelled. CRY! But that means I have more time to get cookies done. I have about 3 unposted things to go up... if only I weren't lazy. The truth is, getting the house done is a lot of work. I've not said much about it recently because there's been little to talk about. A lot of decisions, but no real work has gone up. I guess my contractor is a little behind already! That's okay... it gives us more time to pick out fixtures and colours.

Ah well... I'm off to go swimming again (gone every day this week)

Splish, Splosh!

post signature

Wednesday, July 6, 2011

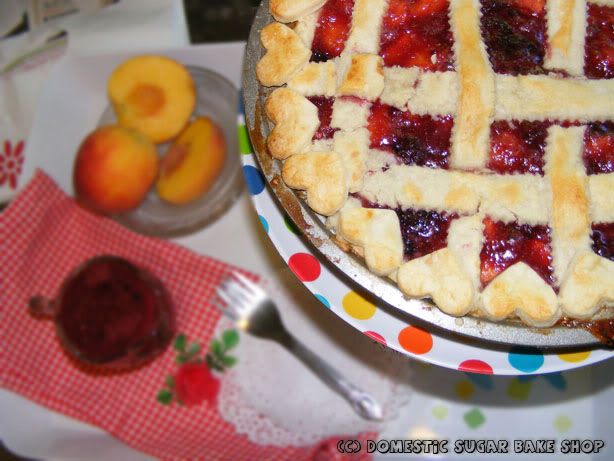
Perfect Summer Pie: Peach Blackberry (Recipe)

Happy summer tidings to you all!

I've been enjoying daily swimming, canoeing and baking. Hopefully you all get the same types of summer loving, enjoying all the best (and keeping safe).

This week, before I head off on my week-long canoe trip, I decided to blend summer flavors into a pie. When I think summer, I think stawberries, peaches, and blueberries. Since Peach is a nice fruit, and is a little different from the traditional pie flavor, I whipped up a delicious Peach-Blackberry pie. It is tangy, sweet, and deeeelicious!

Here's what you do:

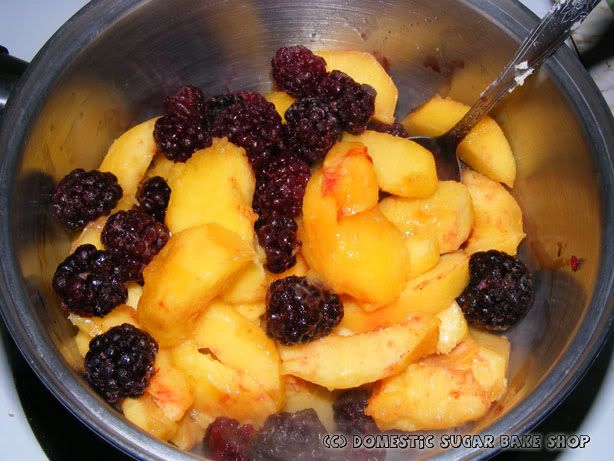
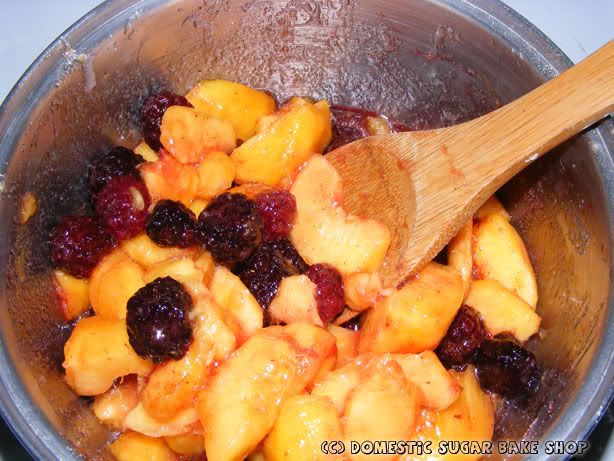
Skin 6-8 peaches (medium sized, some overripe are okay). Cut into slices. Mix with blackberries (I used frozen BBerries today because we didn't have fresh). Place into a pot over medium heat.


Add in 3/4-1c sugar (depending on how sweet you like it). Add 1 tbsp ginger, 1 tsp coriander (LOVE IT!), and 1 tsp cinnamon. Stir. In a separate cup, measure 1/3 c water with 3 tbsp cornstarch... when it mixes, add to peach mix.

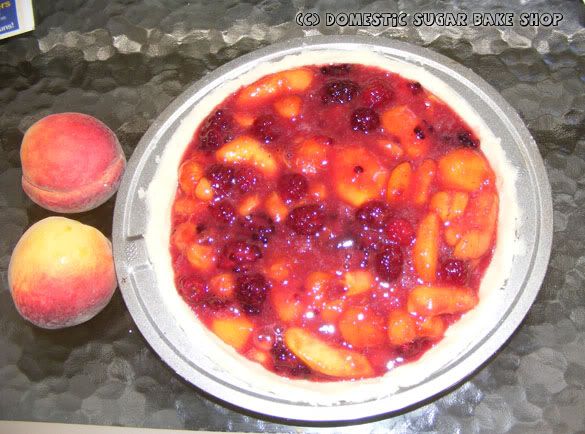
Once the whole thing bubbles, and the 'sauce' is clear-ish, strain some of the fluid (great on ice cream or yoghurt) place remaining fruit and sauce in an uncooked pie crust. Decorate the top as you wish...


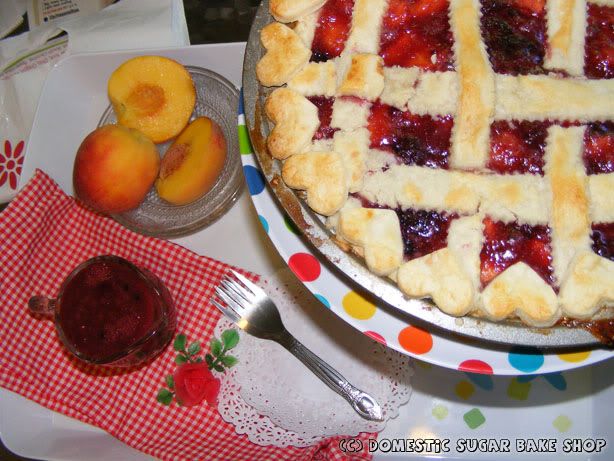
Bake pie @ 400 degrees for 11 minutes (or until crust is light brown and flaky). Cool to room temperature. Serve with Ice Cream! (CHOCOLATE OR VANILLA! OR BOTH!)

Full recipe: Summery Peach-Blackberry Pie

6-8 medium peaches, skinned and cored, sliced in wedges.
1 c blackberries
3/4-1 c sugar (depends on your personal tastes... I like less, but it is more tart)
3 tbsp corn starch
1/3 c water
1 tbsp ginger
1 tsp coriander
1 tsp cinnamon

Uncooked Pie Crust (or use my recipe).

Directions:
Mix peach slices, blackberries, ginger, coriander, sugar and cinnamon in a pot. Heat over medium heat. As that heats, mix the corn starch and water (until dissolved), add to peach mix. Allow the mix to bubble, stirring constantly. Once the mix liquid looks clear, it should be done.

Strain some of the fluid (there will be lots). I take out about a cup of it and leave the rest as the pie fruit is exceptionally wet. Place the remaining fruit and some 'sauce' into the crust. Bake the unbaked crust and pie mix at 400 degrees for 11 minutes, or until the pie is browned on the sides/top. ENJOY!

BEFORE:

AFTER:
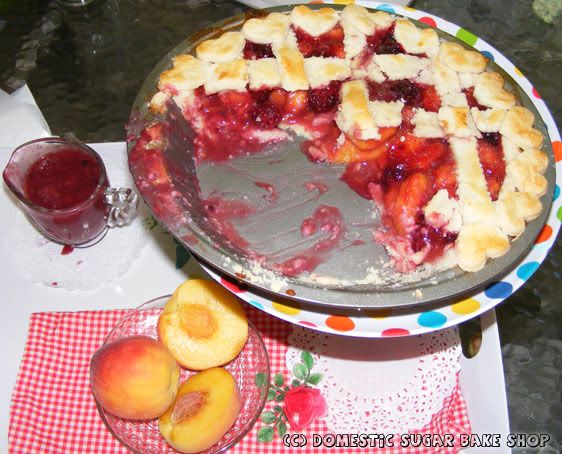
♥ PIE IS MESSY ♥
PIE IS VERY MESSY.. YUM!

post signature

Sunday, July 3, 2011

Vacation Cookies

Okay, so I have just come back from an awesome vacation! Super awesome in fact. The thing is, I baked cookies for my family, thinking I'd be able to get some photos of my niece and nephew eating them (they are adorable!), but the problem is that the cookies were so good (to them at least) that they ate them all before I could snap a photo! Generally speaking, this would be a bad thing for food blogging, but I did snap a few pics before I left, so I did get a photo of each cookie, they are just not very interesting photos (they were backups just in case). Good thing too!

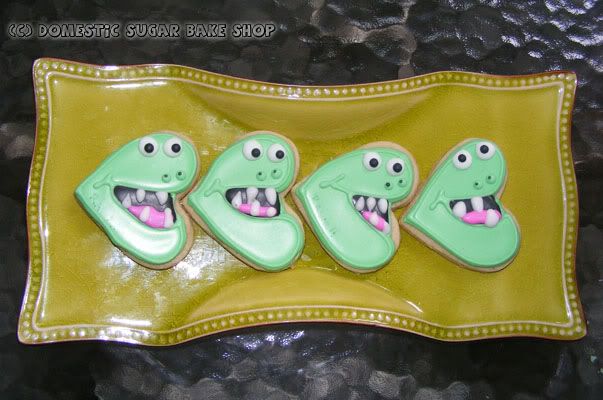
This one came out glossy (on top) so I have a similar picture with less gloss so you can see the "RAWR" which the kids love!


The design is originally from the talented and awesome SugarBelle, but I couldn't find the post... I just remember the design. Anyway, I decided it was perfect for the two wonderful peanuts I love (and my mom too!).

I had the most amazing weekend (Canoeing on Lake Superior in a thunderstorm!, Swimming with Hubbie, Swimming with family, Playing at the park with peanuts, shopping). I hope you all have a great 4th of July, (or like me, had a great Canada Day!)

post signature