Saturday, September 24, 2011

Pumpkin Pie Cupcakes and a Surprise!

Are we sensing a theme? Another pumpkin post. I have quite a few in store. This one in particular has me all tingly. It has been a year in the making, and comes with some special extras after the show.

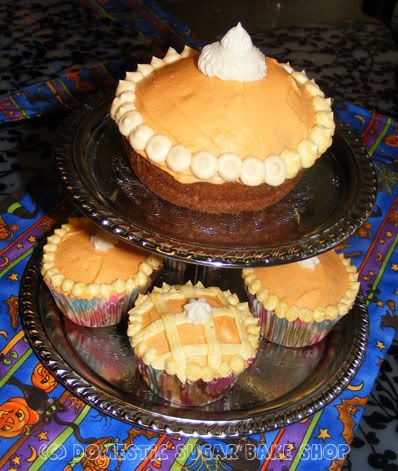
The Pumpkin Pie Cupcakes that I made last year have been one of my most popular posts to date (second to my first Tangled Cake). The recipe is flawless... so good are the cupcakes, so moist that I always get requests for these from friends! Plus, they look so cute! I realize that they are easy to make too, but I decided to put up a detailed tutorial to show just how easy they are.
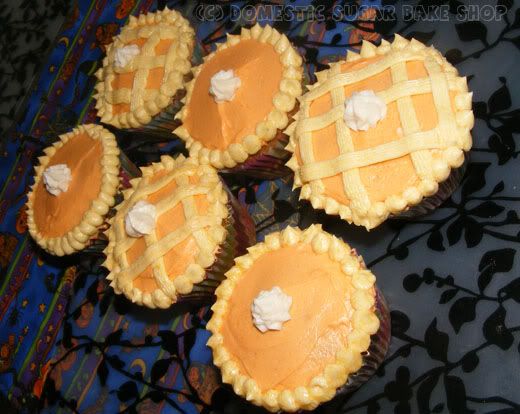
You will need the Pumpkin Pie Cupcake recipe as well as the Creme Cheese Frosting (or any basic icing recipe that you choose). You just dye the icing into three different colors, a small bit of white for the 'whipped cream, one a VERY pale orange (or yellow) and one a darker shade of orange.

There are two ways to make them. This is the simpler of the two:

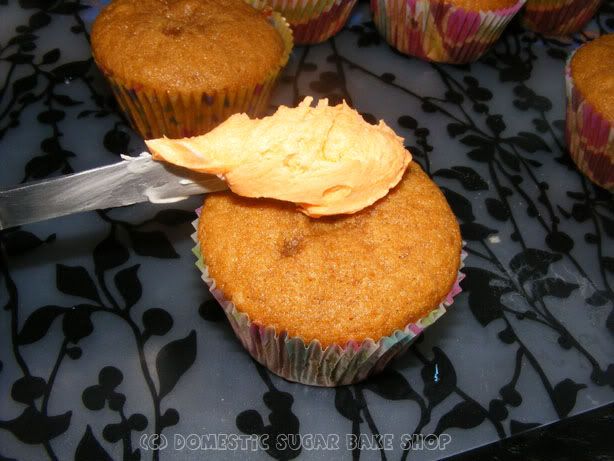
Start by spreading the dark orange icing across the cooled cupcakes. I use a butter knife.. nothing special there (o__-);
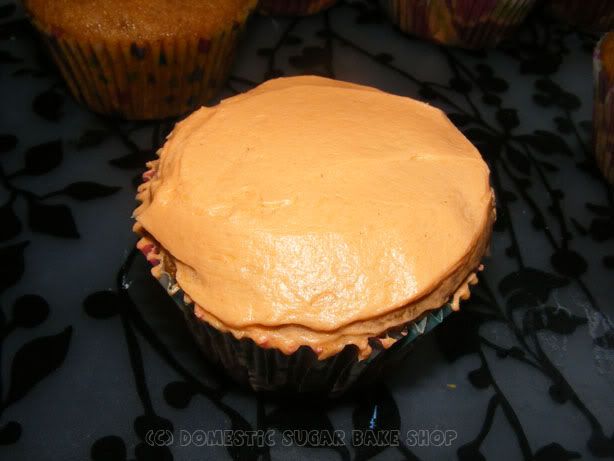

After that, grab a piping bag or even just a zip-lock bag with a small hole in it. I use a Wilton piping tip 7 for this (which you can get at Walmart) and fill the bag with the lighter yellow/orange frosting. I pipe a bunch of dots around the outside of the cupcake to cover any area uncovered by the orange frosting.
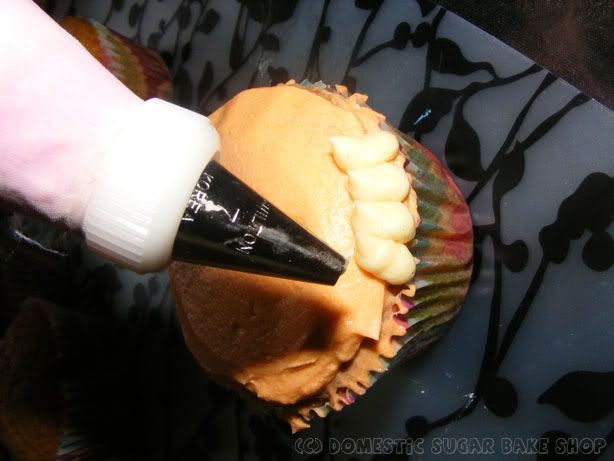
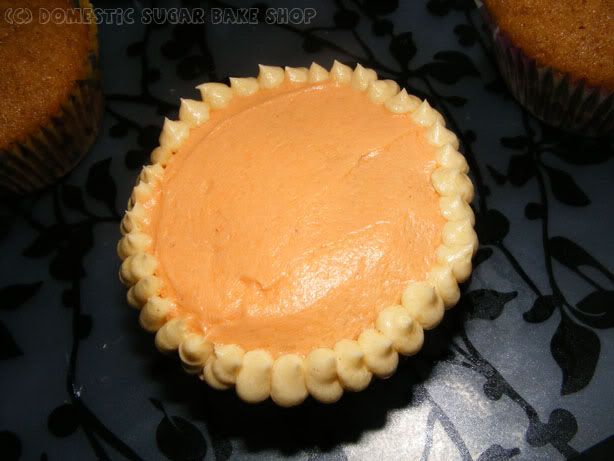
Like So!

Now to make it look like a pie: It's simple; you can either do a small rounded dot of 'whipped cream' (also of frosting, this time white), or you cause the Wilton #8 star tip which gives nice edges, like the top of whipped cream can. Pipe that with a swirl....
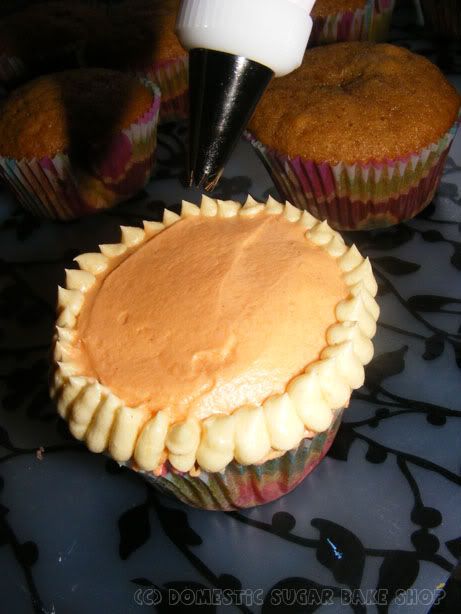
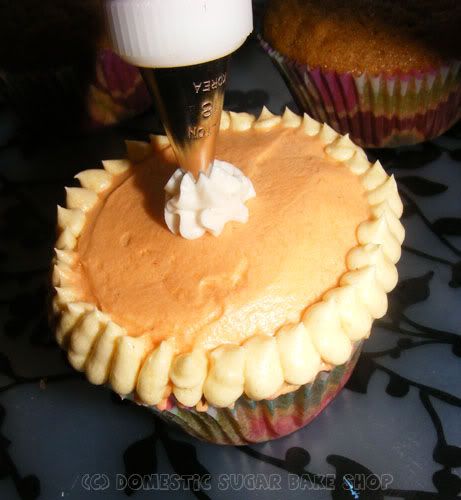
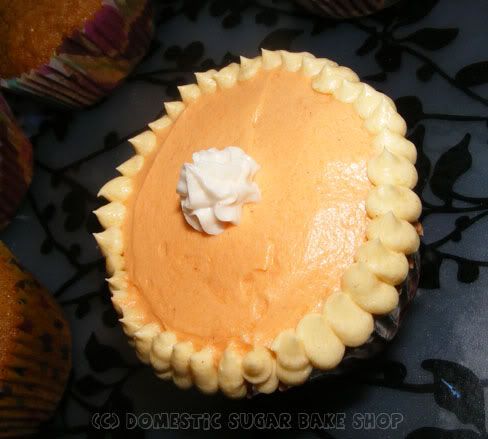

and VoilĂ !

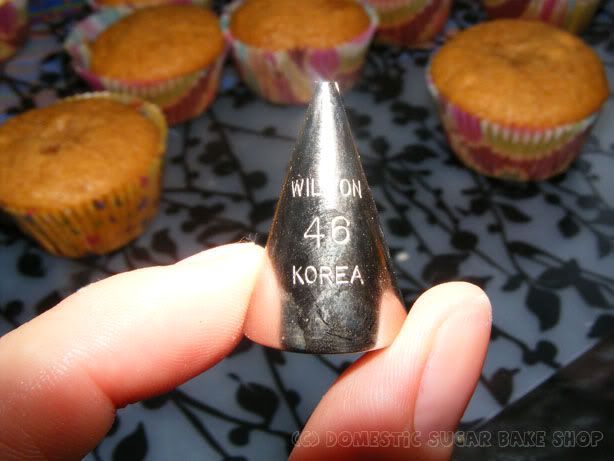
Now, option two is a lattice-work pie top. For this, you will need a good tip for the cross-lattice work. I use a Wilton tip #46 (I use a lot of Wilton tips, even though I actually don't really like Wilton products). This tip has a flat side and a ridged side that makes a nice pattern across the tops of the cupcakes:


(See the detail in the lines?)

Normally on pies it's layered, but for this, I keep it simple and simply make lines across the cupcake, then cross over them. It's not a perfect system, but it is much simpler than fussing on 'correctness'.
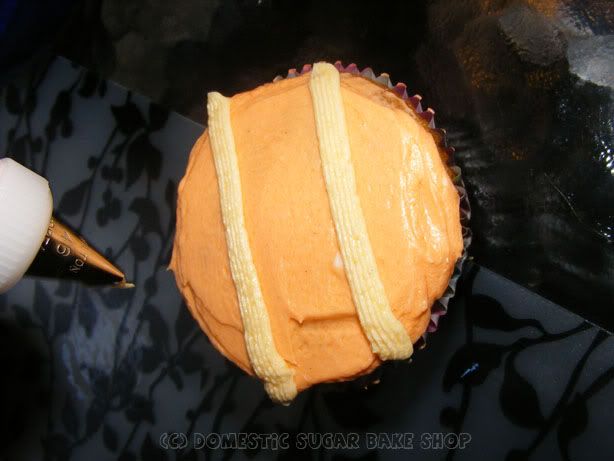
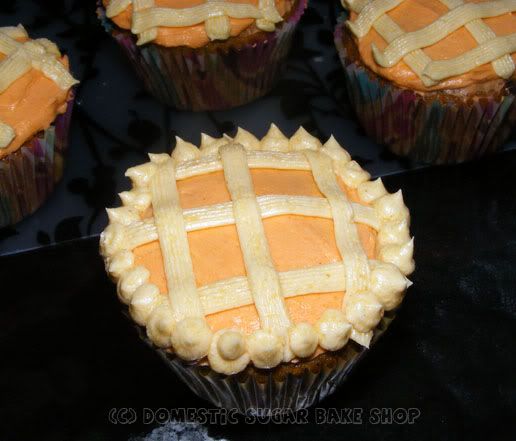
Do the borders the same as above, and give this cuppie a dollop of the white 'whipped cream" and you have it!

I had some extra batter, and being rather unprepared, I actually ran out of cuppie wrappers. So, below is a giant 'pie' cuppie I used a 4-inch cake pan to make. I thought that was a smart idea. A Pumpkin Pie Cupcake/Cake for two!

Now, for the BONUS MATERIAL!

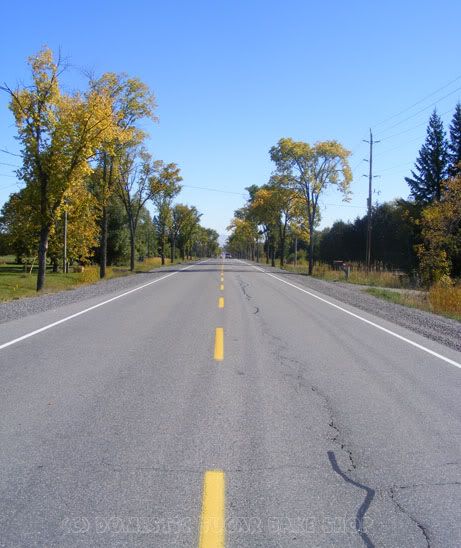
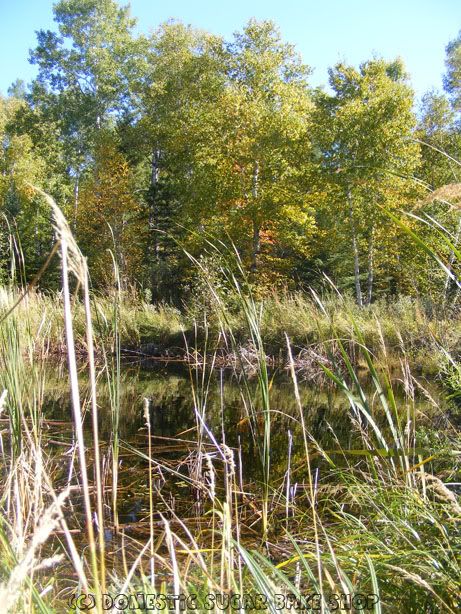
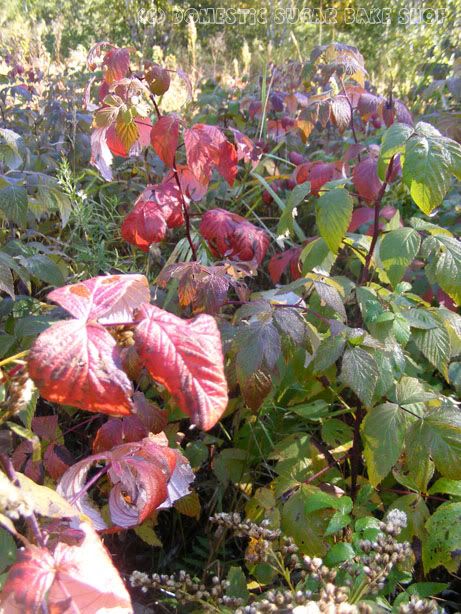
I thought it would be a good idea to show you what has inspired me to bake so much pumpkin stuff. I love photography, but living in a small apartment with horrid light makes it difficult to get nice shots of things, especially since I bake mostly at night. I thought I would show off some of my home town, Fort Frances, the way I see it. I went on a little photographing excursion this week. I hope you see how beautiful the region of North Western Ontario is. Most people are afraid of the cold, and generalize it. It is such a beautiful area to live. Very peaceful!

This is what I captured:
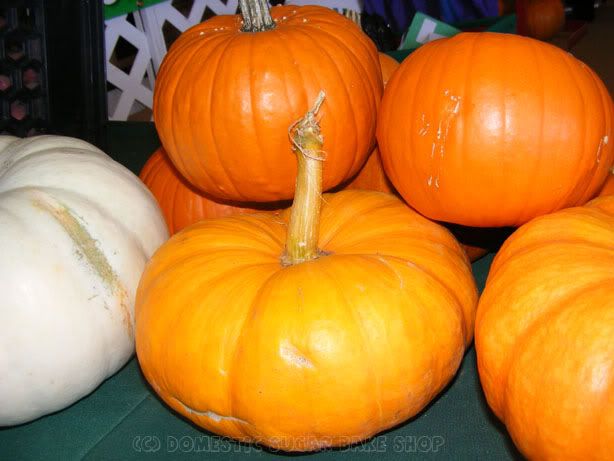
These pumpkins are from our local Farmer's market, grown out of EMO. The kind lady at the stand let me photograph hers, since the ones I bought from her last week were processed before I snapped some photos!


Below the ride I take To and From work, as well as some beautiful shots of items of interest:
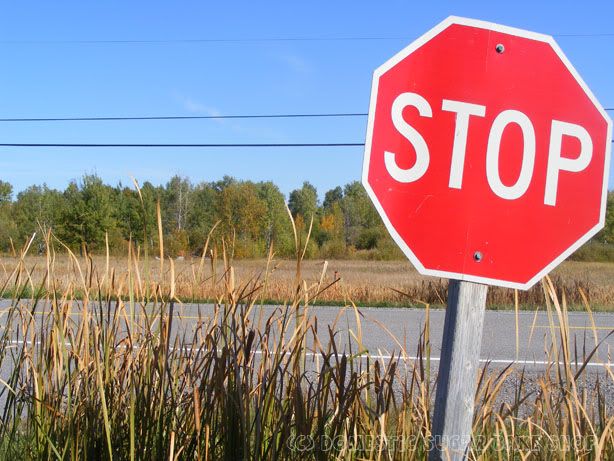


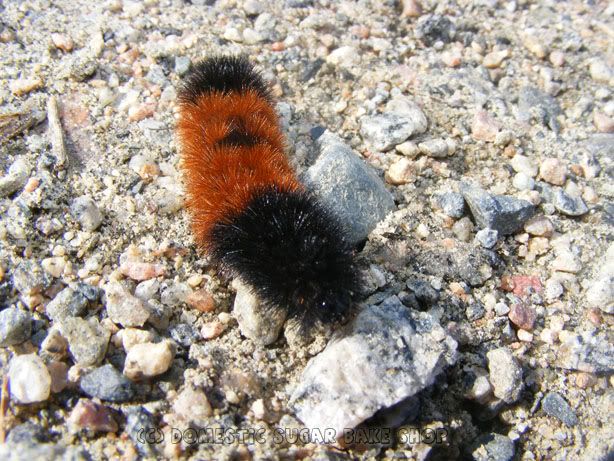
ITCHY WORM!
That's what we used to call them as kids.


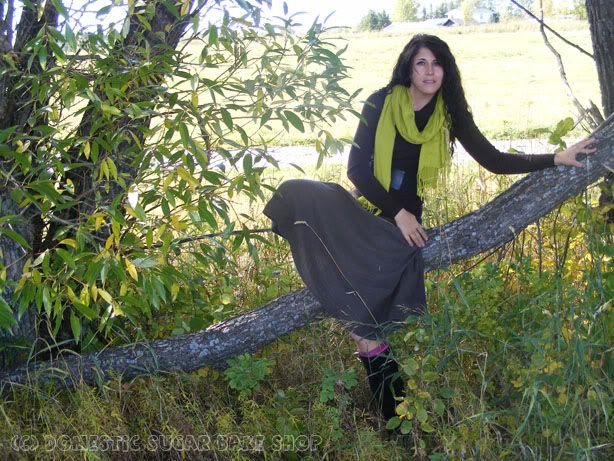
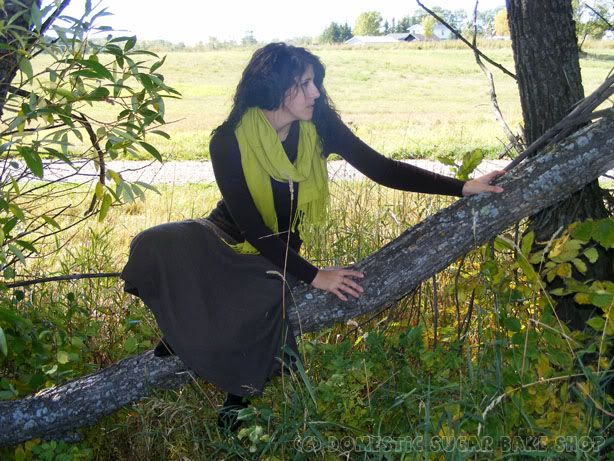
Now, I'm not big on photography, but the area was so beautiful, my friend asked to take a couple of shots of me. So, me posing on one of the trees (by the stop sign) Note the sexy pink socks that so do not match my outfit. I love wearing knee-high socks, the more colourful, the better!!

Thank you so much everyone for following and reading. I get such pleasure in taking photos and baking. It makes it so rewarding to see that people actually care about my rants and ideas. It's a wonderful feeling to see new followers and try some of your recipes and ideas.

Next up, a supper dish!
Until then!

post signature

Tuesday, September 20, 2011

BLOG LOVE! Lollypop Cookies

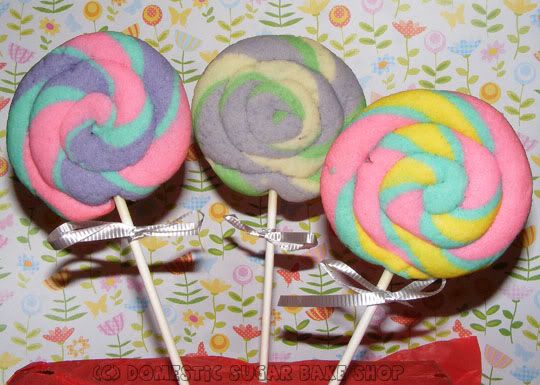
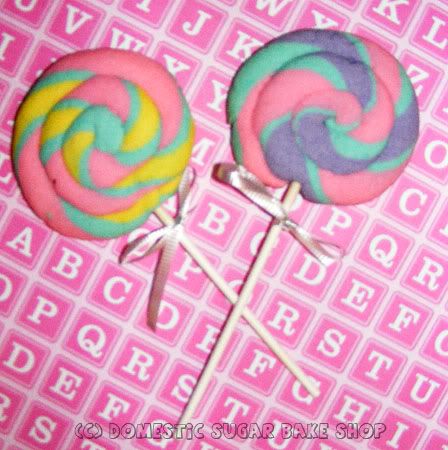
Of all the blogs on the interwebs, Kara's blog, Butter Hearts Sugar is my absolute favorite! Maybe it is the general aesthetic, maybe it is the fact that she has a wicked tattoo! Either way, many of her ideas scream to me! So, with her recent post on these cute lollypop cookies, I freaked. It has been years since I've seen them made (my mom used to make these for us). I just had to borrow the idea!


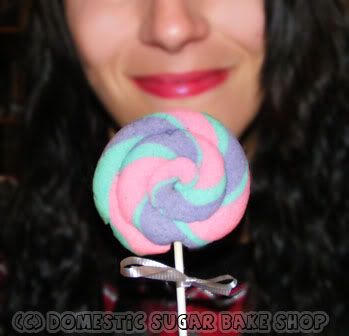
LinkFor a great tutorial, head on down to Kara's blog and check her step-by-step. For mine, I used my sugar cookie recipe and three colors of dough to make lollies. I decided that since my classic sugar cookie recipe is great with icing, but I needed a new flavor for the perfect lolly. So, I pulled out my LorAnn candy oils and added a few drops of the Key Lime into the dough. SO AMAZING! Key-Lime Lolly Cookies!


Of course, these cookies are a dream, and made my students super happy when they got them as a prize! I am very happy that I could be reminded of this great treat, and I can't wait to get back to creating. This is a wonderfully simple design that is great for kids! Or me :)

Thanks Butter Hearts Sugar, for inspiration, icing, and awesomeness~!

post signature

Saturday, September 17, 2011

IT'S FALL! PUMPKIN TIME! (RECIPE)

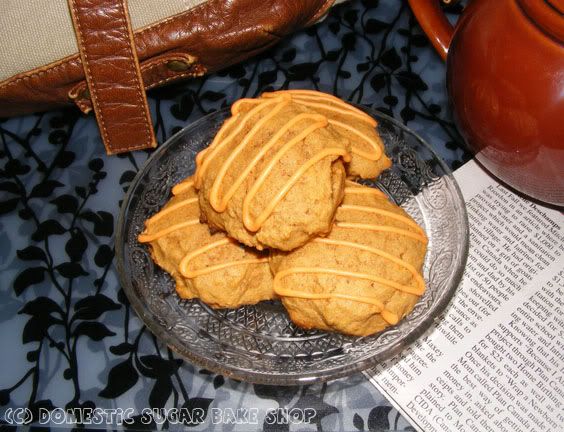
Ah Fall! The area around here has already begun to change. The gourds are coming out. We just got back from the farmer's market here. I got some great gourds (Buttercup, Pumpkin, Acorn) and am getting ready to cook it all down for pies, soups, and more! But, I could not wait to cook it... I just had to make myself a favorite recipe: PUMPKIN COOKIES!


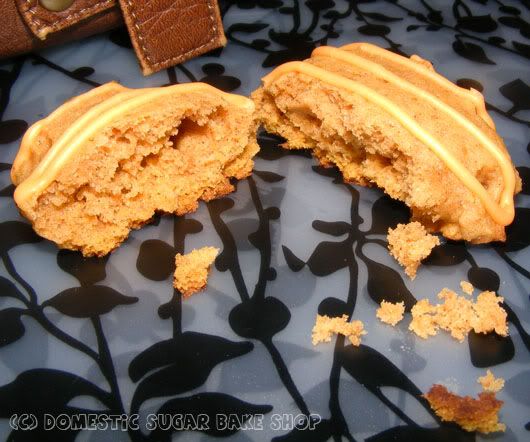
These cake-like cookies are the best I've ever had. I love my old pumpkin-white-chocolate cookies, but these cookies are must more subtle, less sweet, and are so scrumptious.
They are not at all dry, and not wet either. Think of a puffy cupcake or a moist muffin; that is the consistency of these cookies!

Link
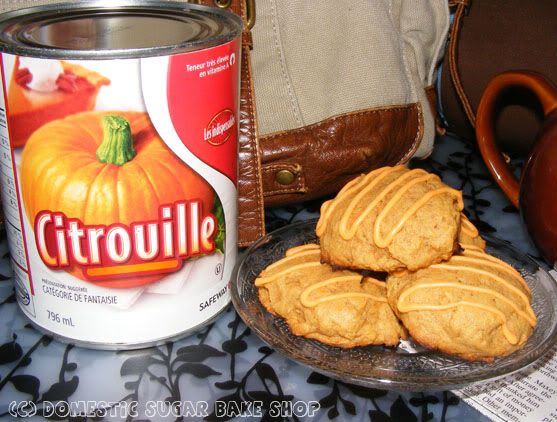
So, the recipe.... it's not actually mine. I have to give credit where it is due. I found this recipe originally on Allrecipies.com; these cookies on the site are called Iced Pumpkin Cookies (By 'Gina'). I've made a few alterations for me.

So, this would make it a re-post, but I really want to share it because it always gets rave reviews.

ICED PUMPKIN COOKIES
(originally by GINA) - Edited by me :)

2 1/2 cups all-purpose flour
1 teaspoon baking powder
1 teaspoon baking soda
1 tbsp ground cinnamon
1/2 teaspoon ground nutmeg
1/2 teaspoon ground cloves
1/2 tsp ground ginger
1/2 teaspoon salt
1/2 cup butter
1 1/2 cups white sugar
1 cup canned pumpkin puree
1 egg
1 teaspoon vanilla extract

Icing:
2 cups confectioners' sugar
3 tablespoons milk
1 teaspoon vanilla extract
1/2 tsp cinnamon extract

Directions
  1. Preheat oven to 350 degrees. Combine flour, baking powder, baking soda, cinnamon, nutmeg, ginger, cloves, and salt.
  2. In a medium bowl, cream together butter and sugar. Add pumpkin, egg, and vanilla; Beat until creamy. Mix in dry ingredients. Drop on cookie sheet by tablespoonfuls; flatten slightly; I used a spoon dipped in water.
  3. Bake for 10 to 15 minutes. Cool cookies.
  4. To Make Glaze: Combine confectioners' sugar, milk, and vanilla. Add EXTRA milk as needed, to achieve drizzling consistency, or leave thick to pipe onto cookies as I like (not so sweet). Let icing set.


Seriously, this recipe is a HUGE hit at any time of the year, but something about warm pumpkin on a cool fall day makes life wonderful! I hope you are all enjoying the season and are keeping warm.

post signature

Sunday, September 11, 2011

[Recipe] Granola Bars - Homemade and Peanut-Free!

Finding good food for your kids (or husbands) to eat at school is becoming more and more expensive. Compounding the costs is the idea that many schools are 'peanut-free' due to severe allergies by staff and students. Limiting options have parents purchasing expensive lunch-treats that are not so healthy but fit the new standards. Since each day you need new treats, each day is a new bit of money thrown down the 'treat' drain.

Not anymore!

I offer to you my recipe for healthy granola bars that (if you so choose) are peanut-free and at a little healthier than other options. You customize what goes into them, and you choose what they taste like. This is a highly customizable recipe, and I LOVE IT. I make it every Sunday night for my school week; now you can too!

Recipe: Kitchen-Sink Granola Bars

1c quick oats (instant oatmeal stuff)
1/2 c corn syrup
1/2 c honey
3 tsp brown sugar
1 1/2 c rice crispy cereal
1/2 tsp vanilla
3 cups of anything (Marshmallows, seeds (sesame, pumpkin, flax), granola (strawberry/raspberry etc), cookie crumbs, chocolate chips, melted chocolate (1/2 c)...

Preheat oven to 325 degrees.

Mix all dry ingredients together, then add in the wet ingredients, stirring until everything is coated.

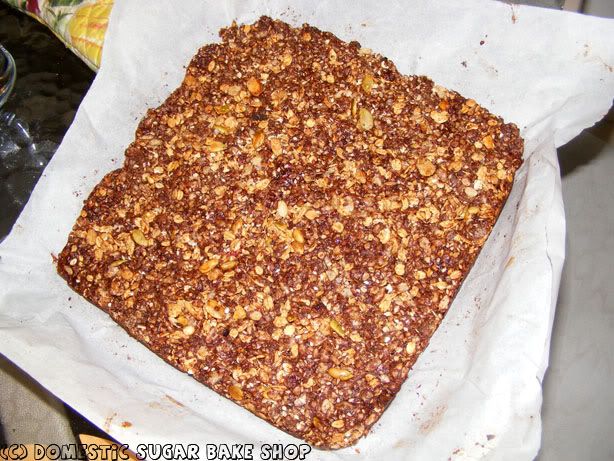
Place wet mix into 9X9 pan lined with parchment paper. Wet fingers with water and press down the granola bar mix into the pan; make sure all edges are pushed in and it is nicely packed. Keep fingers as wet as possible to reduce sticking and moving.

Bake at 325 for 15 minutes. Remove and cool:


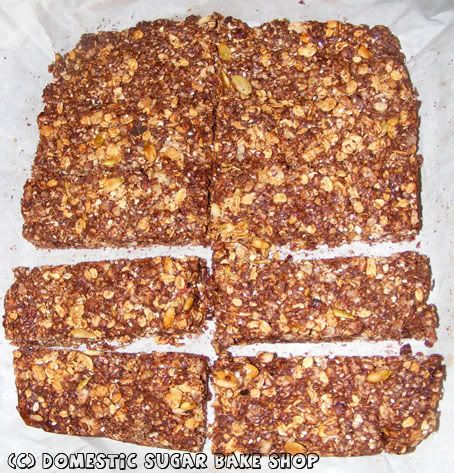
Once the mix has cooled, but is still a little warm, cut it up into bars. Each mix makes 10 large bars which can be made smaller for smaller people. I find that two small bars is great for the 'balanced day' we have in our school board.


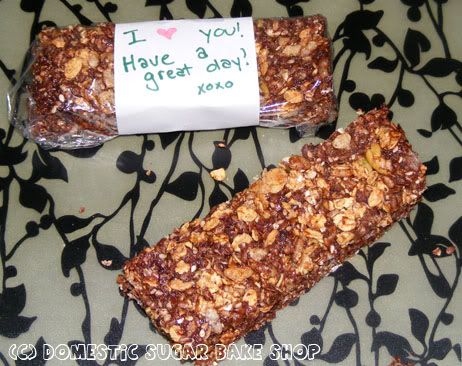
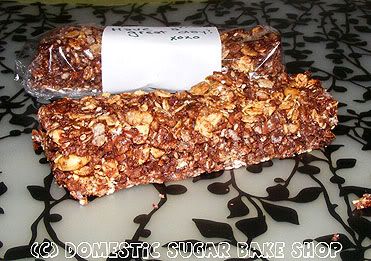
Not only is this a great recipe, but I love to personalize the bars, wrapping them in plastic wrap and putting a little note on the bar:

The last one is for myself... I always forget.


So, what do I like in MY Granola bars?
-1/2c melted chocolate
-1 c strawberry-banana granola
-1/2 c pumpkin seeds
-1/4 c sesame seeds
-1/4 c flax seeds
-1/2 c regular oats (I like em' hearty)

Give them a whirl. They are easy to make with the kids, and a staple in my house!

Happy Schoolin'

post signature

Thursday, September 8, 2011

Owls... they are looking at me!!

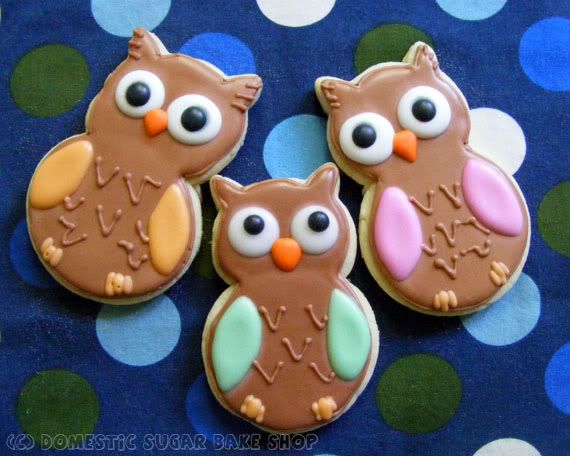
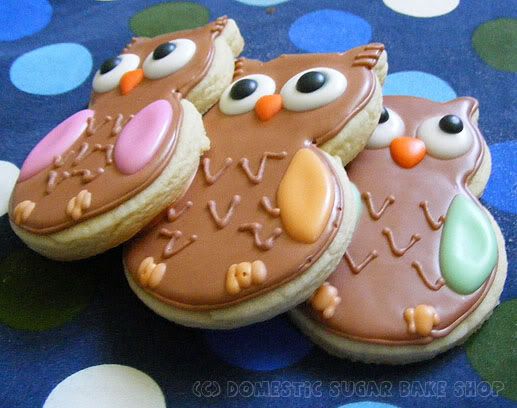
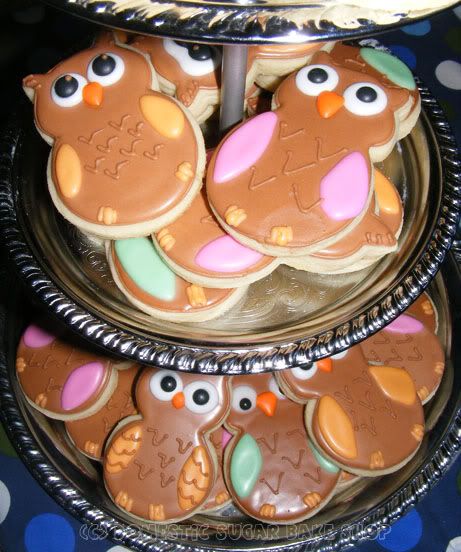
Our local teachers had a wonderful fish-fry get together this week. Each department was asked to bring some type of food (salad, buns, desserts etc). Not surprisingly, my department was asked to provide desserts. I figured, since we're a bunch of teachers, I should bake something that represents us... Like Owls... they represent wisdom.


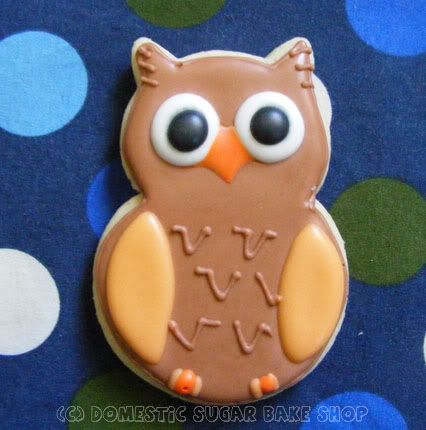
I made three colored owls, well, owls with three different wing colours. Pink, Orange and Green. The best part of a cookie is seeing it come together. First, each cookie consists of two cookie cutters pasted together. I took an Owl head cookie cutter and fitted it to a circle body. I wanted Fat owls, and all I have is small thin Owl cutters. Fat owls are happy.... and fat :)


The best part was my husband's reaction. He loved how they looked and snickered at how the eyes seemed to stare at you. Then we started walking around the house saying "Owl-always love you" and "Owl do the dishes for you" etc. At this point, we devolved into sugary-cute married people. Lame as it was, the Owl Cookie seemed to really be a catalyst for silly love banter ♥.


At the fry, the cookies were a huge it. So, I was pleasantly please. I like it when people pick them off a table as the dessert that most appeals to them. It makes me feel special. Some people ask if I get sad, seeing a cookie or cake get eaten after you've worked for so many hours to make it beautiful and perfect. The answer is, I do not; when people enjoy the work of art by eating and enjoying it, I get a special feeling: Pride!


The Owl is watching you!

post signature

Monday, September 5, 2011

Marshmallow Mishaps!

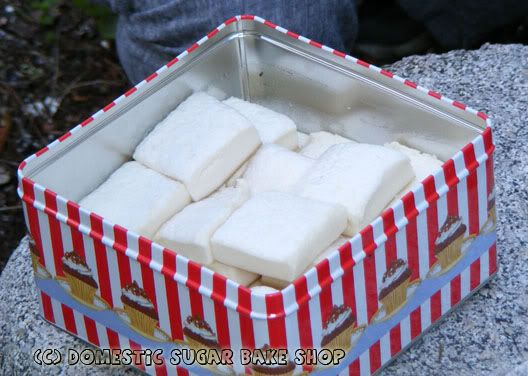
For the longest time I've wanted to make Homemade Marshmallows! It has been at the top of my daring baker checklist forever. So, when this past weekend I decided to make my own, and they turned out amazing, I was super excited to get out and roast them over a fire.

FINALLY, I GET TO MEET MY GOAL!

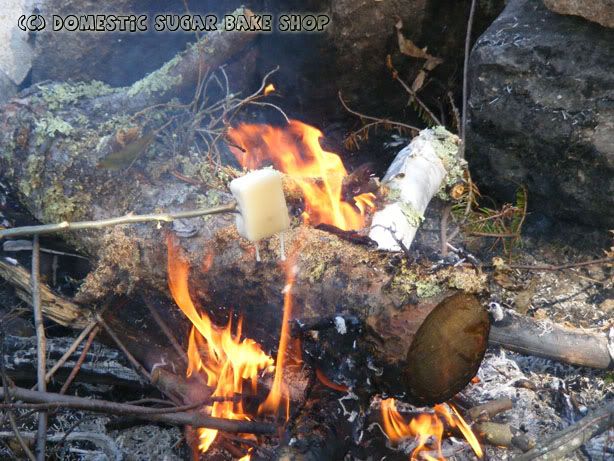
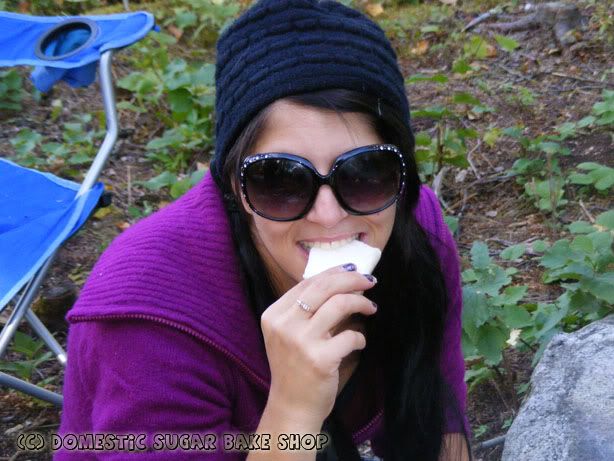
I used a recipe I found in Gourmet a while back. So, with a nice fluffy batch of marshmallows, a stick, some good company and a lot of laughs, I began to sense the anticipation of a fresh, warm marshmallow...

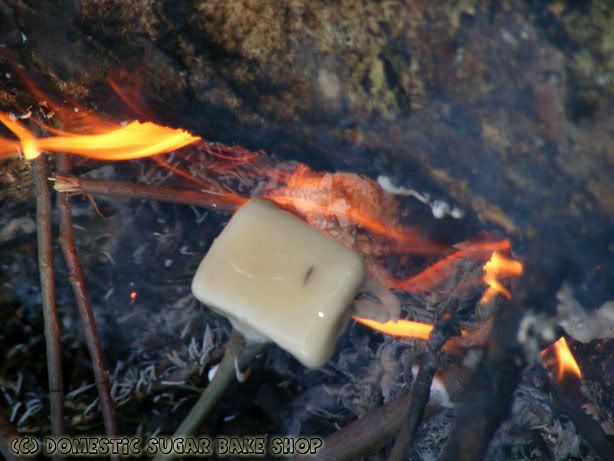
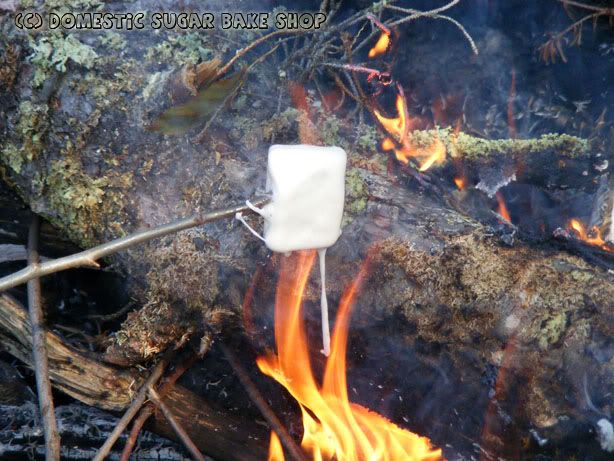
Hmmm.. the above marshmallow looks a little wet... hmm...

Wait... WHAT! It is melting!


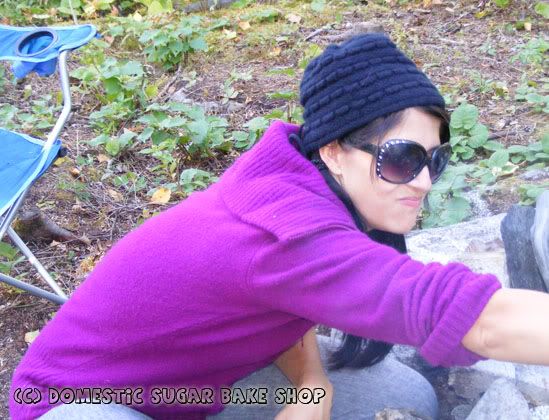
Me sensing all is not as it should be....


Nope! These marshmallows are great to eat from the container, but are none too good for fires. I went through 3 Marshmallows trying to find a way to roast them that would not produce melting, but was ultimately defeated by the mighty Marshmallow Mishap.

My friends and I had a good laugh at the whole thing. It was so awesome when they saw the marshmallows, but when it started to melt away, we all laughed quite a bit. With the cool fall weather, we all enjoyed the fire and the fun, and at least each other's company.


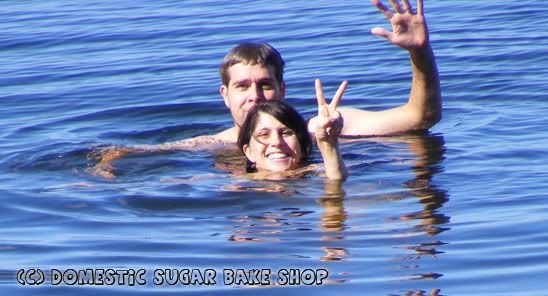
Oh, and the swimming! Hubbie and I got into the water, which was surprisingly nice once you stayed in for a minute or so.

I hope you all had a great long-weekend, and good luck to all those who are back in school... like me. CHEERS TO MY CLASSROOM!

post signature