Sunday, January 29, 2012

I love you a Latte

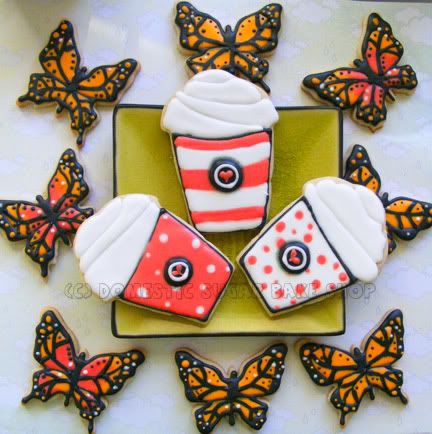
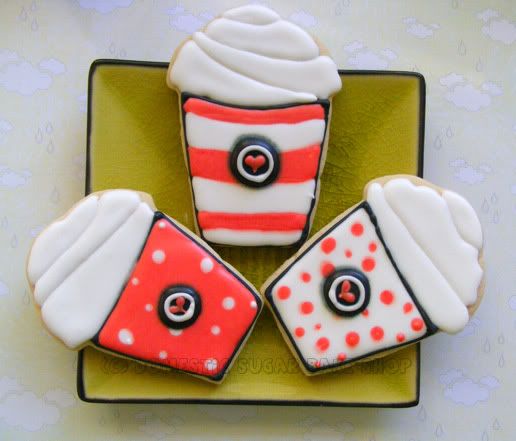
While these cookies were originally for a sick friend (one whom enjoys going for lattes with me), I couldn't help put think the theme was a little reminiscent of Valentine's day, which is quickly approaching.

The title: "I love you a Latte" is another one of those dorky things Hubbie and I say to one another. The response to the comment is always "I love you amore" which I guess drives home the fact that I am completely dorky in every aspect, and I am officially "ONE OF THOSE MARRIED PEOPLE." YUCK!


Anyway, the theme was of hope. Of course, beautiful monarchs and lattes seems a strange choice for hope, but friendships, like any type of love, are formed through a gathering. To be metaphorical, the Latte cookies symbolize a gathering, as coffee trips are wont to do, and the butterflies symbolize overcoming, rising above (in this case, sickess). Seeing as my friend is neither wanting or ready for metaphors, I figure posting here might explain my dorky choice.

Oh look... there's another ENGLISH MAJOR... with her useless degree flaunting bad spelling mistakes and internet journaling. Isn't she special. (-___-);

Back to cookies. This design is perfect in my opinion for Valentine's day as well. The Latte cup is not a cookie cutter I own, but a hybrid: CUPCAKE cutter with SQUARE cutter on the bottom = LATTE CUP cutter. HURRAY! I think finding new uses for old cutters makes my budget a little happier. Why not find another use?

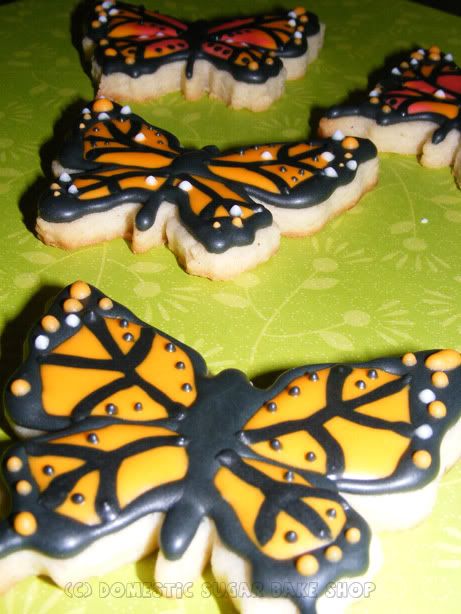
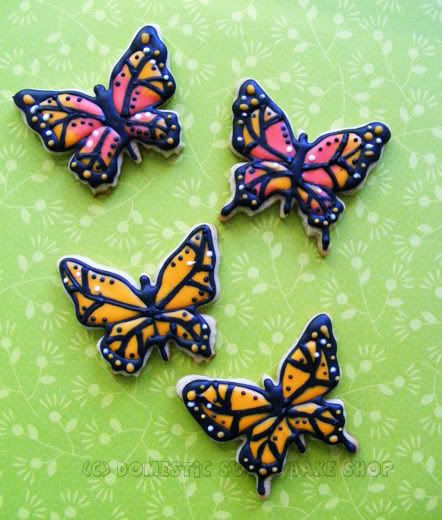
And what about these butterflies? This is my absolute favorite 'pretty' cutter. Even the normal cutter looks nice. I got it online, and have used it many times. This time, I used it for the monarch butterfly: Outline the black and fill it in!

I actually think the colours of the Monarch are absolutely stunning! I also love the Monarch's story... how it flies to South America every winter, and only it's children will return. How does it know to do that?! What sort of amazing evolutionary mechanism tells it to do that... I still can't train my husband to make coffee. "THANK YOU!"

Mine is better anyway (╤ ╤)♥


So, here's to pretty cookies, friendship and love. Hopefully I will have some more classy analysis to blither about.
Until then!

post signature

Sunday, January 22, 2012

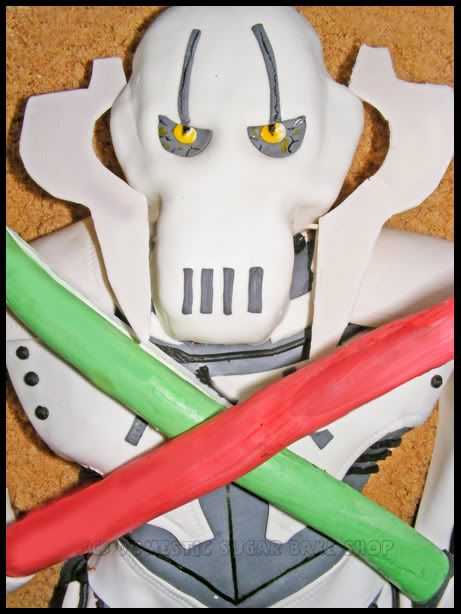
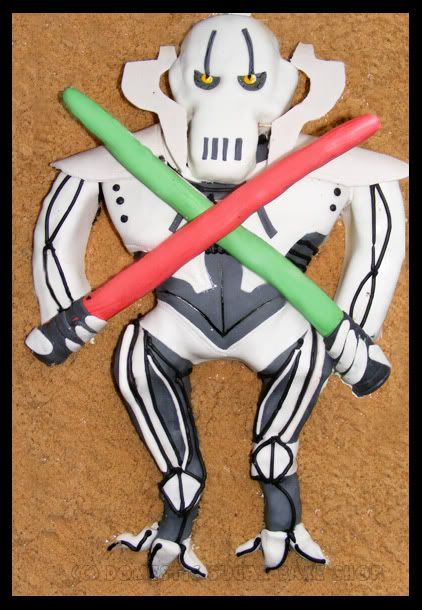
General Grievous: The Cake

This was quite an ambitious cake to make. I sat for a while with my friend Penny, trying to figure out a way to accommodate her son's party theme: Lego Star Wars. The big request came from her son's favorite Character: General Grievous...

Last year, I made a Pablo Backyardigans cake for her son, but this year, since he's growing up so fast, he wanted something a little more boyish and a little less childish. We settled on making something with General Grivous.... like this:

This was a cool cake to make, but had all sorts of little problems to overcome. Since they wanted Chocolate cake, I had to work through using chocolate cake and icing with WHITE MMF. That is no easy task! There was CHOCOLATE EVERYWHERE! I was battling to keep the fondant nice and pristine. Then there was the issue with the light sabres, and keeping them round. Oh boy, let me tell you: Think about the structure and have a strong idea. Even though I had doling in the swords, they still flopped a little, and the fondant did not keep its shape all that well. (╧__╧;)


The final product, while a little awkward in places, was actually okay to make. This is my first cake since my back injury, so I was pleased to make it. Sadly, my back began to act up, but luckily, I got everything done. The biggest challenge was making all the 'gears' and 'mechanisms' in his legs and arms. I knew that it would be difficult, and wanted to fit the most cake into this cake as possible, so I ended up with solid pieces with piped and fondant-covered details. Not bad.

I was planning a how-to, but when you get into the grove, you really move. It was mostly well-placed cake pieces and covered in chocolate buttercream and fondant. Ah well. It was a neat little project, which was well enjoyed!
Happy Birthday Zander!

post signature

Tuesday, January 17, 2012

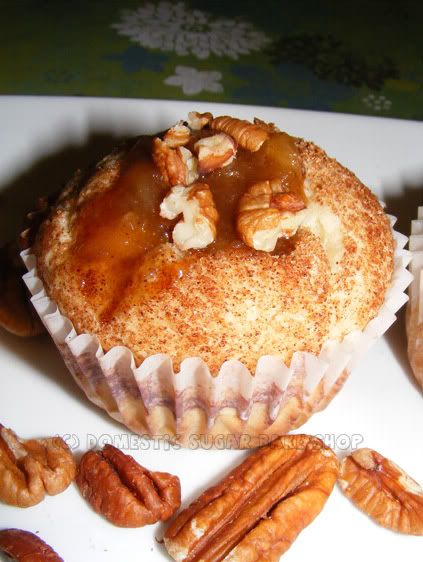
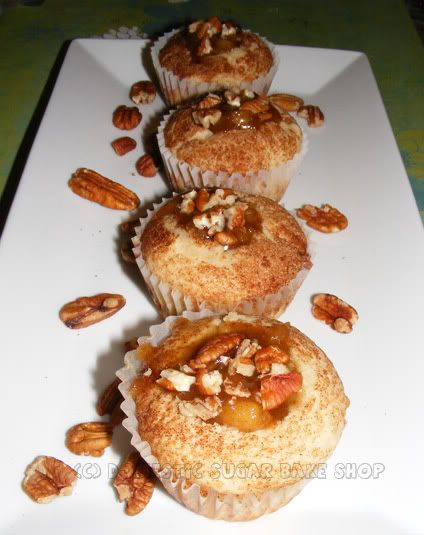
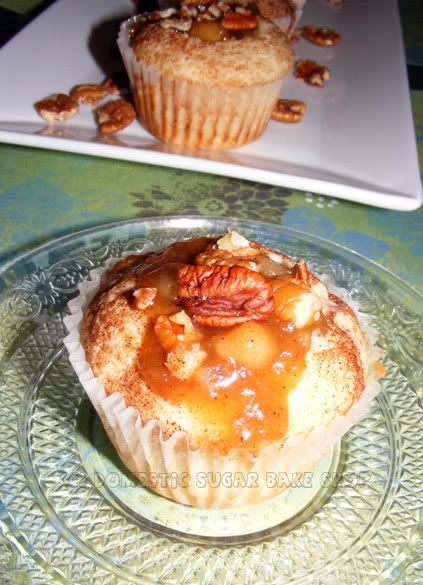
BEST MUFFIN EVER: Snickerdoodle with Caramel-Apple filling

Hey All.

This is my new favorite Muffin recipe of all time. It had been making its way around Pintrest, and I just had to give it a try. I did not regret my decision!

This muffin is called the Snickerdoodle, not to be confused with the cookie version of the same name. The absolute best part about this muffin is how moist it is. I have seen so many recipes where the muffins were like bricks, thick and chewy. This muffin is moist and spongy. PERFECT.


As it stands, the recipe is perfect, but can you imagine what would make cinnamon and sugar better... APPLES AND CARAMEL! No really, my Hubbie fell over backwards over these muffins. I had to give up a little on my not-so-resolute-resolution, but it was totally worth it.

♥ Snickerdoodle Muffins ♥
Adapted from eat me, delicious

2 ¼ cups all purpose flour
¾ teaspoon baking soda
¾ teaspoon baking powder
¾ teaspoon cream of tartar
¾ teaspoon nutmeg
2 sticks butter, room temperature
1 cup sugar
2 eggs
2 teaspoons vanilla extract
1 ¼ cup sour cream

Topping:
½ cup sugar
1 tablespoon cinnamon

Preheat oven to 350 degrees. Line baking pan (cuppies) with wrappers if desired, or spray.

Mix Flour, Tartar, baking powder, baking soda, and nutmeg.

Cream butter and sugar, add egg and vanilla. Slowly incorporate dry ingredients and sour cream until smooth (use spatula on the sides and bottom of the bowl to be sure).

Mix 'topping' (cinnamon and sugar) in a small bowl.
Using an ice-cream scoop, and scoop an amount and place in the 'topping' bowl. Roll batter around to coat (or simply place cinnamon/sugar in the bottom of the cuppie tin and sprinkle liberally on top).

Bake for 20-25 minutes (or until light brown on sides/top). Cool.

Yield: 24 Muffins.

Want to step it up a notch? Keep reading!


At about the point that the muffins were cooking was when Hubbie suggested a dessert with apples and caramel. That got my brain in a tizzy. I thought... CINNAMON, SUGAR, APPLES AND CARAMEL... IT'S A PIE IN A MUFFIN'S FORM!

So, I began to make up the caramel. It's super simple!

Caramel/Apple filling

1/2 c BUTTER (Must be butter)
1c brown sugar
1 large apple ( granny smith (best) or Macintosh).
1 tsp vanilla

Cut apple into small cubes. Place butter and brown sugar, vanilla and apples in a thick-bottomed saucepan. On Low-Medium heat, melt butter and sugar until the sugar begins to boil lightly. Stir often! Continue to bubble on low for 5 minutes, or until much of the water from the apples has been cooked off and the mixture is smooth. Let cool (not completely) until warm.

Core the muffins (take the centers out with a knife... eat them! EAT THEM!) Pour apple/caramel mix into the centers of your muffins. If you wish, garnish with walnuts or Pecans for a nice contrast in texture/flavor.


EAT THEM! \(휴) /


You will seriously not regret making these muffins. I have never seen a muffin so wonderful, so moist and so scrumptious. The apples and caramel are DIVINE! The thing I liked the most was the simplicity. As you can tell, things have been pretty busy, and I've not had a lot of time to bake. From start to finish, this recipe took one hour. That's all! When time is precious, you need to make something that will be amazing as well as time efficient.

Hope you all enjoy!!

post signature

Friday, January 6, 2012

Hooo Will Always Love you ?

YAY! I'm back to baking. I have to admit that this break was lacking greatly in this way... I really, REALLY wanted to do some baking, but had no way to, which was sad.

So, now to start this year off right! My first real post of the year (Minus the 10 for 2011 post I did just after the New Year). Owls are awesome, and I am cheesy enough that I like playing with their name.
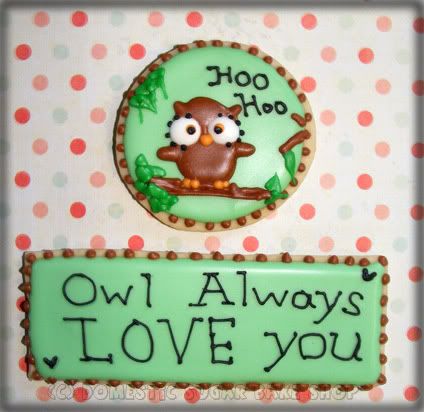

Yeah, That's right! Silly sayings make everything better. I told you all on my Last Owl Cookie Post that I like to say silly things like Owl Always Love you. This time, however, I did not offer to do the dishes and instead spent the entire time creating a large sink full of piping bags, tips, spatulas, and bowls filled with rock-hard royal icing (which washes away with water... after soaking). One of the best things about cookies is the colours. I love adding different colours, but the problem will always be my reluctance to do the dishes afterwards.
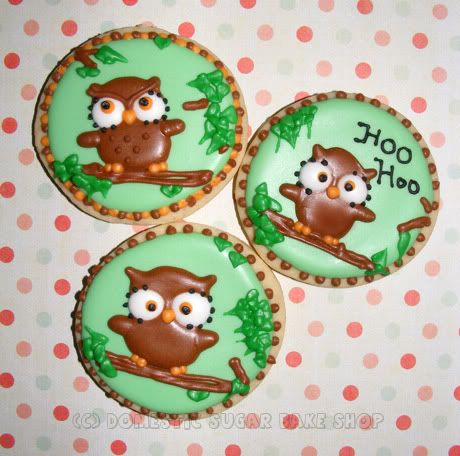
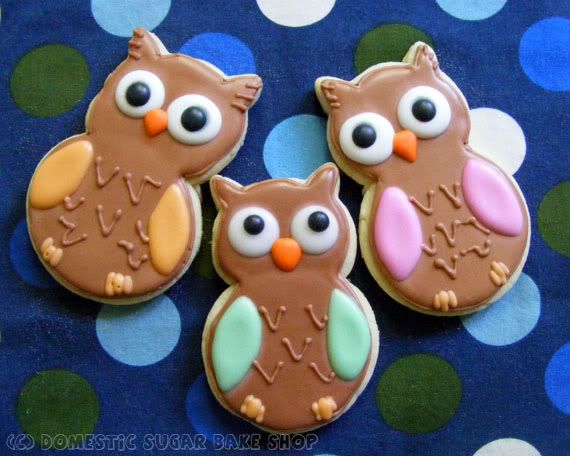
Looking up above, you will see the owls I created, one looks a little angry, but I like his crest. I keep thinking he is the daddy owl, and that those two beside him are the baby owls looking cute. I wanted to do a different kind of cookie this time, a round picture cookie, but I wanted to play with the owls as well, so I took a look through Google Images to see the different looks, and I didn't find anything of what I imagined. I instead took out a sheet of paper, and sketched out a design... then piped it together:
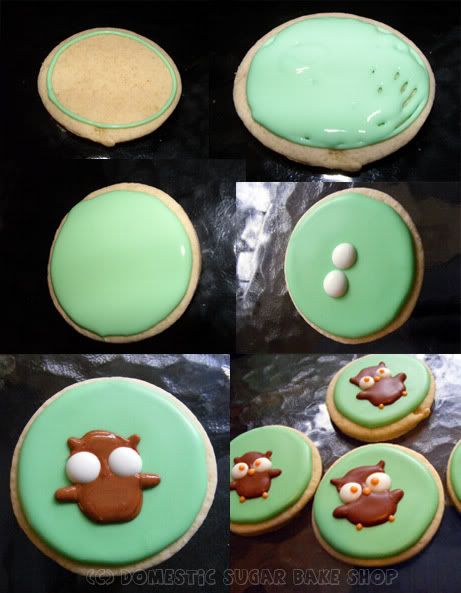
Of course the last thing I do is sketch in the details. Not a huge thing, but I got lazy and stopped taking pictures. You can fill in the blanks as to what came next.

How, I have had so many people asking me about my royal icing recipe, and I never know how to tell them that I don't have one, not written down anyway. I have tried to fill in recipes for this in the past, but now I just eye-ball it. I do have a formula for it, but it is loose.

Royal Icing a-la-Domestic Sugar
(Yeild... lots, enough for a few piping bags at least)

5 tbsp Meringue Powder
1/3th c water

Dissolve Meringue Powder in the water, using a blender to froth it a little. Make sure that there are no 'crystals' of the powder left... some brands are granular in texture, try to use something like Wilton - though I hate to say it - as it is a better brand). Once it is dissolved...

1tbsp flavor (or equiv. I sometimes use flavor oils as they have a wonderful full, unique flavor... in those cases, use a drop or two).
3-5 c powdered sugar/Icing sugar
extra water (1/2c ?)

This is where things become different. Because icing can have different textures, you will need to eye-ball it to make it the way you want it. I use the 3 second test. If you add and mix up your icing, and you want it to be like the owls above (thick without boarders), then mix it up and run a spatula through it; count to three or five, or give it a little shake. If the icing has flattened out and you cannot see any lines sticking up, you are golden. If you can see lines, add a few drops extra water... and if it runs flat right away, add more Powdered Sugar.

What I suggest is that you find what works for you. Many people out there who try flood cookies make very thin flood, trying to extend the life of what they have, and in truth, you will get a cookie with a boarder that is higher than the middle design. That is less attractive. Try to use a thicker flood whenever possible, that way the flood actually balances on top of the boarder line. Looking below, at the old owls, you can see that I piped a line around the cookie shape, then flooded it (rather than above where I didn't use a line at all to outline). You can see that the flood is thick, and above the line; you want that! The flood is thick and rich, it is not thin at all. Thinner Floods will dry and cave in.
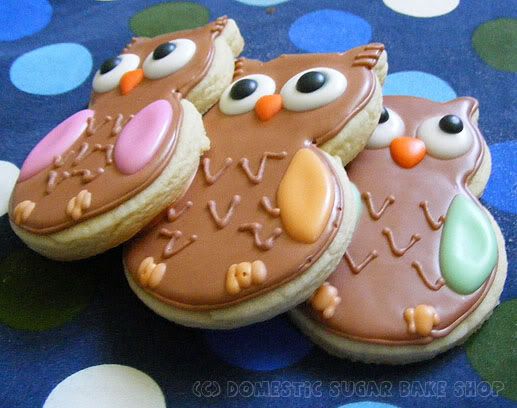
Well, in truth, I am not actually sure if my recipe helps in the least. I am not scientific about the flood. I just go with whatever I like. For example, below, on the cards, I used a thick flood (No lines necessary) and a thick, stiff icing (less , way less water) to pipe the words. Icing is not an exact science, and wherever you live, be it humid or cold like here, affects the icing. Just play around with the water/sugar ratio and see what happens. If you look at one of my first cookies, you can see that they are also not well filled with icing.
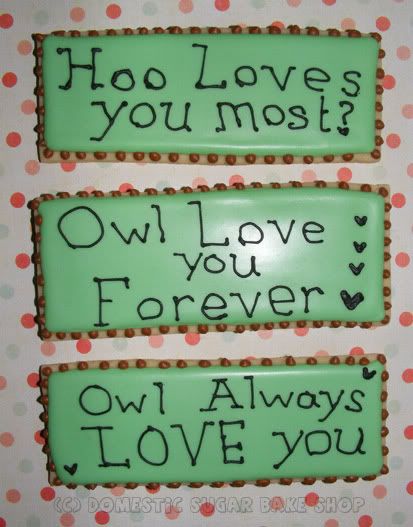


Okay, this post is wordy. Maybe some of you read it though and found it helpful maybe some of you didn't. I just home that you enjoyed the pictures at very least.

I wonder what I am going to do next... hmm? Any suggestions \(°˛° ) ?

post signature

Sunday, January 1, 2012

Top 10 for 2011

Hey Everyone!

Been having a ball this break, but I am super exhausted now. Instead of baking (of which I still have tonnes), I am doing my yearly 10 for the year.

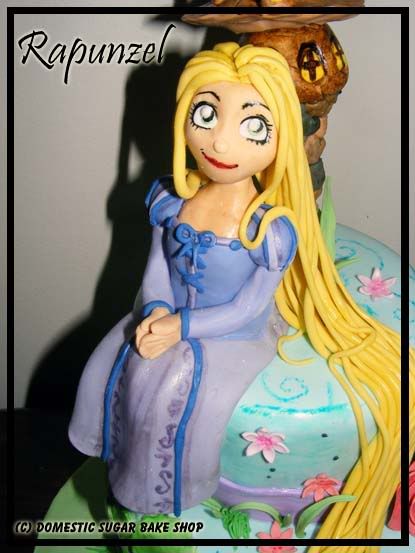
Coming in at Number one is my first Rapunzel/Tangled Cake. I love this cake. It was my first big project of the year and it was absolutely fun. I am surprised at how popular it is, and am super glad that people like it.

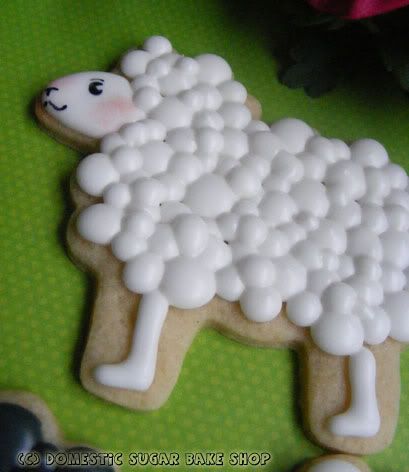
My Little Lambs made quite the stir. I love the effect of the bubbles for fluffy wool.

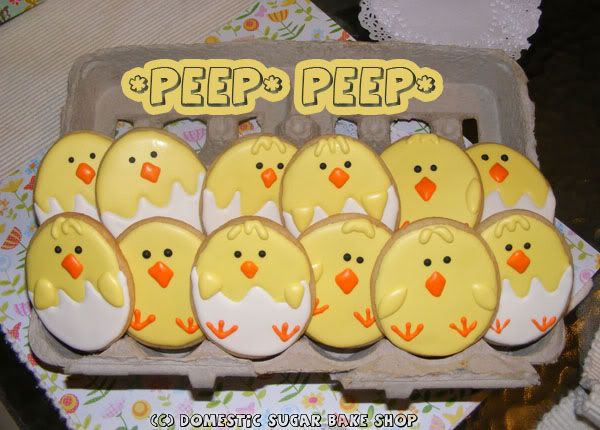
And Who does not like these little Chickies, all snuggly warm in their carton.

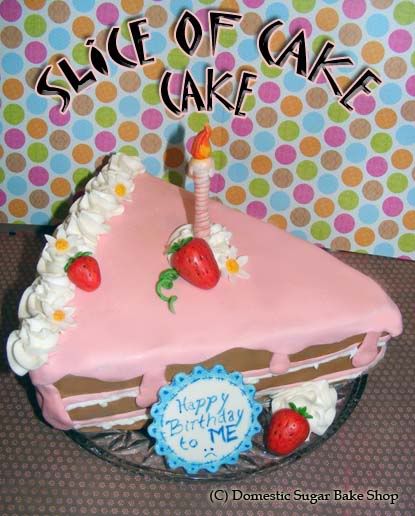
My personal favorite was actually my Birthday cake for this year past: The Slice of Cake Cake.

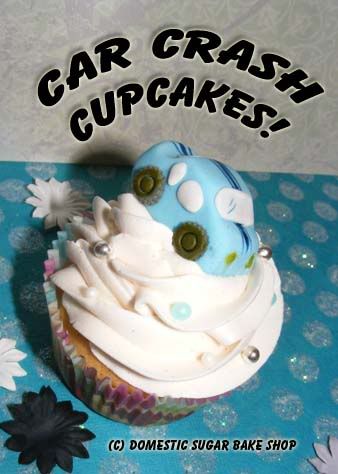
My Car Crash Cupcakes told the wonderful story about how we need to get a new car :)

Owl cookies are super popular, and apparently, so were the Owls I made for my School's pot-luck.

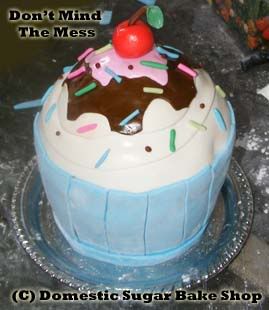
And this year, being the year of Tutorials, was a great one for my small Cupcake Cake Tutorial.

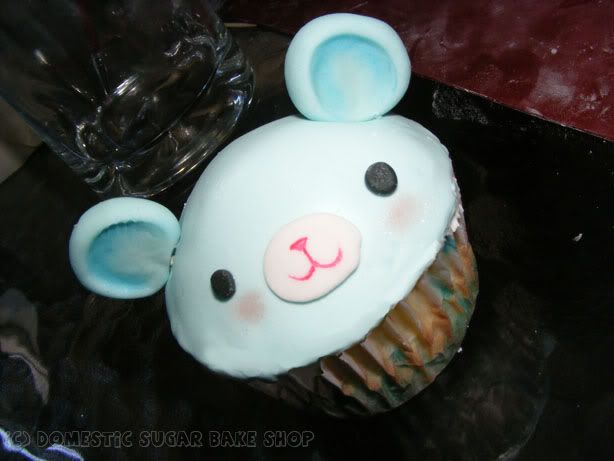
This post is a favorite: The Cuppy Bear I made for a guest tutorial. Super cute!

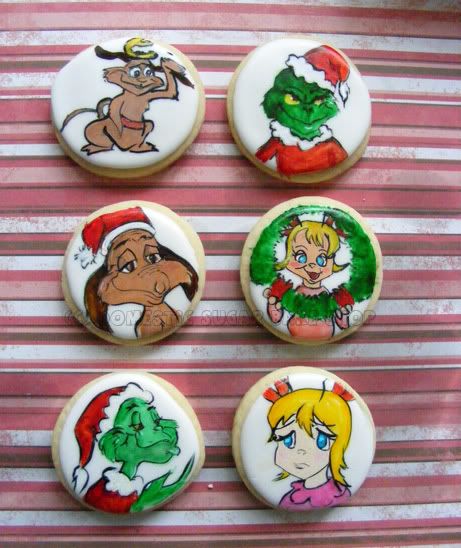
And this Year's painted Grinch Cookies was pretty awesome as well.

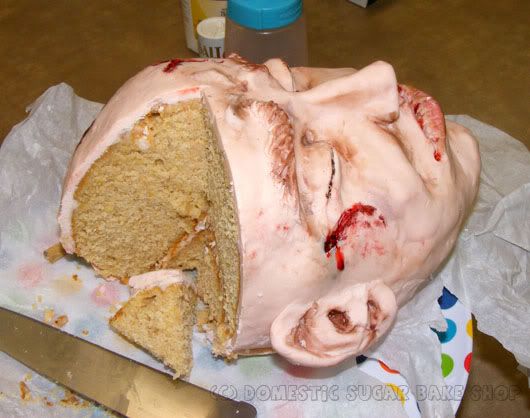
And finally, let's not forget the Uncanny Valley Head Cake, which freaked out my kids and coworkers alike.

Well, those are my 10 for 2011. What did you do this past year?

post signature