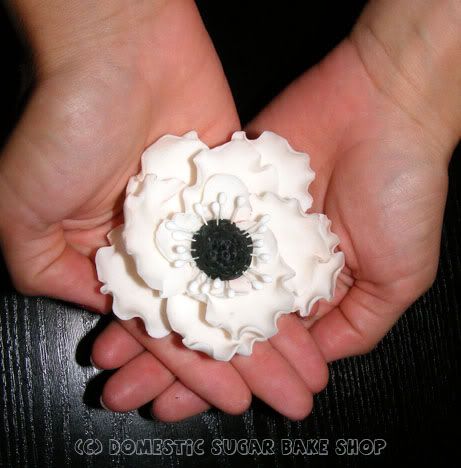
As promised, I am posting up a step-by-step for a Sugarpaste/Gumpaste Anemone. This is a very simple flower to make for cakes and goodies. I kept a couple if a vase for a while because they simply look that nice, but it's up to you what you do with them. Cakes is the more conventional sugarpaste use though.
As a little note, Sugarpaste is really Gum Paste (gumpaste). It's a mixture of glucose, sugar and gum-tex. I use the Wilton brand powder and mix generic glucose in. Your choice. Just note, this can only work with a type of dough that hardens, so Fondant will NOT WORK on these flowers.
As a little note, Sugarpaste is really Gum Paste (gumpaste). It's a mixture of glucose, sugar and gum-tex. I use the Wilton brand powder and mix generic glucose in. Your choice. Just note, this can only work with a type of dough that hardens, so Fondant will NOT WORK on these flowers.
On to the tutorial!!
To start you will need a few things. I try to re-use tools and items whenever possible so I don't have to buy a lot of tools, but some things are quite necessary:
 1. You will need pre-made sugarpaste (has to be made 8 hours in advance and let rest). You can colour it whatever colour. You will need the flower colour and a black piece for the middle.
2. You will need two sized circle/oval cutters (small and medium) for petals.
3. You should have a foam square for shaping and ruffling flowers (and gumpaste). This is again, a 5 dollar Wilton purchase.
4. You will need a bowl or a flat surface. I have made them on a plate or a bowl; the bowl rounds the flower nicely, so I prefer it. Your choice. It should be pre-dusted with powdered sugar to prevent sticking.
5. A ball-tool (seen two pictures down) to ruffle the flower.
6. (not pictured) something to roll out the sugarpaste... a cup, a rolling pin, whatever works.
7. (not pictured) a small bit of water in a bowl and a paintbrush to apply the flower petals together.
8. (not pictured, (-ι_- )<{sorry}) floral pistils (black is best, but I like the look of white).
READY?!
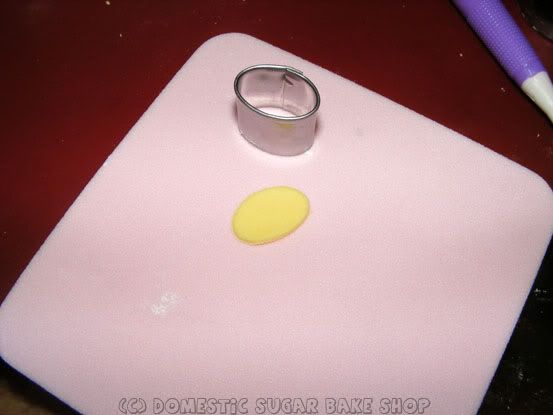 So, roll out the sugarpaste (quite thin) and cut out an oval/circle to make a 'petal'.
Place on the foam.
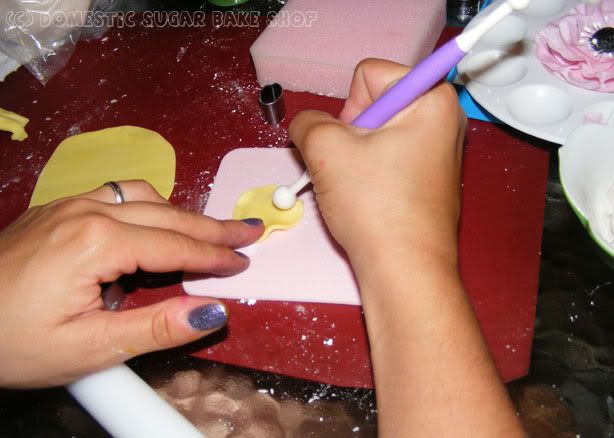
Using the ball-tool, drag the ball around the edges of the 'petal'. I like to have half the ball tool off the sugarpaste form. Apply pressure, but not too much. Dragging and applying pressure thins the paste and causes the ruffled bulges. Do this for all but one 'side' of the flower (like in a U shape).
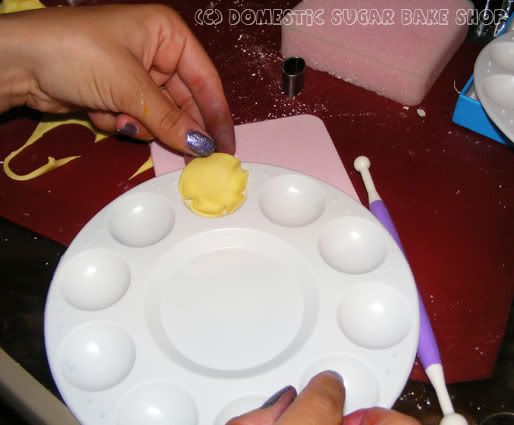
Now, if you don't have a paint pallet, that's okay, you can use large spoons, but place the petal in the spoon or pallet so that the petals are forced to curl a little more. I drape the back end of the flower petal over the edge of the pallet so that it remains flat.
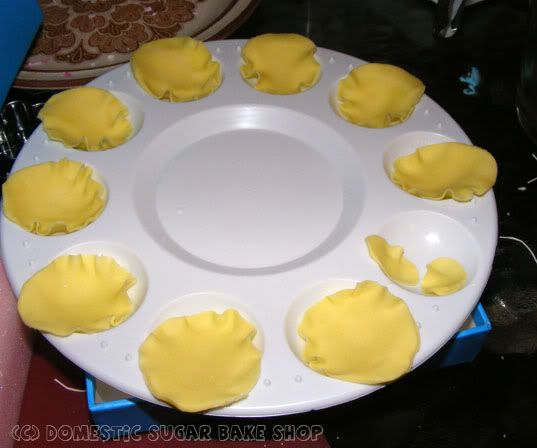 For my Anemone flowers, I use 9 large petals and 3-4 small ones, so, repeat until you get the desired petal amount. You'll see why in a second...
LET DRY FOR 20-30 MINUTES!!!
... OR until the ruffles are hard but the opposite end is still a little soft.
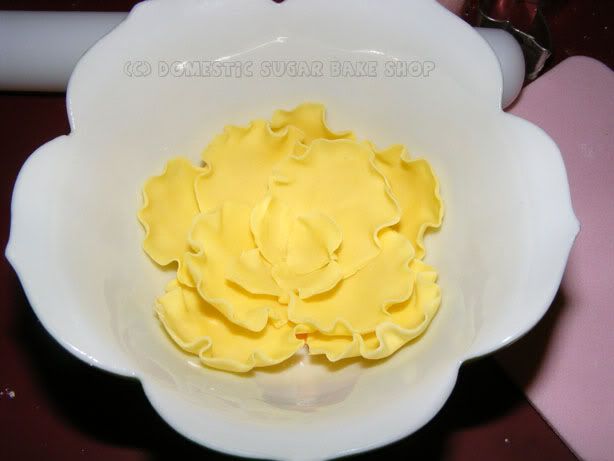
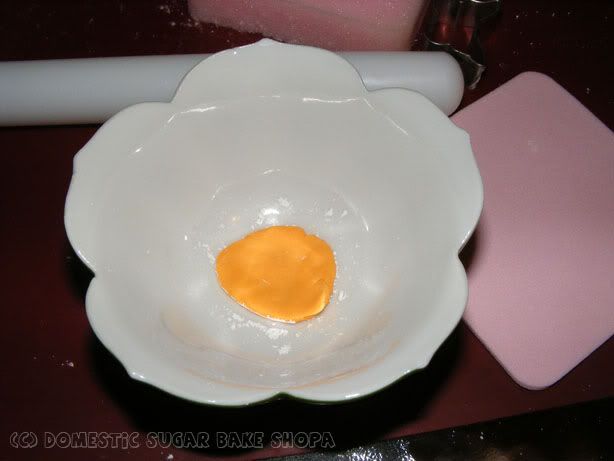 Now, going to your bowl/rounded/flat plate, place a piece of sugar paste on the bottom (flattened like the other pieces, but not ruffled). This is going to be the part that hold all the petals together. Make sure the bowl/rounded/flat plate is well dusted.
I used orange to show you, but normally I would use the same colour.
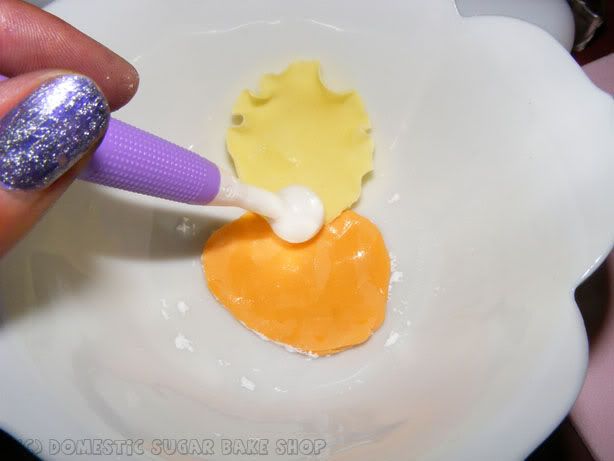 Now, with your hardened-ruffled petals, take 5 (one at a time), and apply them to the center using water to 'stick' them to the center piece. Do the same for the 4 other petals (or however many you want).
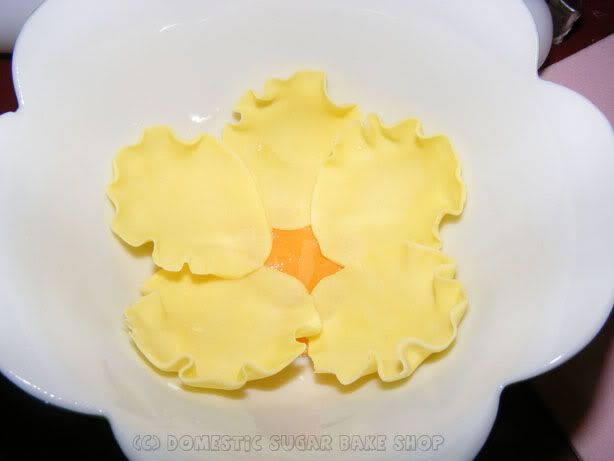 ONE LAYER DONE!!!
 Now, do the same for the 2nd layer. Wet the bottom layer ever so much, (remember, more water = longer dry time) to stick the petals to the base. If you find the petals are drooping, wait 10 minutes more, then don't add more, and apply a little tissue under the already-placed petal to prevent further drooping. Once dry, you can continue to add the four center petals.
Finally, add the 3-4 smaller petals to the inner 3rd layer to complete the petal part! Almost there!
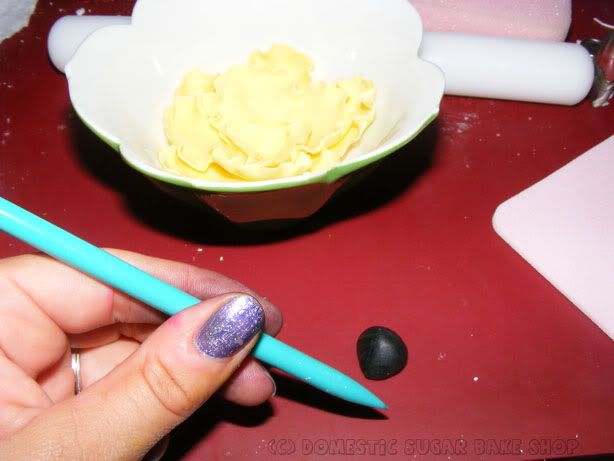
While you allow your flower to chill, grab that small piece of black sugarpaste I told you about earlier. Roll a small portion into a ball (big enough to fit into the flower) you can use a fork or a needle or anything to do this next part; here I have another sugar-tool... I call him 'Stabby'!
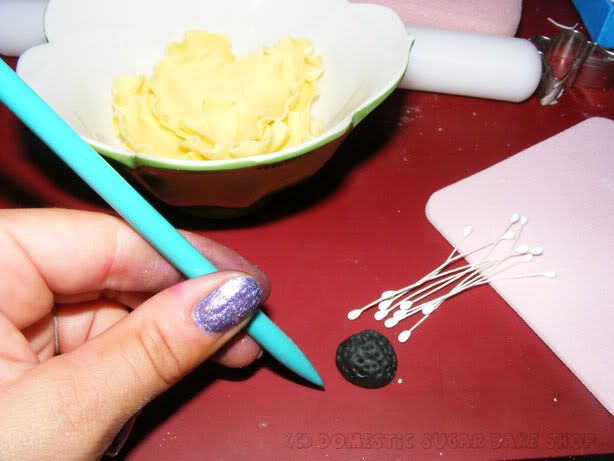 Proceed to use 'Stabby' to punch some texture into the ball. This will simulate the real look of an Anemone. Now, take the pilstils, cut them in half in various sizes, and shove them into the black center, like so:
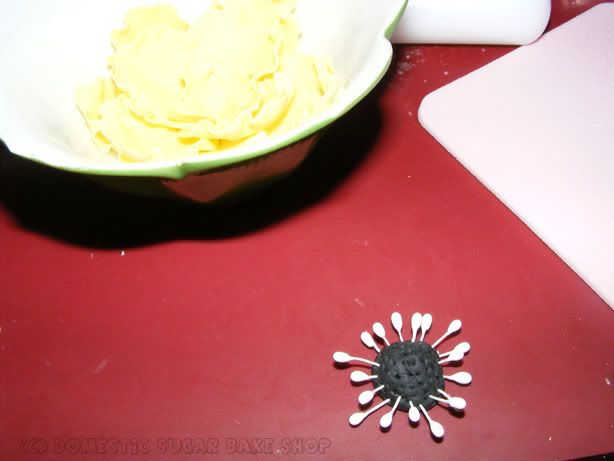 Okay, not take all that and apply it to the center of the flower.
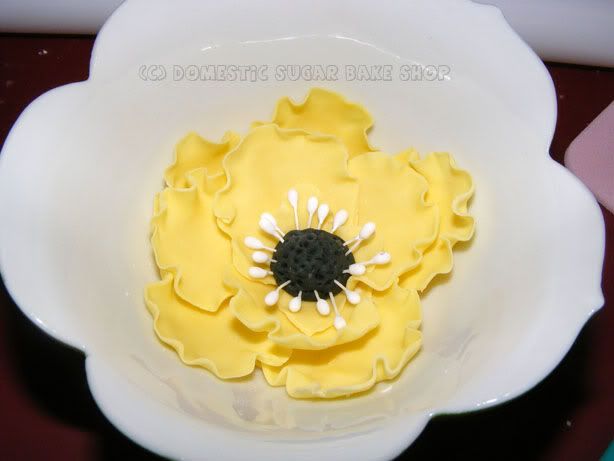
TA-DA! DONE!
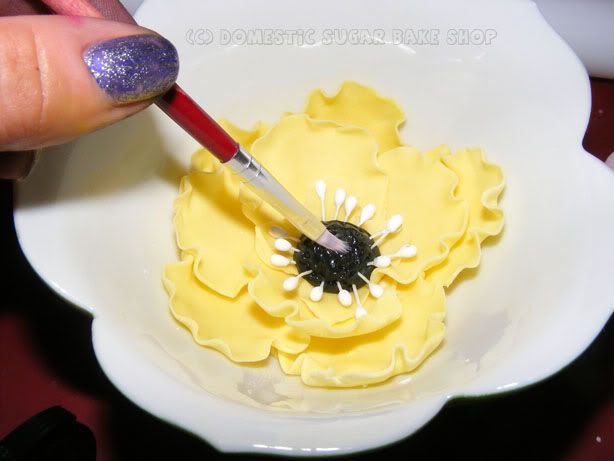
Before I add it to a cake, I like to take a little shortening and shine it up. Water will not work here... but this is a personal choice, not a necessary step.
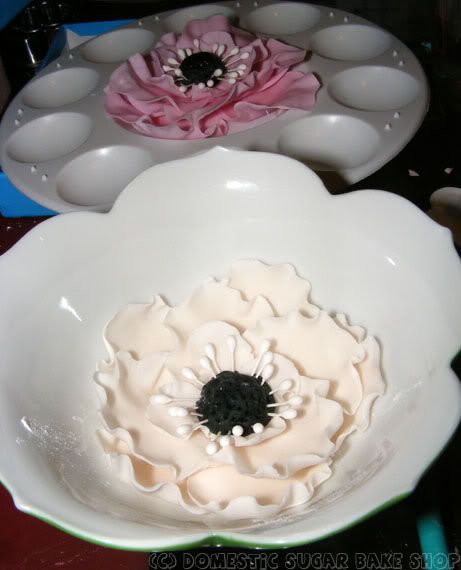
Let your sugar flower dry overnight or until you can pick it up. Be careful when moving it, as they crack very easily. I use a small baking-grade pair of scissors to coax it out of the dish. Whatever you do, be gentil. It's hearbreaking to have broken sugar-flowers.
And now you know how I make my sugar-flowers. Not magic, just patience (which most who know me are shocked to see me have) ヽ(*`ヮ´*)ノ <{ENERGY}.
If you have any other things you are interested in, feel free to ask. I'm still thinking of a sugarpaste rose tutorial... Just got to find some time to snap the shots! Hubbie helped me take these ones, but I he's going away on a business meeting, so I'm all alone ;(-__-);<{so lonely}. At least baking gives me something to do!
Hope you enjoyed the tutorial!

10 comments:
What a great easy to follow tutorial. Thanks for sharing your tips. Most I have seen need special cutters but yours look super with the ovals.
Hi there- found you through the hop and am a new follower. You make t look so easy!! Wish I had the patience... I hope you have time to follow my life in South Africa by http://withoutcomplexities.blogspot.com
I hope you have a great week!
Love the tutorial! Pinning this now!
Thank you for the tutorial, always wondered how to make this flower. Thanks a bunch!
H
www.cupcations.blogspot.com
Excellent tutorial! Thank you for the pics, and clear instructions...I have always admired this flower, but thought it looked much harder than it seems it is.
thax for this instuctions. i really need them for a cake i gone make tomorrow..
1000 thanx
Hi! so if I use the oval cutter where should I thin out?
Thanks for sharing your tips.
Useful suggestions , BTW , if anyone have been needing to merge PDF or PNG files , my company encountered a tool here http://goo.gl/O3lkXT.
Your blogs further more each else volume is so entertaining further serviceable It appoints me befall retreat encore. I will instantly grab your rss feed to stay informed of any updates. buy sugaring paste
Post a Comment