I Really do LOVE fall.... I could not resist making some cookies. It has been a while.


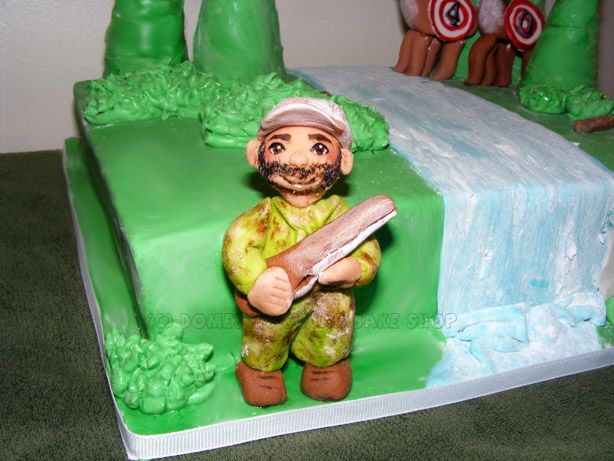

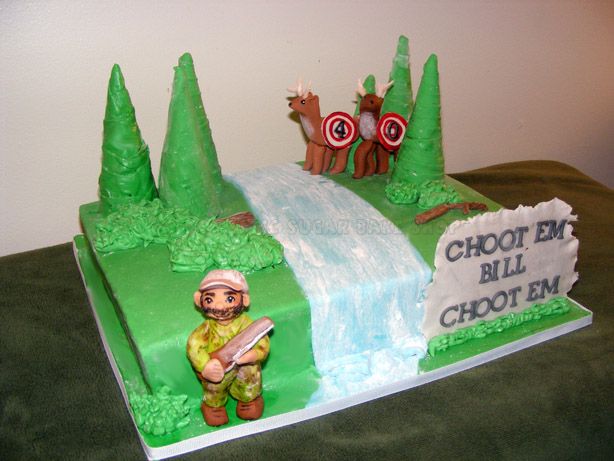
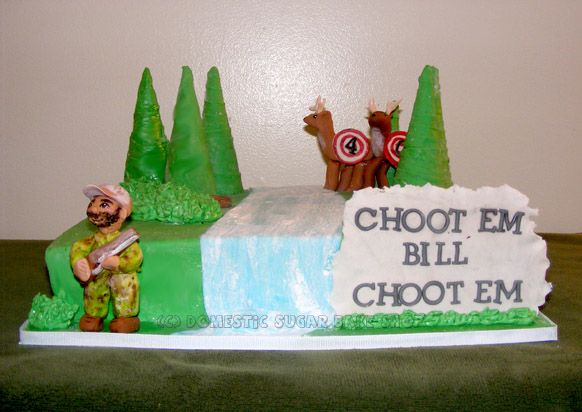
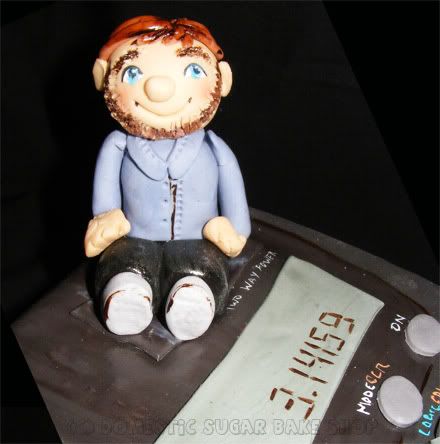
 The cake itself is Chocolate Fudge with Mocha Buttercream, covered in Chocolate MMF and accented with a gumpaste Mr. Spooner (AKA Hubbie).
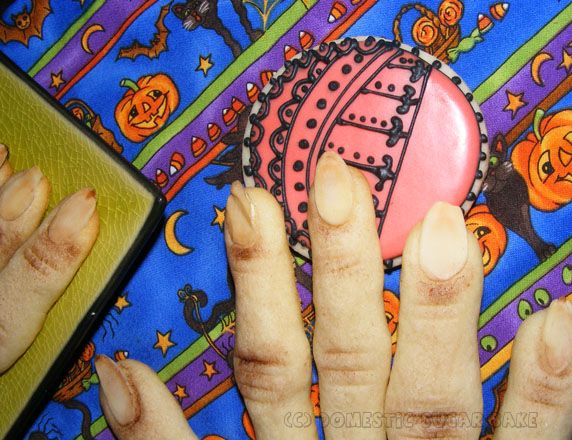
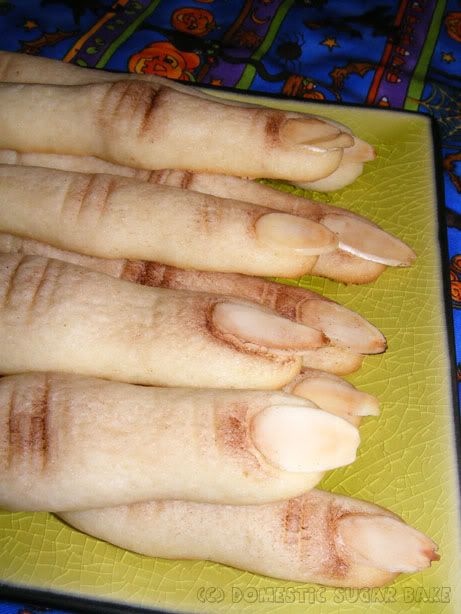
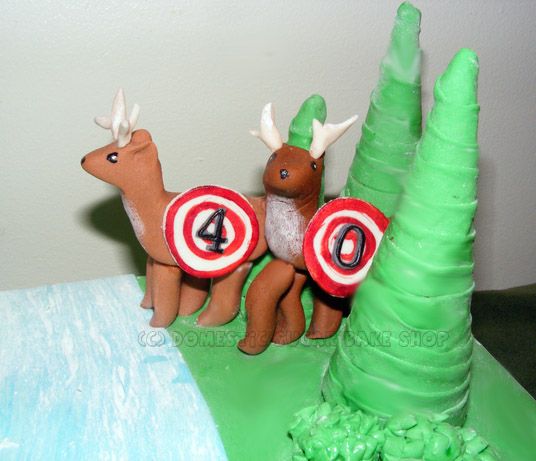
 (Can you spot the smudge on my camera lens?)


This year, our school is throwing a primary party, and the kids are going to do centers in costumes: I get to do the Drama/Singing center! YAY! I love seeing all the kids in their gear! I am super excited. Only 8 more days!
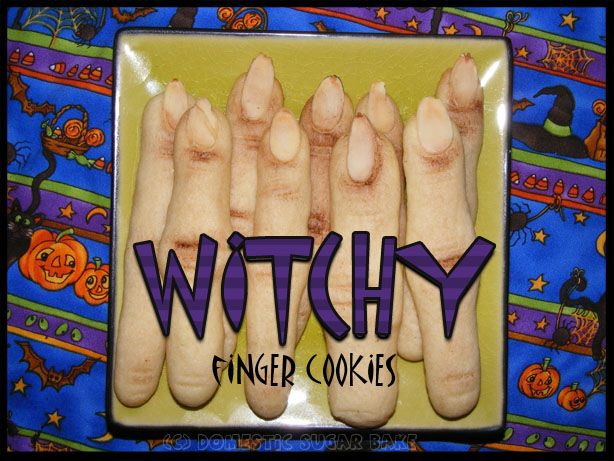
HAPPY HAUNTINGS!
 Start with your pasta. I mix 3 eggs, 3 tbsp water (maybe more), 3 tbsp oil, and 3 cups of flour. I make a well in the center of the flour, lightly beat eggs in a separate bowl with the oil and water, and slowely whisk the eggs to the outside of the well. In my pasta, I also like to add some flavor. Should you choose, you could add some great spices (Sage, Rosemary, and Garlic are my pasta triad). Once the mix is balled, work it together so there is no lumps/flour pieces. Let rest 1 hour in a plastic sandwich bag.
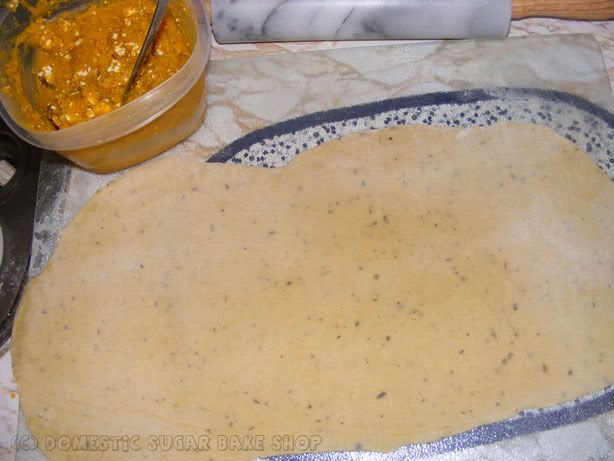
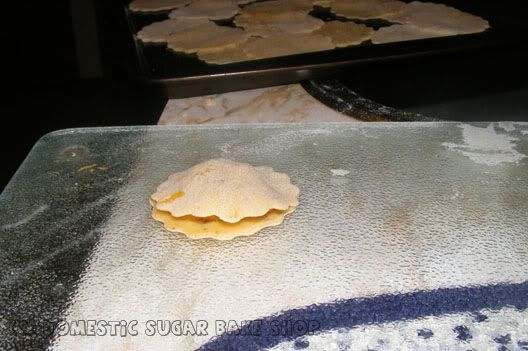
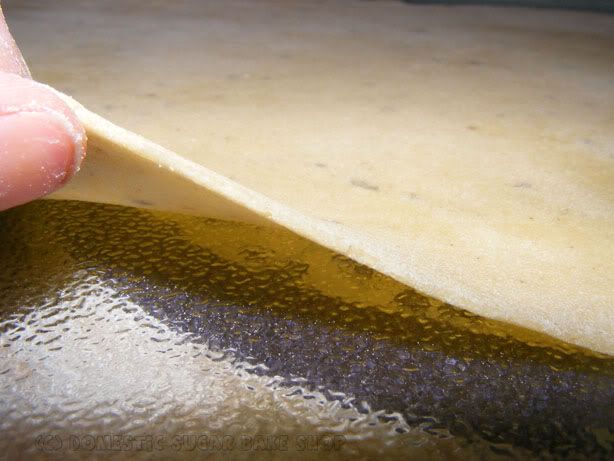 Keep your pasta from drying out. Make sure to grease up your hands, and keep it moist so it does not get all icky. Mine above is starting to dry.
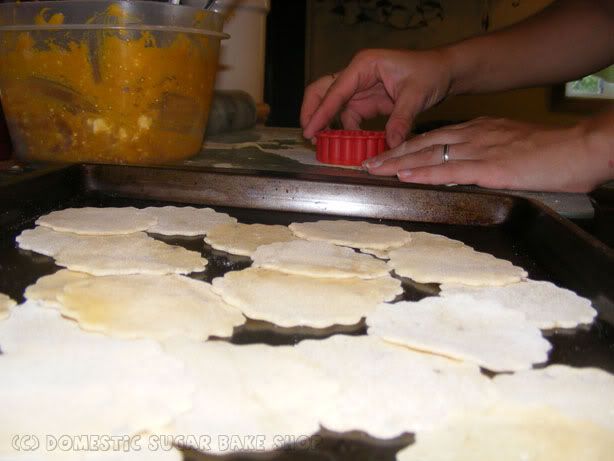
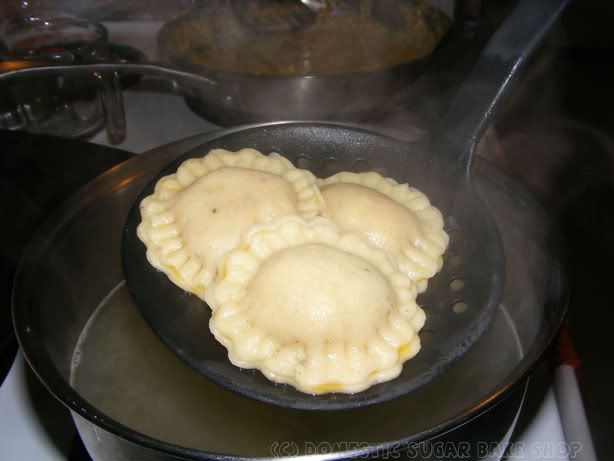
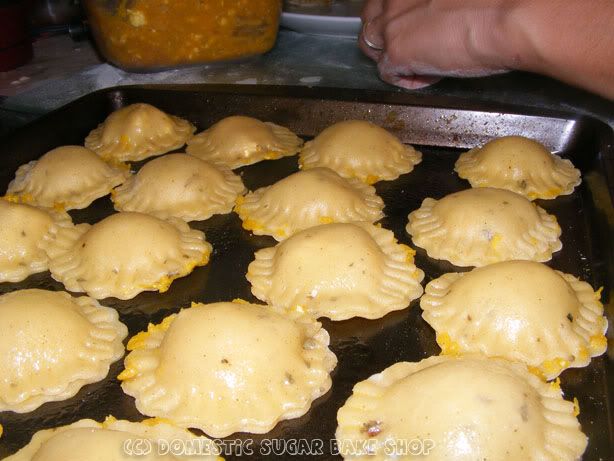 BOIL SOME WATER... this part is hard!
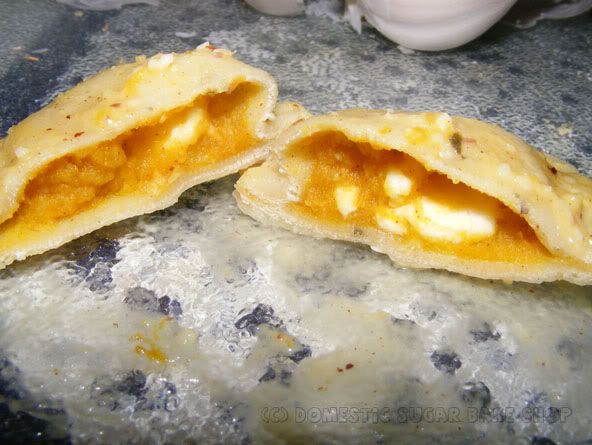
Beautiful! This is the inside of the ravioli! (Below)
This is a slightly sweetened supper dish. It makes about 24 ravioli, so you may want to double it for a family. It is also simple enough to get the kids involved! They can cut the pasta or even help roll it (thought it must be extreme rolled!). Nothing like a special home-cooked meal.
Other fillings I enjoy:
Rosted-Red-Pepper, feta and spinache puree
Ground-Turkey/ricotta
Ricotta/Spinach/Feta
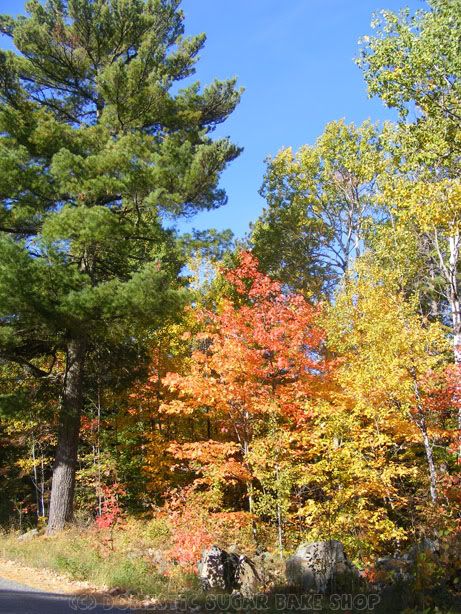
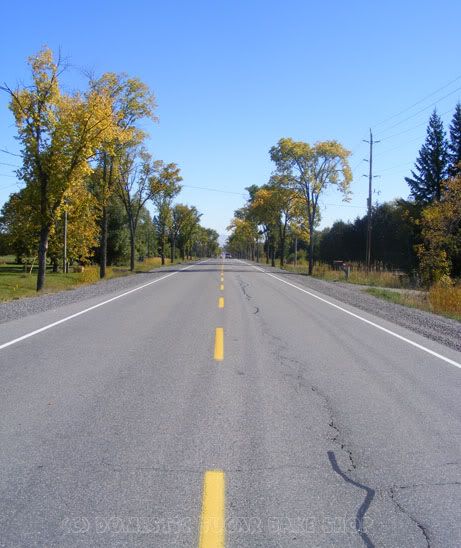
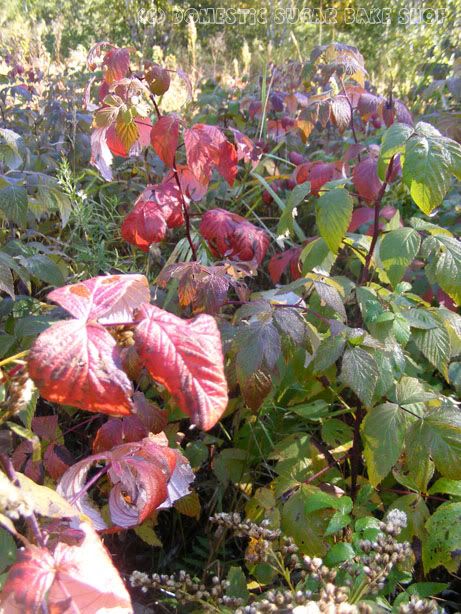
Now, again, I just feel like sharing the beauty of NWO, because honestly, it is like someone just took their paint bucket and dumped their warm colours all over the ground! IT'S STUNNING!
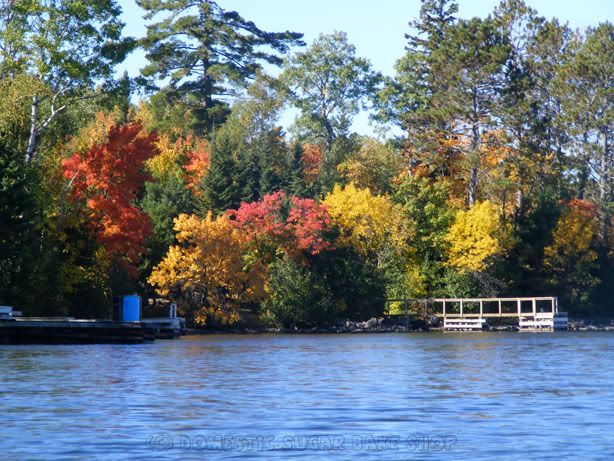
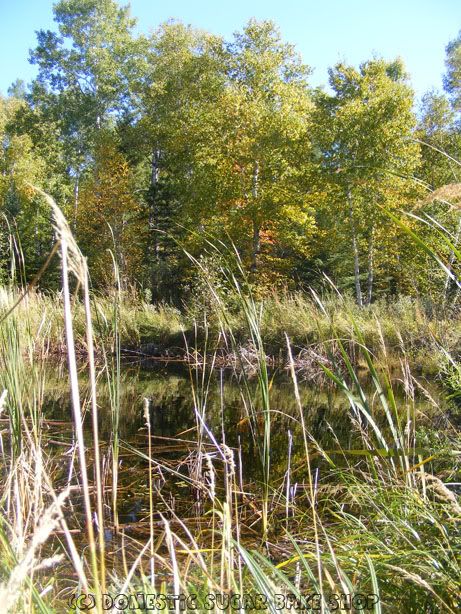
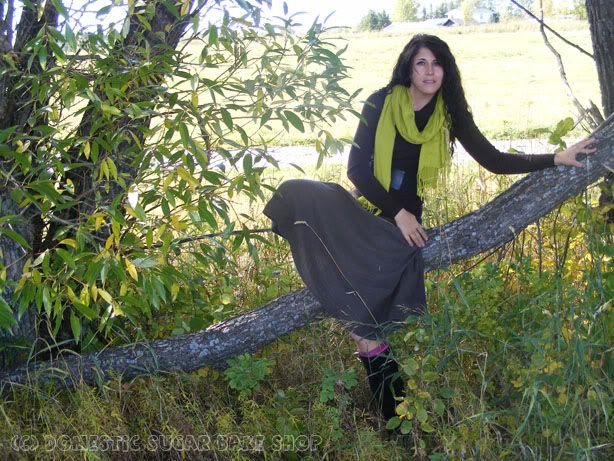
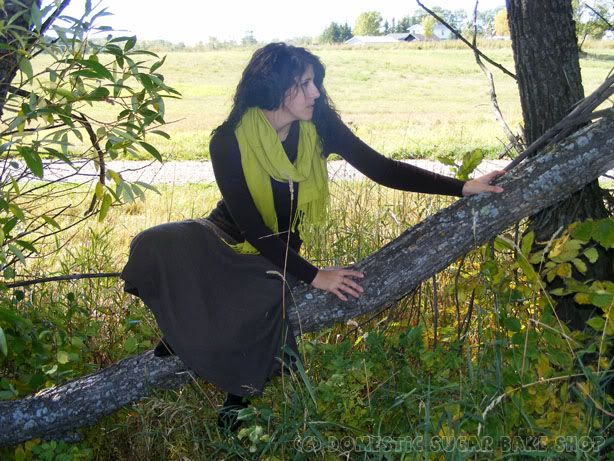
Notre tour en Canot
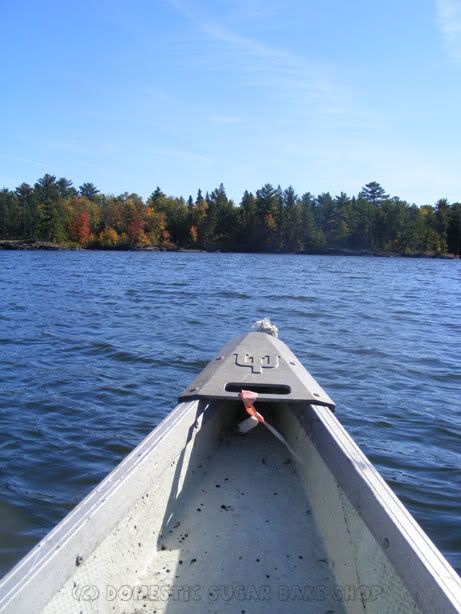
Les arbres qui sont très jolie!
 Et, sur l'eau, nous (moi et mon mari) avons vu ces arbre près du garer; c'était un très belle jour pour être sur le lac!
Now, to bake cookies!
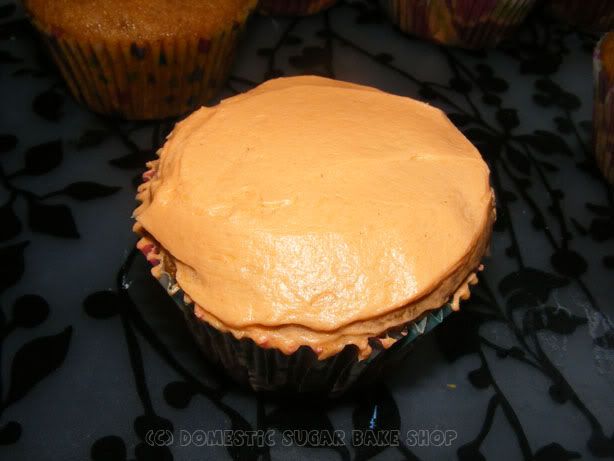
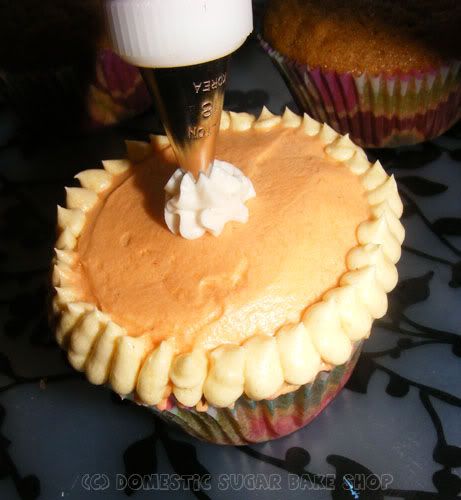
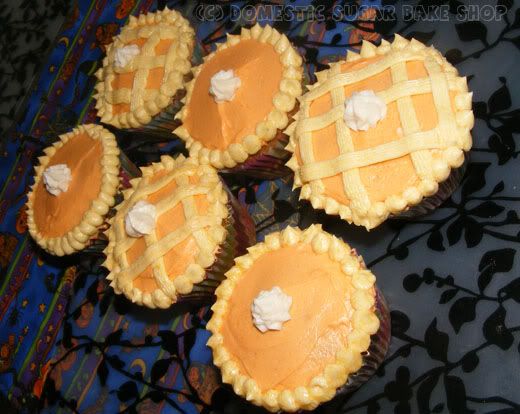 You will need the Pumpkin Pie Cupcake recipe as well as the Creme Cheese Frosting (or any basic icing recipe that you choose). You just dye the icing into three different colors, a small bit of white for the 'whipped cream, one a VERY pale orange (or yellow) and one a darker shade of orange.
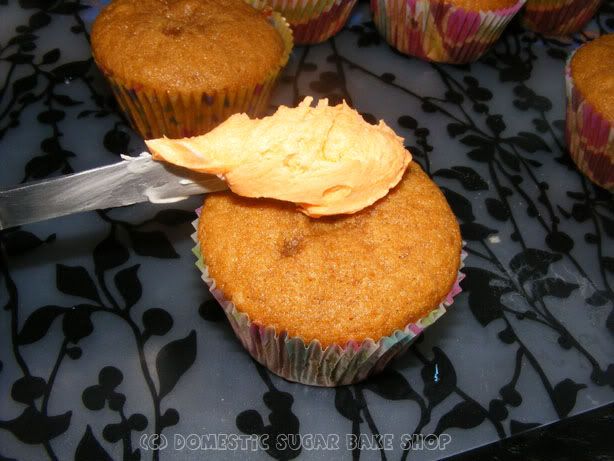
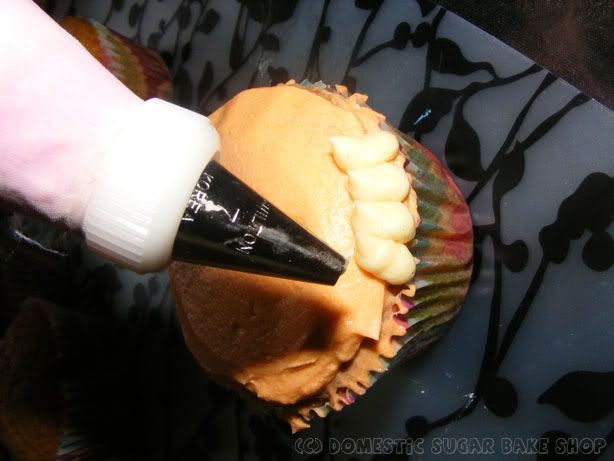
 Like So!
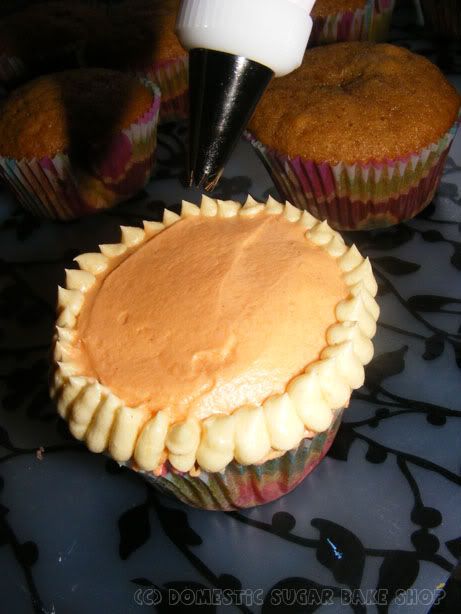
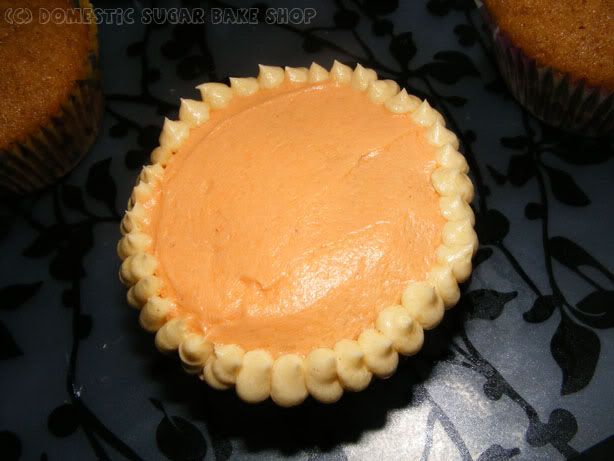
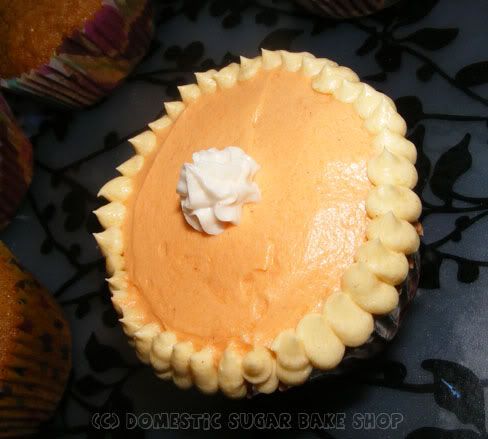 and Voilà!
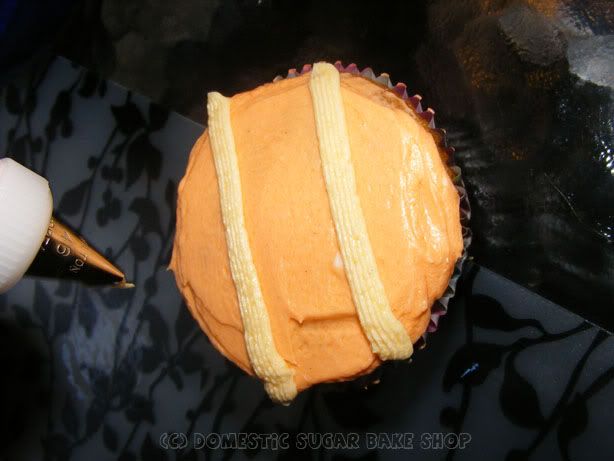
 Do the borders the same as above, and give this cuppie a dollop of the white 'whipped cream" and you have it!
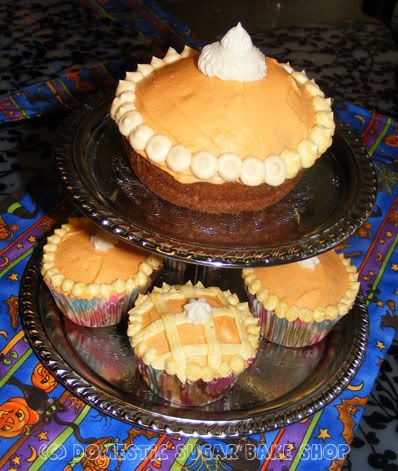
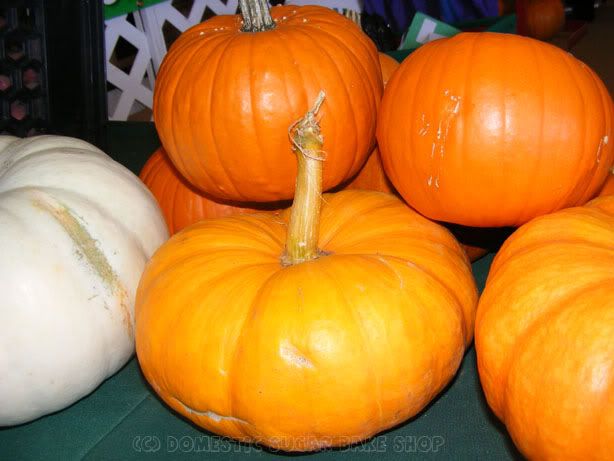 These pumpkins are from our local Farmer's market, grown out of EMO. The kind lady at the stand let me photograph hers, since the ones I bought from her last week were processed before I snapped some photos!
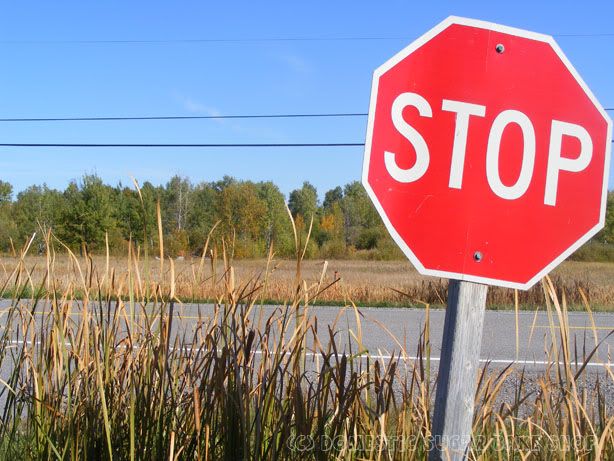
 ITCHY WORM!
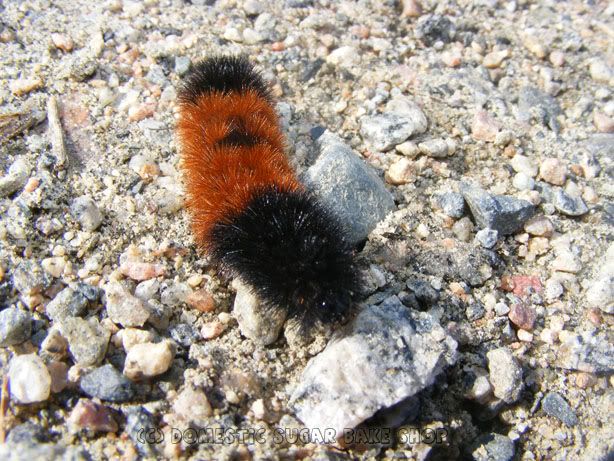