Showing posts with label Thanksgiving. Show all posts

Saturday, October 1, 2011

Feta-Squash Ravioli Tutorial(Recipe)

Have you ever wanted to make your own Pasta? It's not hard, but it does take some work. The reward is something tailored to your taste, and something without preservatives! In my books, that's worth it!

This week, because of all my squash/pumpkin cook-downs, I decided that I should make some delicious Squash Ravioli!

Start with your pasta. I mix 3 eggs, 3 tbsp water (maybe more), 3 tbsp oil, and 3 cups of flour. I make a well in the center of the flour, lightly beat eggs in a separate bowl with the oil and water, and slowely whisk the eggs to the outside of the well. In my pasta, I also like to add some flavor. Should you choose, you could add some great spices (Sage, Rosemary, and Garlic are my pasta triad). Once the mix is balled, work it together so there is no lumps/flour pieces. Let rest 1 hour in a plastic sandwich bag.

While that is resting, mix your filling. Since we are making the Squash Ravioli, that's the recipe I'll give:

Squash Ravioli filling:
1 c of squash puree
1 pinch cinnamon
1 pinch nutmeg
1 tsp brown sugar
1 pinch salt
1/4 c feta, crumbled.

Mix contents together, set aside and wait for the pasta.


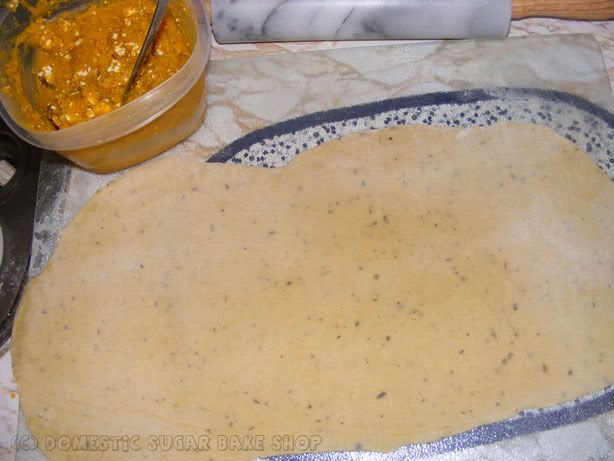
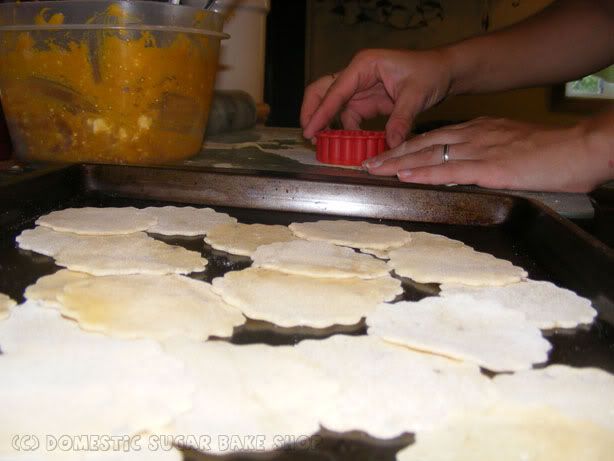
Now, take half of the ball, and roll it out either with your pasta maker, or if you are Hobo like me, grab your rolling pin and start sweating it out! Roll it flat, about 1/2 an inch thick.


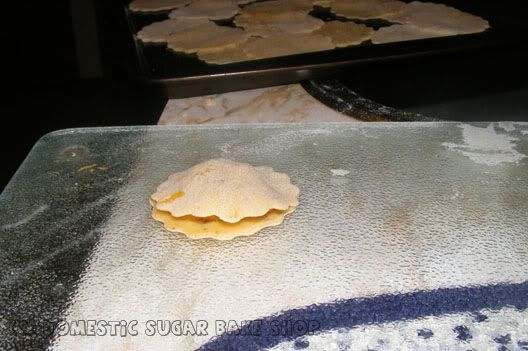
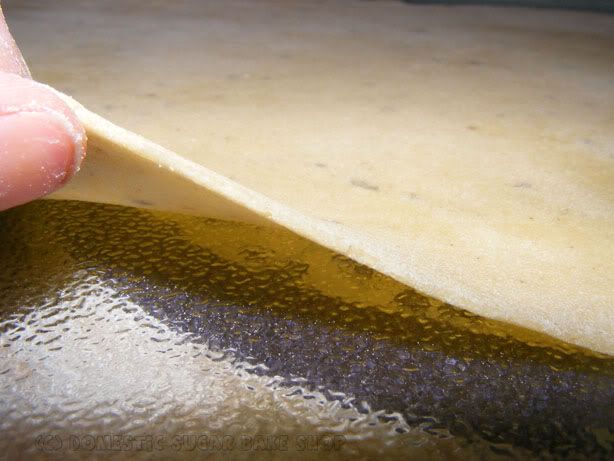
Keep your pasta from drying out. Make sure to grease up your hands, and keep it moist so it does not get all icky. Mine above is starting to dry.

Now, using a small crimped circle/square cookie cutter, cut out circles for the ravioli. Place on a baking sheet. Spray them with Pam.


Once that is done, take a little water, and dab around the sides of the ravioli circles. Now you need your filling. Spoon 1/2 a tsp into the center of the circle...


Using a fork, press down around the pre-wetted edges of the ravioli to secure them down. Spray again with Pam and place on a cookie sheet. Cover with a damp cloth or plastic-wrap until you have them all completed.

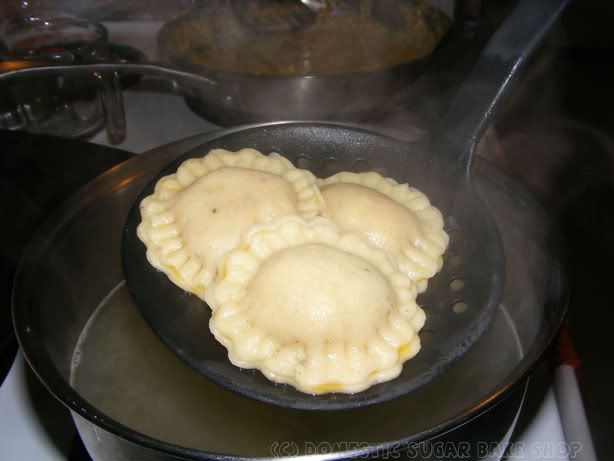
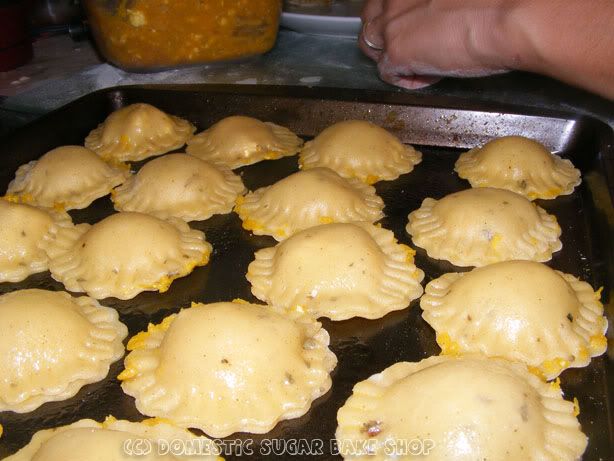
BOIL SOME WATER... this part is hard!
Dump your ravioli into the water and stir to prevent sticking. After about 6-8 minutes, remove pasta from the water, place into sauce.

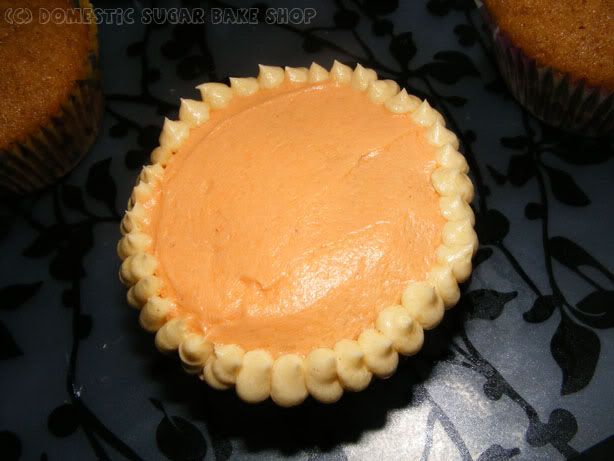
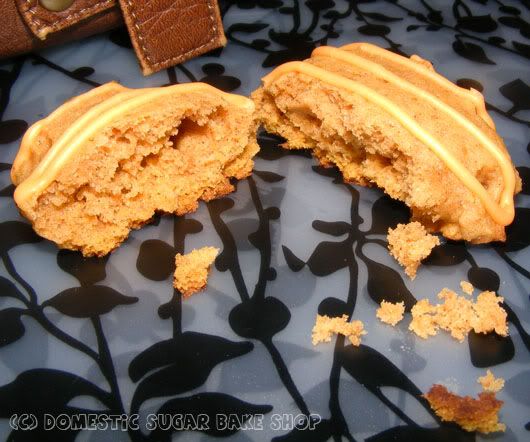
Beautiful! This is the inside of the ravioli! (Below)

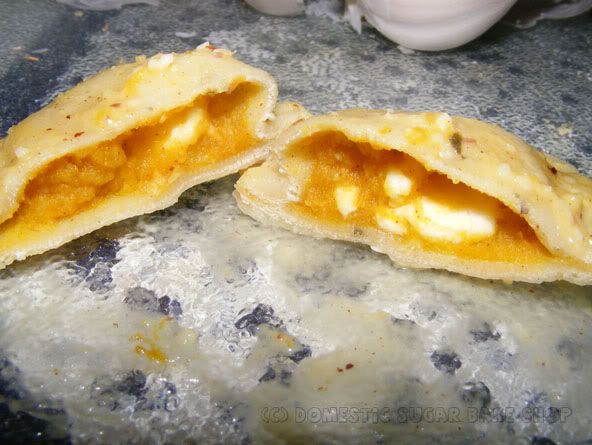
This is a slightly sweetened supper dish. It makes about 24 ravioli, so you may want to double it for a family. It is also simple enough to get the kids involved! They can cut the pasta or even help roll it (thought it must be extreme rolled!). Nothing like a special home-cooked meal.

Other fillings I enjoy:

Rosted-Red-Pepper, feta and spinache puree

Ground-Turkey/ricotta

Ricotta/Spinach/Feta


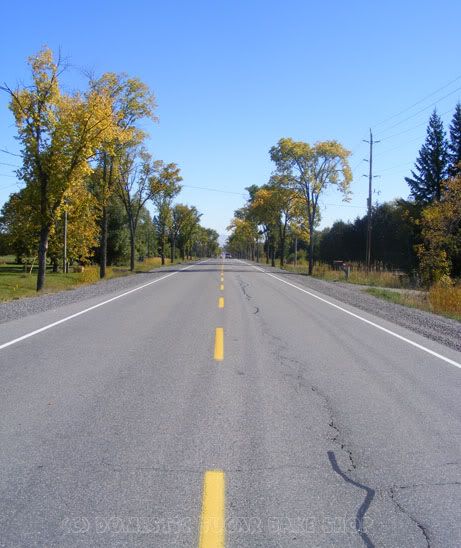
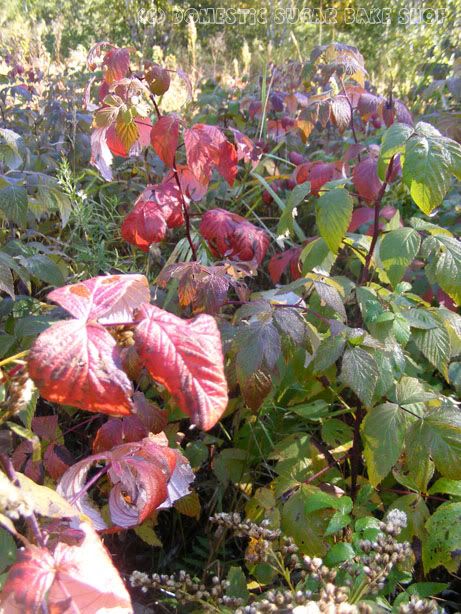
Now, again, I just feel like sharing the beauty of NWO, because honestly, it is like someone just took their paint bucket and dumped their warm colours all over the ground! IT'S STUNNING!
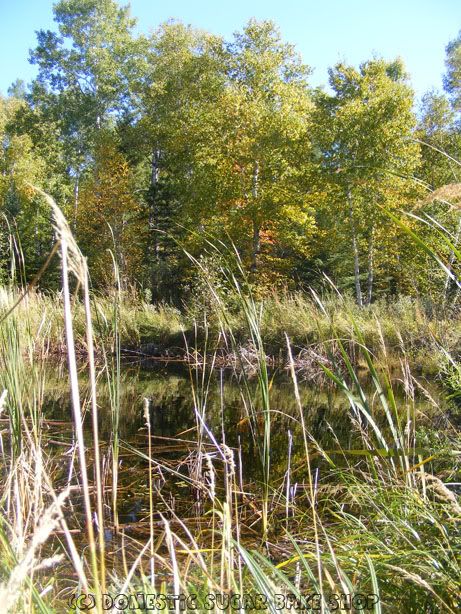
Notre tour en Canot

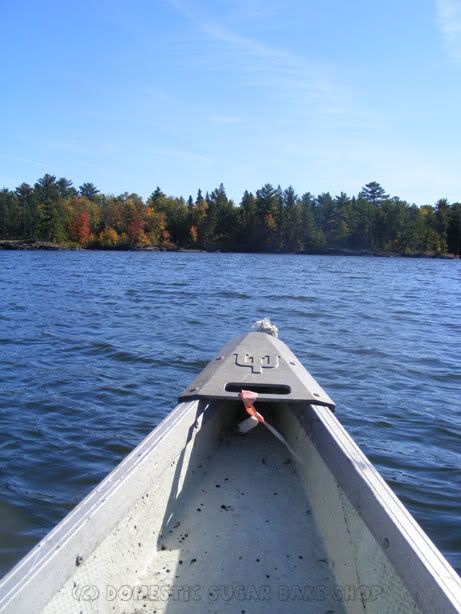
Les arbres qui sont très jolie!

Et, sur l'eau, nous (moi et mon mari) avons vu ces arbre près du garer; c'était un très belle jour pour être sur le lac!

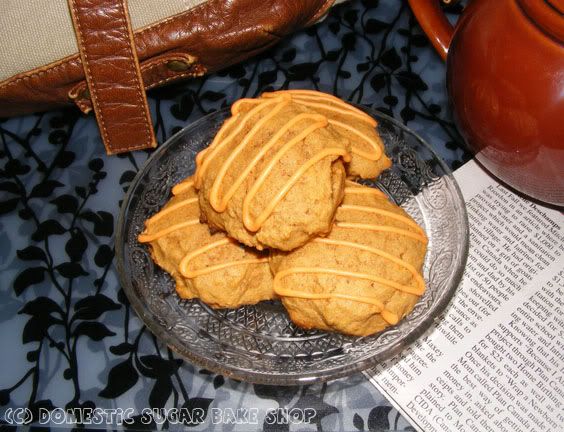
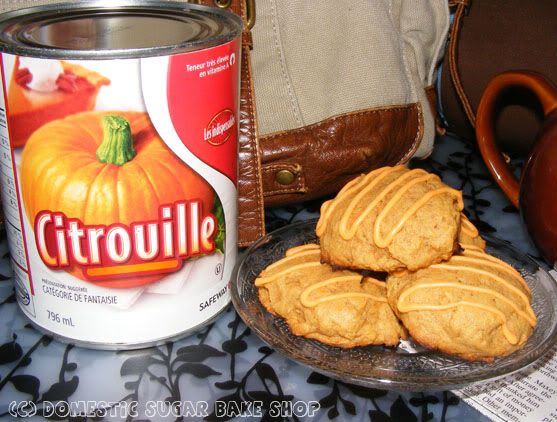
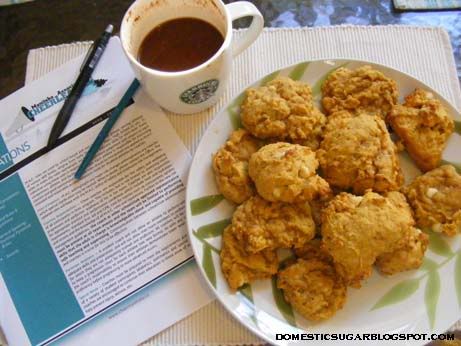
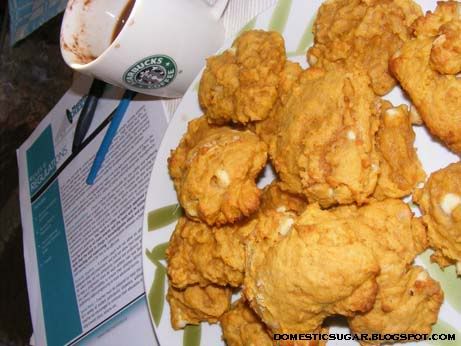
Now, to bake cookies!

post signature

Saturday, September 24, 2011

Pumpkin Pie Cupcakes and a Surprise!

Are we sensing a theme? Another pumpkin post. I have quite a few in store. This one in particular has me all tingly. It has been a year in the making, and comes with some special extras after the show.

The Pumpkin Pie Cupcakes that I made last year have been one of my most popular posts to date (second to my first Tangled Cake). The recipe is flawless... so good are the cupcakes, so moist that I always get requests for these from friends! Plus, they look so cute! I realize that they are easy to make too, but I decided to put up a detailed tutorial to show just how easy they are.

You will need the Pumpkin Pie Cupcake recipe as well as the Creme Cheese Frosting (or any basic icing recipe that you choose). You just dye the icing into three different colors, a small bit of white for the 'whipped cream, one a VERY pale orange (or yellow) and one a darker shade of orange.

There are two ways to make them. This is the simpler of the two:

Start by spreading the dark orange icing across the cooled cupcakes. I use a butter knife.. nothing special there (o__-);


After that, grab a piping bag or even just a zip-lock bag with a small hole in it. I use a Wilton piping tip 7 for this (which you can get at Walmart) and fill the bag with the lighter yellow/orange frosting. I pipe a bunch of dots around the outside of the cupcake to cover any area uncovered by the orange frosting.


Like So!

Now to make it look like a pie: It's simple; you can either do a small rounded dot of 'whipped cream' (also of frosting, this time white), or you cause the Wilton #8 star tip which gives nice edges, like the top of whipped cream can. Pipe that with a swirl....


and Voilà!

Now, option two is a lattice-work pie top. For this, you will need a good tip for the cross-lattice work. I use a Wilton tip #46 (I use a lot of Wilton tips, even though I actually don't really like Wilton products). This tip has a flat side and a ridged side that makes a nice pattern across the tops of the cupcakes:


(See the detail in the lines?)

Normally on pies it's layered, but for this, I keep it simple and simply make lines across the cupcake, then cross over them. It's not a perfect system, but it is much simpler than fussing on 'correctness'.


Do the borders the same as above, and give this cuppie a dollop of the white 'whipped cream" and you have it!

I had some extra batter, and being rather unprepared, I actually ran out of cuppie wrappers. So, below is a giant 'pie' cuppie I used a 4-inch cake pan to make. I thought that was a smart idea. A Pumpkin Pie Cupcake/Cake for two!


Now, for the BONUS MATERIAL!

I thought it would be a good idea to show you what has inspired me to bake so much pumpkin stuff. I love photography, but living in a small apartment with horrid light makes it difficult to get nice shots of things, especially since I bake mostly at night. I thought I would show off some of my home town, Fort Frances, the way I see it. I went on a little photographing excursion this week. I hope you see how beautiful the region of North Western Ontario is. Most people are afraid of the cold, and generalize it. It is such a beautiful area to live. Very peaceful!

This is what I captured:

These pumpkins are from our local Farmer's market, grown out of EMO. The kind lady at the stand let me photograph hers, since the ones I bought from her last week were processed before I snapped some photos!


Below the ride I take To and From work, as well as some beautiful shots of items of interest:


ITCHY WORM!
That's what we used to call them as kids.


Now, I'm not big on photography, but the area was so beautiful, my friend asked to take a couple of shots of me. So, me posing on one of the trees (by the stop sign) Note the sexy pink socks that so do not match my outfit. I love wearing knee-high socks, the more colourful, the better!!


Thank you so much everyone for following and reading. I get such pleasure in taking photos and baking. It makes it so rewarding to see that people actually care about my rants and ideas. It's a wonderful feeling to see new followers and try some of your recipes and ideas.

Next up, a supper dish!
Until then!

post signature

Saturday, September 17, 2011

IT'S FALL! PUMPKIN TIME! (RECIPE)

Ah Fall! The area around here has already begun to change. The gourds are coming out. We just got back from the farmer's market here. I got some great gourds (Buttercup, Pumpkin, Acorn) and am getting ready to cook it all down for pies, soups, and more! But, I could not wait to cook it... I just had to make myself a favorite recipe: PUMPKIN COOKIES!


These cake-like cookies are the best I've ever had. I love my old pumpkin-white-chocolate cookies, but these cookies are must more subtle, less sweet, and are so scrumptious.
They are not at all dry, and not wet either. Think of a puffy cupcake or a moist muffin; that is the consistency of these cookies!

Link
So, the recipe.... it's not actually mine. I have to give credit where it is due. I found this recipe originally on Allrecipies.com; these cookies on the site are called Iced Pumpkin Cookies (By 'Gina'). I've made a few alterations for me.

So, this would make it a re-post, but I really want to share it because it always gets rave reviews.

ICED PUMPKIN COOKIES
(originally by GINA) - Edited by me :)

2 1/2 cups all-purpose flour
1 teaspoon baking powder
1 teaspoon baking soda
1 tbsp ground cinnamon
1/2 teaspoon ground nutmeg
1/2 teaspoon ground cloves
1/2 tsp ground ginger
1/2 teaspoon salt
1/2 cup butter
1 1/2 cups white sugar
1 cup canned pumpkin puree
1 egg
1 teaspoon vanilla extract

Icing:
2 cups confectioners' sugar
3 tablespoons milk
1 teaspoon vanilla extract
1/2 tsp cinnamon extract

Directions
  1. Preheat oven to 350 degrees. Combine flour, baking powder, baking soda, cinnamon, nutmeg, ginger, cloves, and salt.
  2. In a medium bowl, cream together butter and sugar. Add pumpkin, egg, and vanilla; Beat until creamy. Mix in dry ingredients. Drop on cookie sheet by tablespoonfuls; flatten slightly; I used a spoon dipped in water.
  3. Bake for 10 to 15 minutes. Cool cookies.
  4. To Make Glaze: Combine confectioners' sugar, milk, and vanilla. Add EXTRA milk as needed, to achieve drizzling consistency, or leave thick to pipe onto cookies as I like (not so sweet). Let icing set.


Seriously, this recipe is a HUGE hit at any time of the year, but something about warm pumpkin on a cool fall day makes life wonderful! I hope you are all enjoying the season and are keeping warm.

post signature

Saturday, October 23, 2010

Pumpkin White Chocolate Chip Cookies

Pumpkin is a comfort food to me. I've always loved it. My favorite way to eat it is in cookie form. The Pumpkin Cookie is, and will always be, my favorite cookie. Why you ask? Well, it is soft, chewy, and can be paired with coffee? You can put cranberries, chocolate chips, white chocolate chips, nuts, or any other kind of addition into the recipe, and they still taste amazing! So, I'll share my recipe with you! If you've not already tried making pumpkin cookies, you should try it now!


Pumpkin White Chocolate / Anything Cookies

(you can sub white chocolate chips for anything really)

Ingredients:
1/2 c butter 1 c sugar
1 tsp vanilla 1 egg (large)
1/2 tsp salt 1 tbsp orange zest (yeah, that's right!)
1 c pumpkin 2 14 c flour
2 tsp baking powder 1 tsp baking soda
1 tsp cinnamon 1 c white chocolate chips (or anything really)

Directions:

Preheat oven to 350 degrees.
1. Cream butter and sugar together. Add and stir in salt, egg, vanilla and orange zest.
2. Mix try ingredients: flour, baking powder and soda, cinnamon and the 1 cup of chips or whatever.
3. Add dry ingredients into wet, alternating the dry with the pumpkin. Stir until incorporated.
4. Spoon 1 tbsp of mix onto a baking sheet. Bake for 10-12 min, or until cooked through.


Yes, if you are wondering, I ate the entire plate of cookies with my coffee. It was delicious, and I promptly went to bed... letting the fat settle in. Pumpkin is a vegetable right? it's healthy? Ah well.

post signature


Sunday, October 17, 2010

Winter is just around the corner...

Most of you probably hate me for remind you, but it is true, we're close to winter. In my humble mind, winter is the greatest of seasons (Hubbie and I married in February - on the leap year day). But I find something enchanting about the season. Still, we're trapped just before fall, and so I'm still in fall baking mode. More Fall leaves.

This time, the leaves were swirled. I like the look of the swirls, but there is something cute about my polka-dot maple leaves and acorns too... I don't know, which do you like better?

I wish I had taken a photo of the leaves just outside my apartment.. they were stunning. The ground is currently littered with their fallen beauty - each leaf was a rich yellow or a light orange. The effect of leaves falling from the tree reminds me of snow - each little leaf flutters down ever so gently from it's perch to land and collect and blanket the ground. It's beautiful, and poetic. As the temperature drops like the falling leaves, we are drawn ever so much closer to the wondrously beautiful season of winter.


Well, that's my little rant. I suppose it's been a while since I posted any decorated cookies. I have some more to post yet, and have not abandoned the cookie deco, it's just that I've a lot of caking afoot. Until then.

post signature

It's a Link Party again @ Sumo's Sweet Stuff and Just Something I Whipped Up

Monday, October 11, 2010

Thanksgiving Pumpkin Pie Cheesecake

Hope all of you are enjoying your Thanksgiving or Columbus day celebrations!
This week has been quite fabulous: great weather, great company, great fun and also, great food! This little dish is a favorite of mine! PUMPKIN PIE CHEESECAKE. What is the season without pumpkin pie... or better yet, a Pumpkin Pie hybrid? A Pumpkin Pie Cheesecake?

This dish is not quite cheesecake, not quite pie. It is smooth, creamy, and has that little hint of cream cheese that makes it oh so good! I was inspired to make it when I could not decide whether to go with a traditional Thanksgiving pie, or a yummy Pumpkin Cheesecake. This way I got the best of both worlds!

The little topper on top is made from Sugar paste. I got the idea from a very talented blogger at The Art of Being Perfect. She owns a bakery, The Buttercream Bakery, in the UK, but her blog has a ton of great ideas! The pumpkin topper was recently featured on her blog. SHOUT OUT!

And VOILA! C'est temps pour manger la tourtière. Je pense que vous apprécierez ce plat!

Pumpkin Pie Cheesecake:

  • 1 (15 ounce) can pumpkin
  • 1 (14 ounce) can Sweetened Condensed Milk
  • 1/2 c cream cheese (softened)
  • 1/4c brown sugar
  • 2 large eggs
  • 1 teaspoon ground cinnamon
  • 1/2 teaspoon ground ginger
  • 1/2 teaspoon ground nutmeg
  • 1/2 teaspoon salt
  • 1 (9 inch) unbaked pie crust

Directions

  1. Preheat oven to 425 degrees F.
  2. Whisk pumpkin, sweetened condensed milk, eggs, brown sugar and spices until smooth. Mix in the cream cheese until incorporated. Pour into pre-made crust (uncooked). Sprinkle cinnamon on top. Bake 15 minutes.
  3. Reduce oven temperature to 350 degrees and continue baking 30 to 40 minutes or until knife inserted comes out clean. Cool completely, refrigerate 1 hour before serving.
Pie will last 4 days covered in the fridge. YUM!

post signature