 I don't think I did quite bad. I wish I had had more time to bake, but I knew there was too much candy/food as it was, so I tried not to bake too much, knowing full well that it probably would not get all eaten (most of it did!).
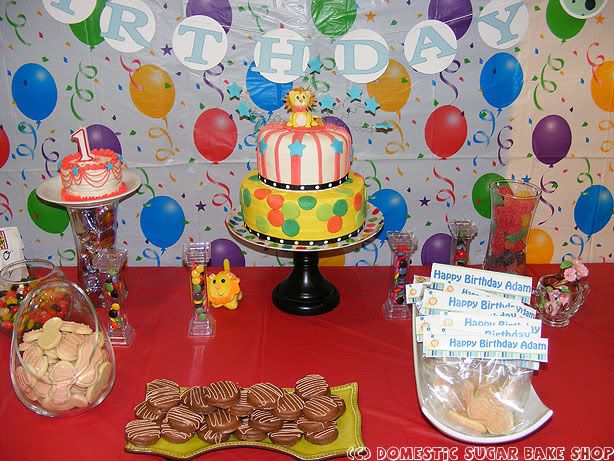
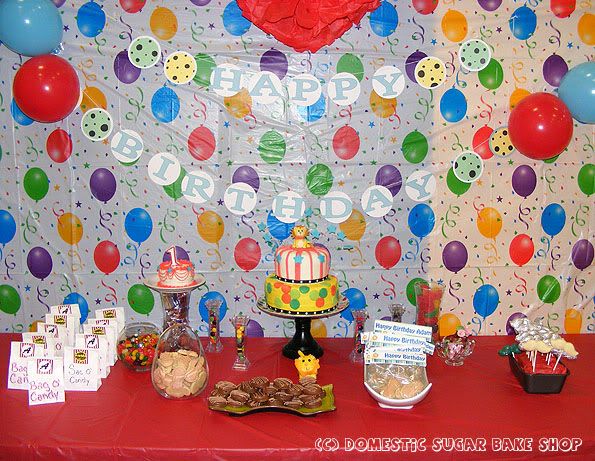
 My favorite part were the cookies. I took so long decorating those bad-boys to look like peanuts. I did a base coat, then a few lines on top to make them look like peanuts. Sadly, I didn't get a good picture of them! ARGH! They looked so cute wrapped up in the home-made wrappers!
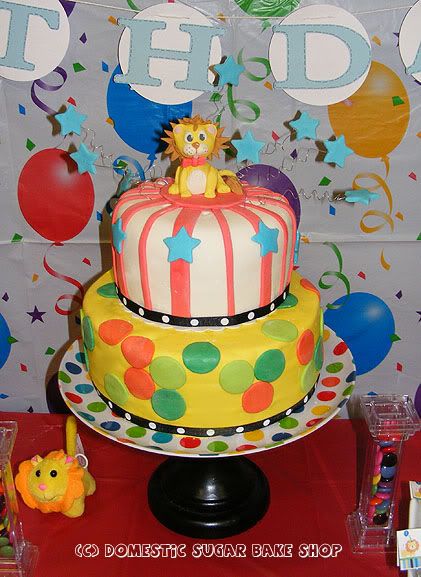 Of course, everyone loved the cake, that is nothing to be surprised about. I did, however, underestimate the number of people who planned on eating it, and we came up a bit short... kids eat a lot of cake! I planned for 30 people, but we had so many more. It was truly an awesome day!
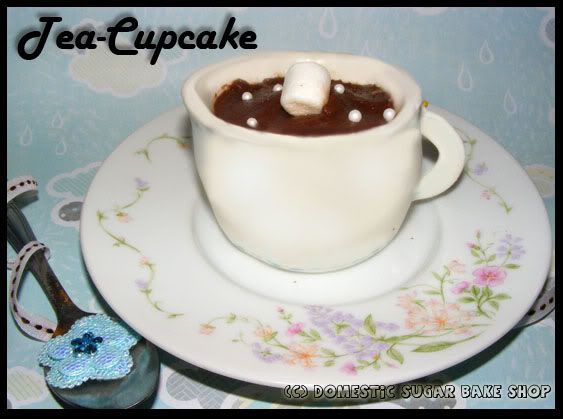 The idea behind this little dessert is that it is a black-forest cupcake wrapped in white fondant, then, filled with chocolate ganache to give it the appearance of a cup of hot-cocoa in a teacup.
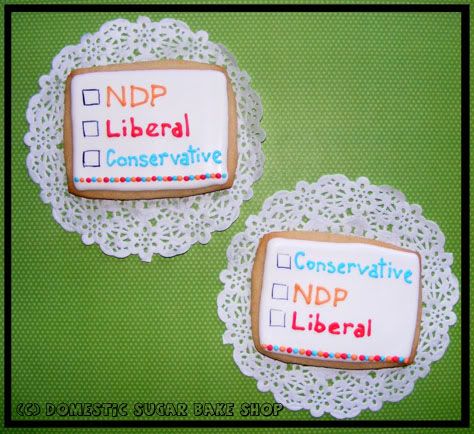
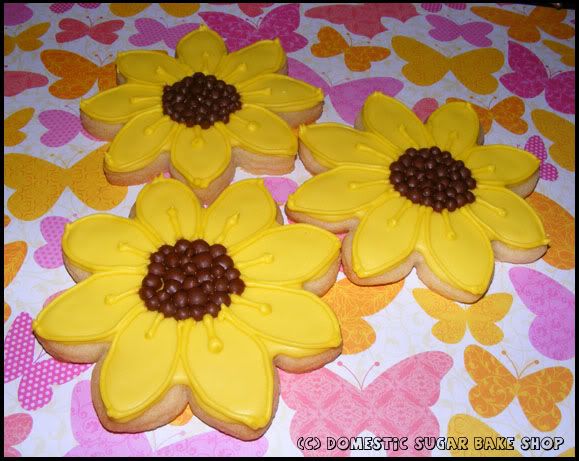 Flood cookies can be very pretty, or even very simple. The key is to put in details. Here, I'll show you. Take this simple flood sugar cookie. I've done the base work on it already... I've given it a yellow bottom layer, and even started to put in the center of the flower. But something is still missing.
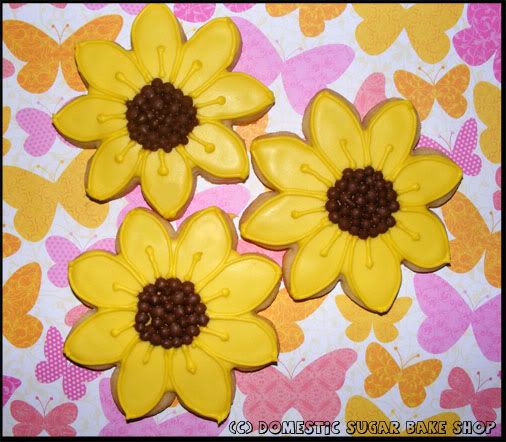
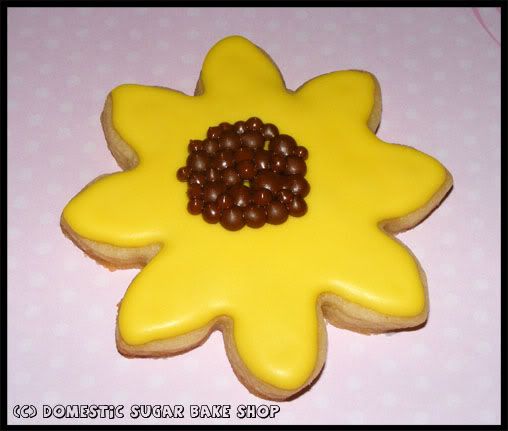 This cookie is what I call an in-transit cookie, on it's way to being finished. The key is to add just a touch more detail to make it pop. What makes a flower pop better than its petals?
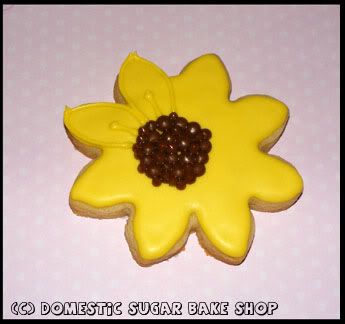
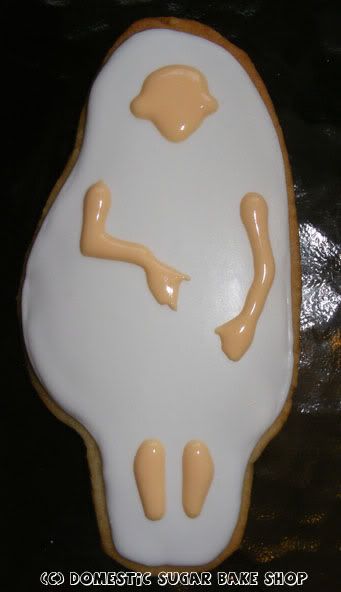
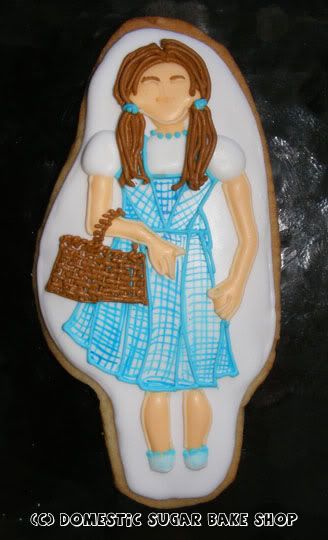
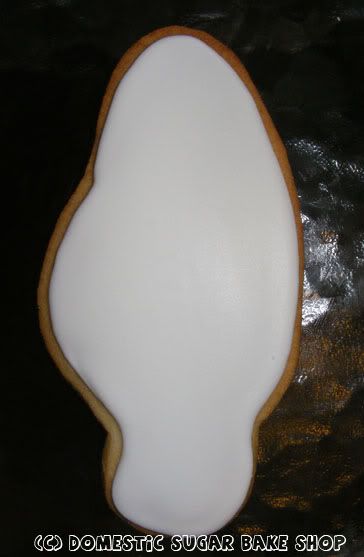 Next, I eyeball out where the base-layer items will be. In this case, Dorothy's Skin. Using a thicker flood icing, I rough out the shape, and then use a toothpick to put in the ears and fingers. For the legs, I leave room for socks and shoes. (let dry)
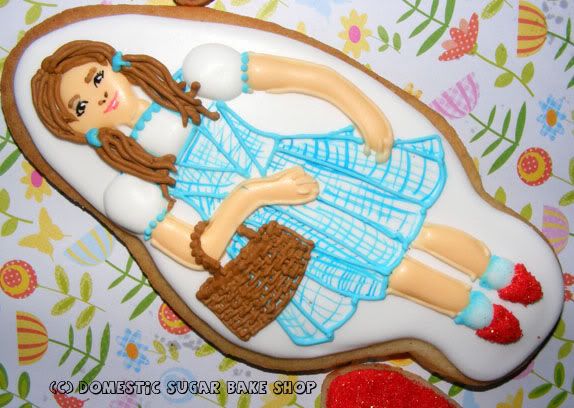
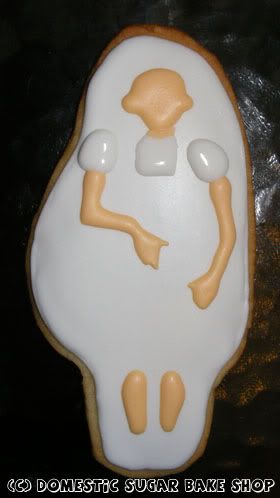
 Next, I add in the beginnings of her dress - puffy sleeves and the center Dickie part of the dress.
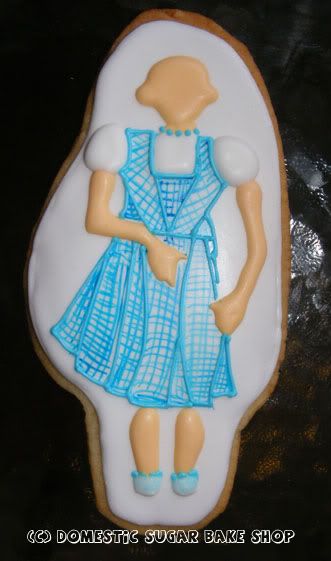
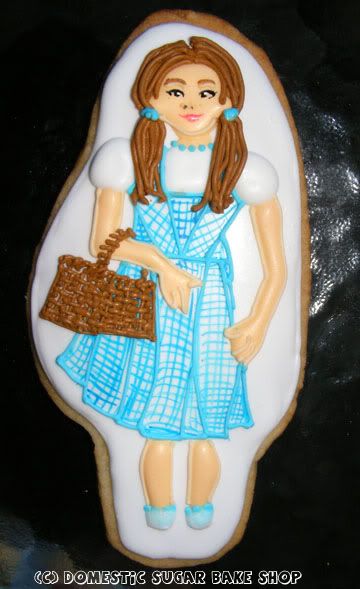
 Now, I deleted the middle scene here, but let me explain how to do it. First, I dilute some regular foodcolor (americolor gel - sky blue) with water. On a plate, I take a super fine brush, and begin to paint on the dress pattern (lines down, then across). Once the lines have been painted in, I take a small bit of royal icing (thicker than the flood) in the same blue tint as the pattern, then I outline the dress and the folds. I also pipe the socks and small detail of her neck area. This part takes some steady hand work, but painting on a cookie is actually quite simple, and fun too!
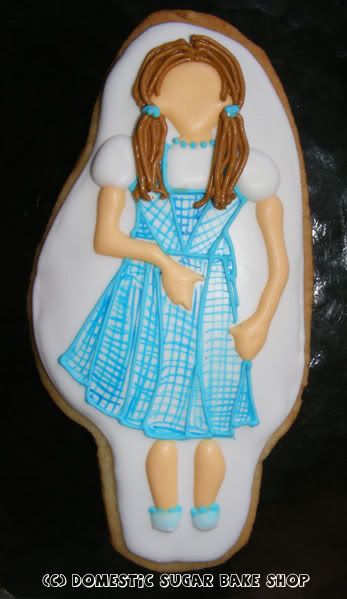
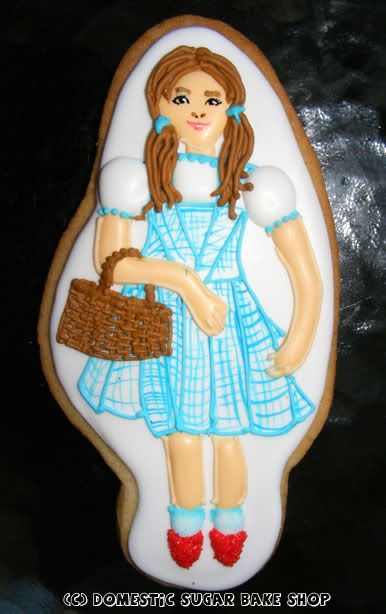
And there you have it :) I hope you enjoyed the tutorial. I want to do another sometime soon. Until then!
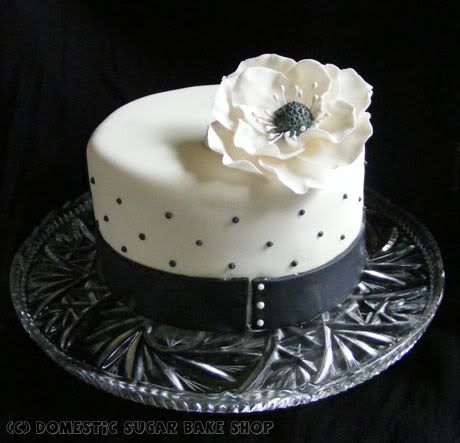 I have wanted to make this Black and White cake for a while. The trouble is that I love colour so very much (see the decorations on the blog to get the just of it). It was nice to have to bake a cake that didn't include a lot of colors and was simple to make. I was very pleased with the result.
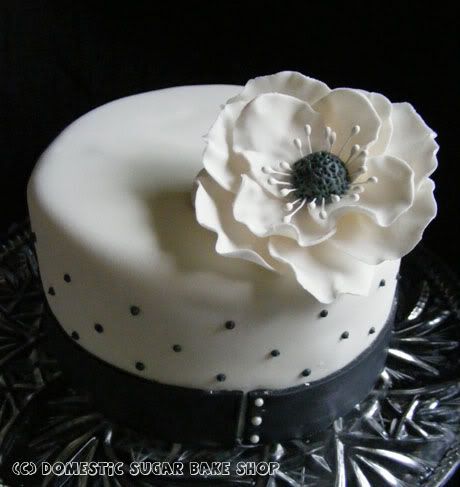
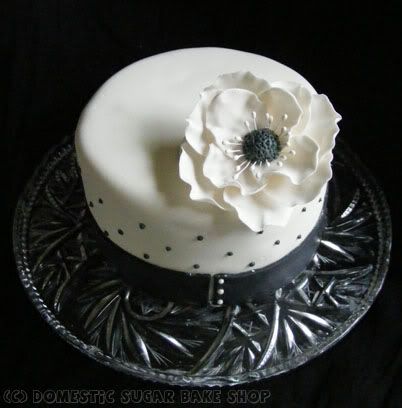 I just think that the Anemone is such an elegant flower. It makes for a simple decoration. Now, on this cake, I did not abandon all color. The cake itself is a White Chocolate Raspberry cake with Almond buttercream. This recipe is actually one which comes from Wilton. I found it years ago and have stuck with it! I truly think it is a simple and delicious recipe, tasting better than a boxed recipe!
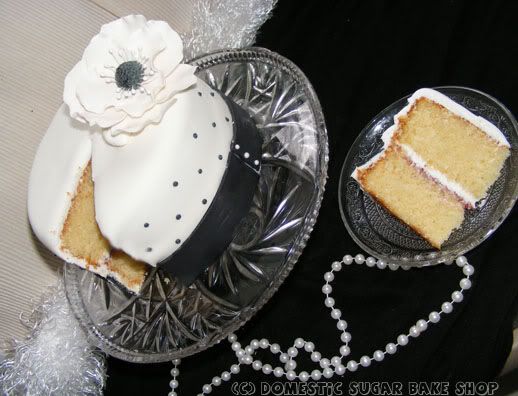
Preheat oven to 350°F. prepare two 6 inch pans (lined and sprayed).
In a medium bowl, mix flour, baking powder and salt.
Bake 20-30 minutes or until toothpick inserted in center comes out clean. Cool and prepare frosting.
Almond Buttercream:
Beat butter until fluffy, add in the vanilla, salt and almond extract.
On high whip in the heavy cream until mixture is fluffy.
Slowly add in the powdered sugar. Once mixed set aside.
NOW PUT IT ALL TOGETHER~!
Cut off the tops of the cakes. In the center of the cake, fill a layer of raspberry jam, then a thicker layer of the Almond Buttercream. Place two halves of the cake together. Press firmly but do not squish (gets rid of air in between).
Dirty ice the cake and let it sit for 1 hour.
Now, spread icing over top of the whole cake and decorate as you see fit. ENJOY!
 I hope you all enjoy your Mother's day! Until next time.