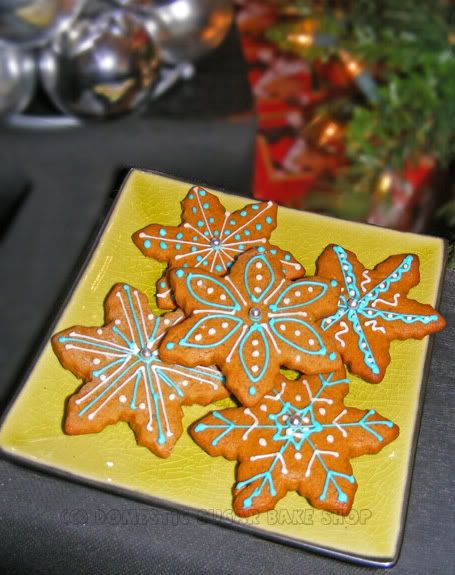
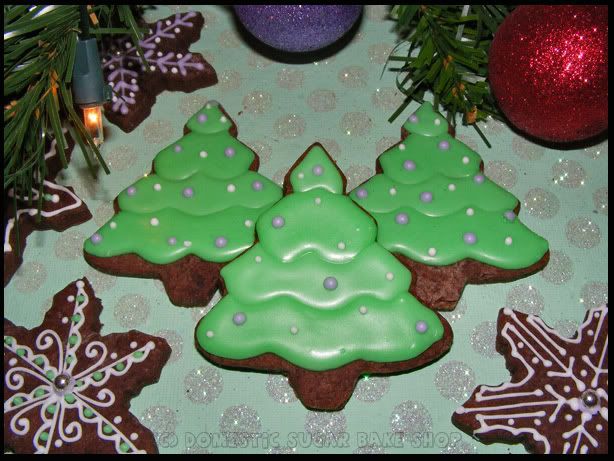
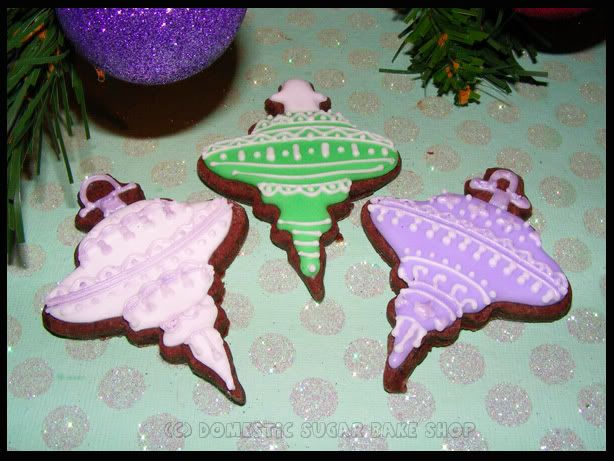
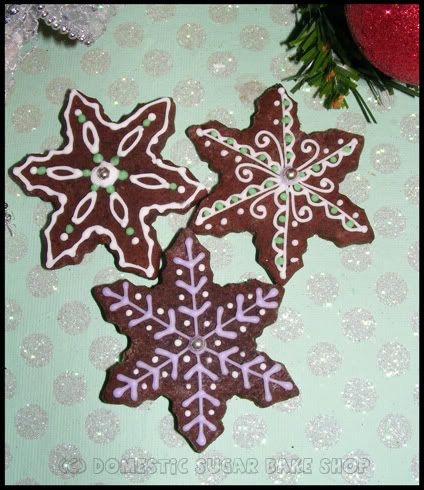
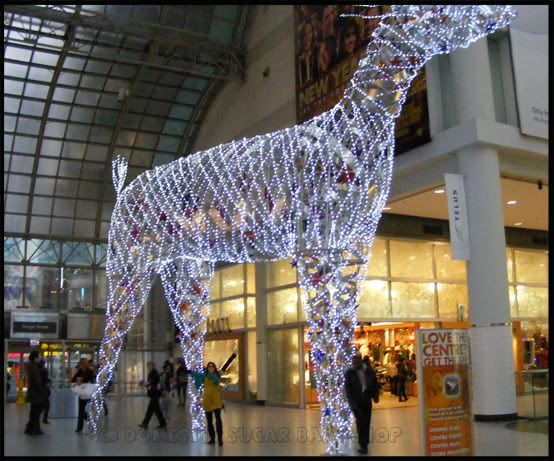
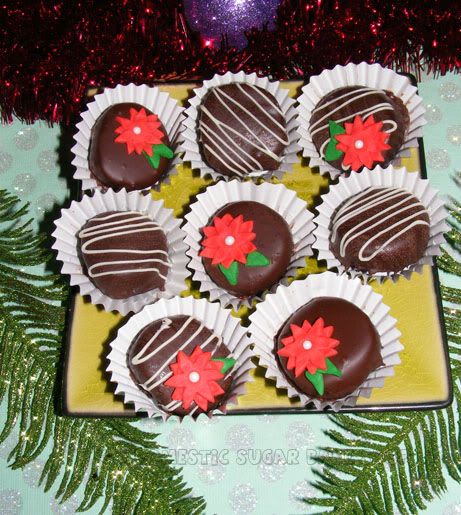
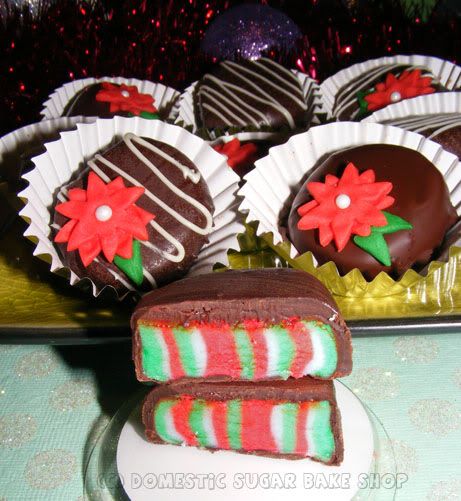
Hey All! Coming down to the crunch! Christmas is here soon!
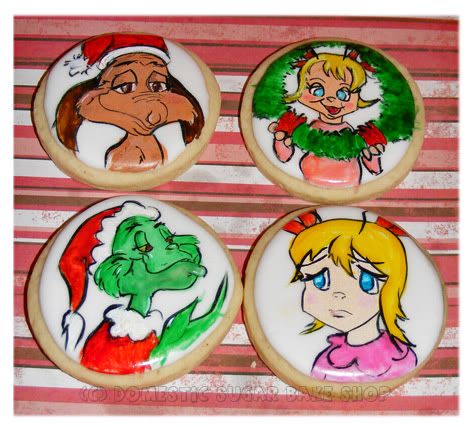
These are my latest creation. I figured I should try something a little different, since I have very little time. While making a batch of cookies for a friends, I made 5 round cookies and decided to paint them rather than pipe them. Here's what I did:
Painting cookies is super easy. Many people would have heard of "Food Doodle" food grade markers. I like them, but they are nowhere as nice as the colours you can get out of the gel food colours (Specifically Americolor). To Paint on cookies, all you need is a good work surface, a
pre-flooded cookie (Royal Icing that has hardened to create a canvas surface on the cookie),
water,
food gels (best is Americolor because the bottles are easier than Wilton's pots), and a very
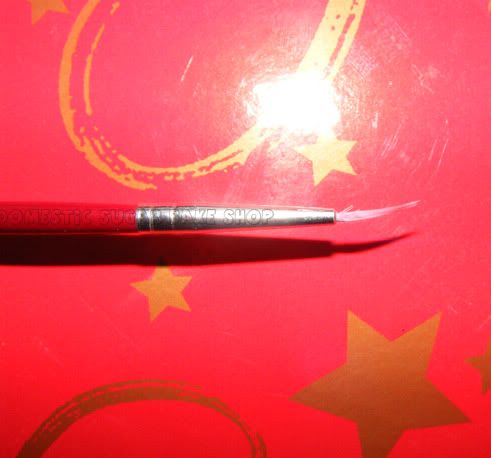
fine-tipped paintbrush.
You can put a small amount of gel-colour on a plate or on a pallet, it is up to you. I use a little bit of water to dilute the 'paint' and make it easier to draw with, but be careful, too much water will be hard to work with. If you put too much water, you also run the risk of it eating through the sugar in the flood. That means that you'll get a small hole in the cookie where the sugar was. That is not something that you can fix easily.
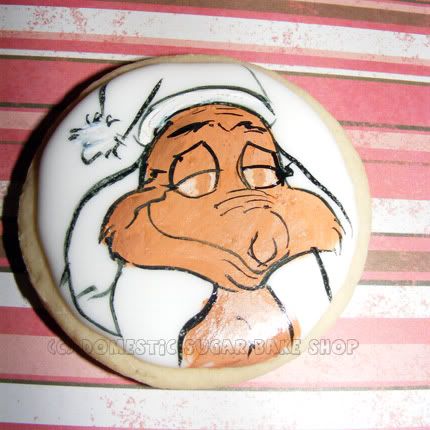
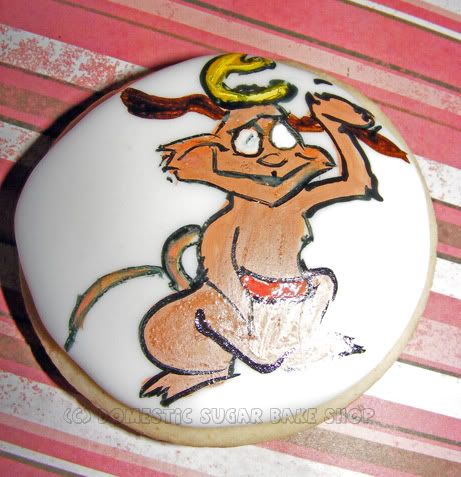
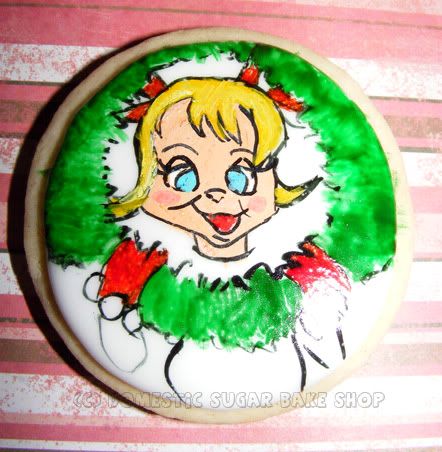
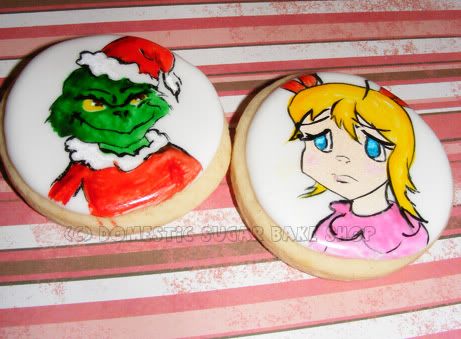
For today, I'm going to show you the Grinch cookie. Each day I'll post a new cookie with a quick look at how it came together.
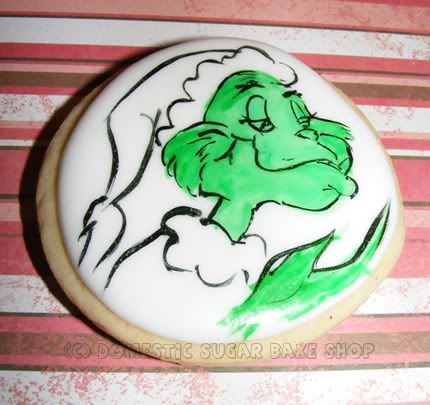
Start by painting the green background. This may require a picture or a very good eye for what you want to do. Be creative! I used darker shades on the edges (thicker, undiluted paint colours) to map out the parts I will black/outline.

Next, I clean off my brush, then paint in the details/outlines. This part, again, takes some creativity.
To get the best colour, I like to mix the colour of paint with a white base of foodcolour. Again, Ameicolour white is essential to get good colours. You don't need it, but you will find that it will give a clearer look to the painting.
Mistakes can be fixed by dipping the paintbrush in water (pure water) and dabbing at the area. You can paint over it again with the green if you wish. I used a picture as a reference, but, again, you don't have to. If you are doing a different picture or just playing around, that's great!
LET THE BLACK DRY!
(Otherwise you may smear it with a top colour)
Now, I add in the other colours. For this, again, using white is great. As you can see, I added SOME white into the hat, it gives a little contrast. If you paint out of the lines, whatever. You can use the water trick and dab it away, or leave it like I did!
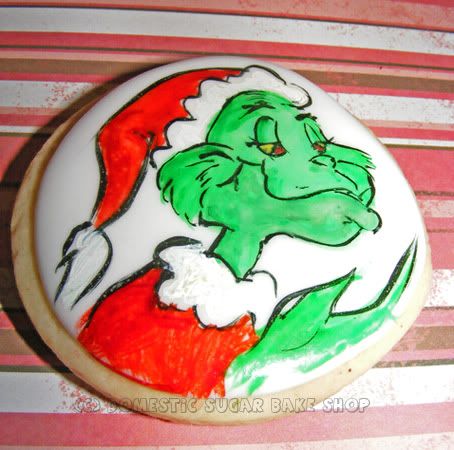
Finally, I touch up and adjust; using a little white, I add some shines in the lips and face. This gives a little more depth to the cookie and makes the painting pop.
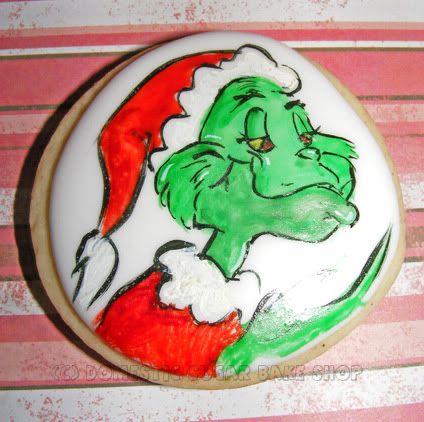
And there you have it! Not too shabby. Painting on cookies is a nice way to make a simple cookie, and it takes less time to get a detailed product. Often, when I'm piping a cookie, I have to wait a day to see the project through to the end. This cookie took about 10 minutes to finish. Obviously you'll not want to make 100 of them, but for a quick dozen, or for a fun way to pass the time (maybe with kids) painting on cookies is great!
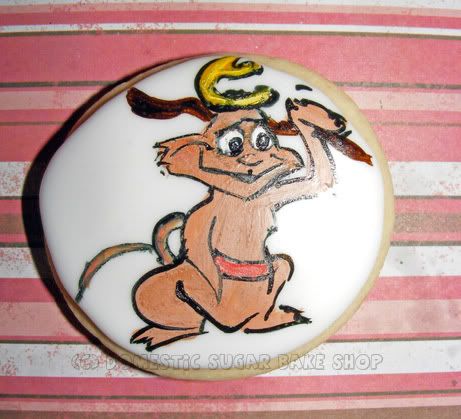
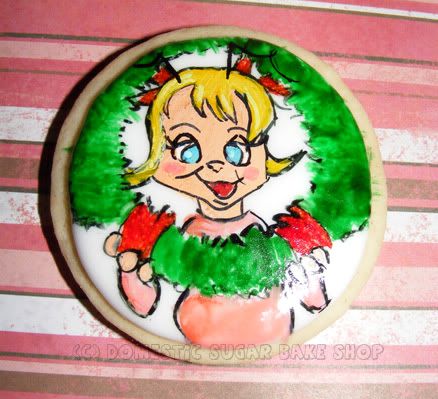
See you tomorrow with a Cindy-Loo Hoo cookie.

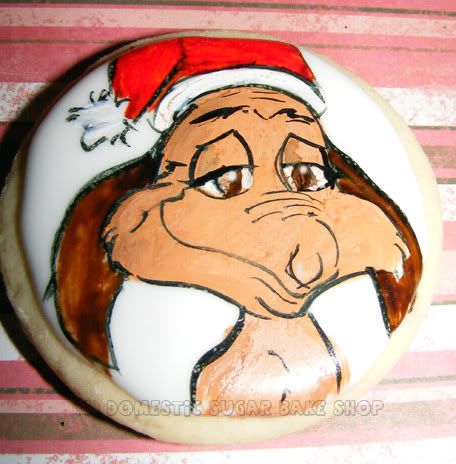
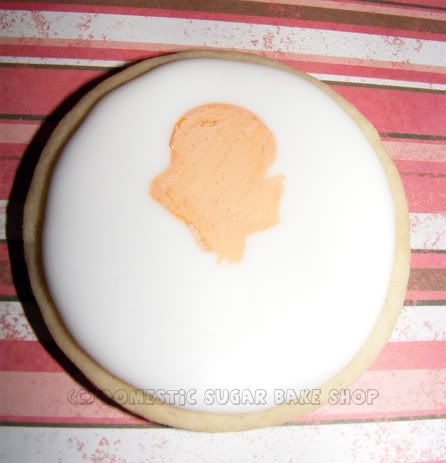
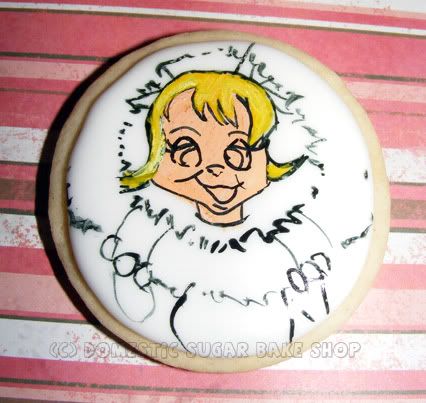
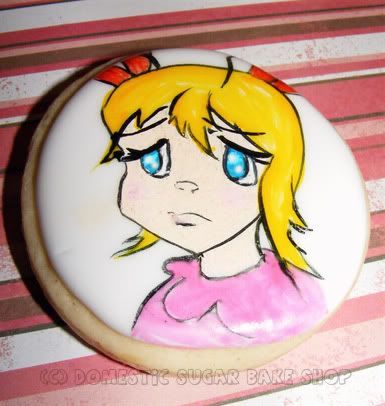
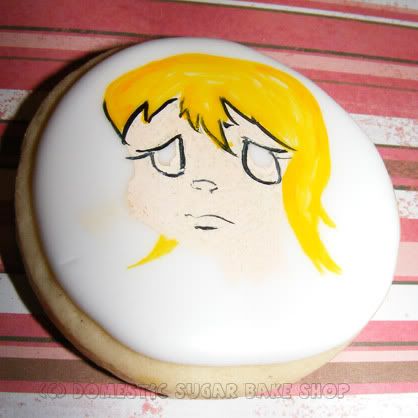
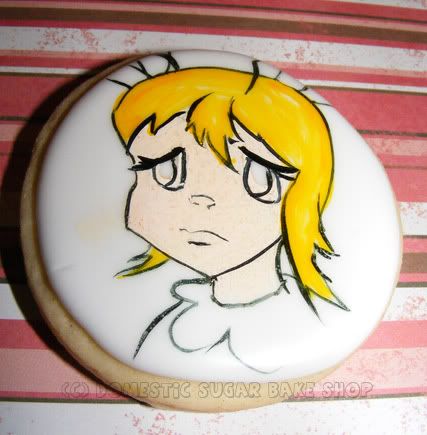
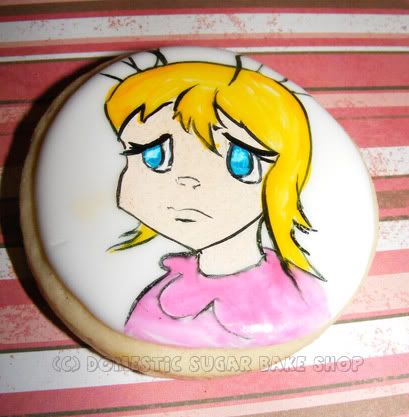
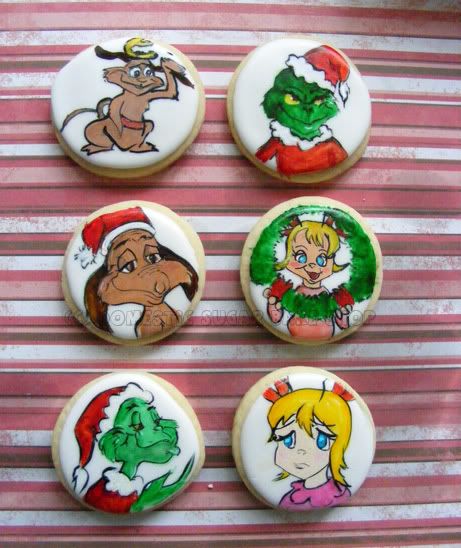 I was supposed to post these cookies up a few days ago, but found that I had NO time. I had a lot of those kinds of plans. So, here is the final cookie. Only two pictures of the process, but by now, you should be able to understand how I did it: