Showing posts with label School. Show all posts

Saturday, November 23, 2013

RAWR! Dragon Cake

Well, long time no post. Here's the latest in cakery... This cake was designed for a Physics Class... does that make it a physics Dragon?
Mixed cake flavors: Chocolate, marble and Red-Velvet
Head and horns: Constructed using rice-crispy treats.
Covered in Buttercream and Marshmallow Fondant


(Photo taken using iPod - low lighting)


 post signature

Saturday, April 20, 2013

Minecraft - Math is a skill......

 I am going to admit it here... I am bad at math. Which would have been not a problem, except that I am doing a cake that requires me to calculate the exact width and height needed to precisely make squares to cover a cake that is a square.
That is why I painstakingly made squares of the exact height and width I thought I would need to have a perfectly square, perfectly exact cube cake for a Minecraft cake... except, when I cut out the extra square to make the third layer.... I goofed and did not cut it on the right size.


 Even though my math skills were not exact, I still think the cake turned out well! (The little boy who got the cake simply kept saying "That's awesome! That's awesome!" So I guess it can't be all bad.


As I was working on this cake, I kept telling myself... next time I paint the squares, next time I do only one block... next time I will try not to be as creative. I don't know if I could. This cake was a HUGE challenge!


 I guess that is all I have to say. I am not exactly super happy with the cake, but it was a learning curve! NEXT TIME MATH! I WILL WIN!


post signature

Monday, June 11, 2012

Stacked Book Cake Tutorial

Okay, this one has a lot of images!

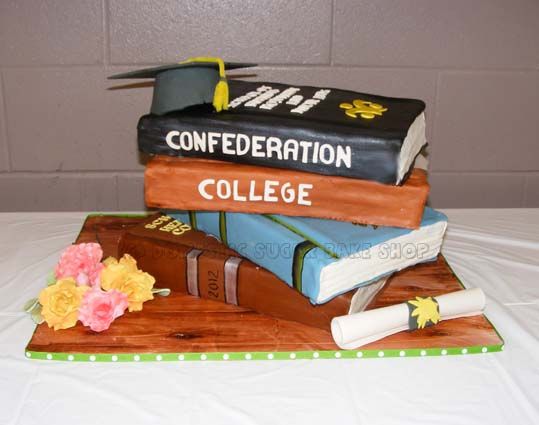
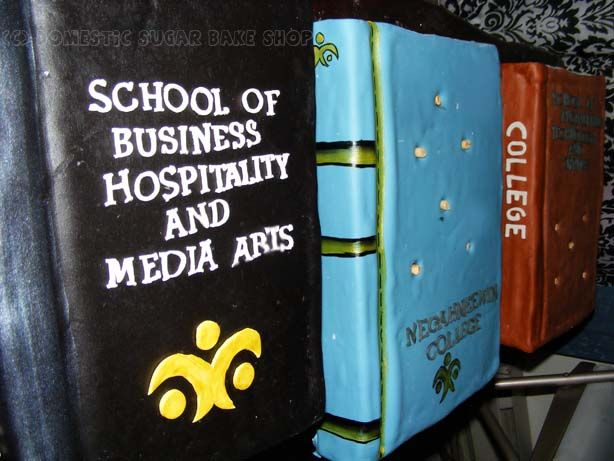
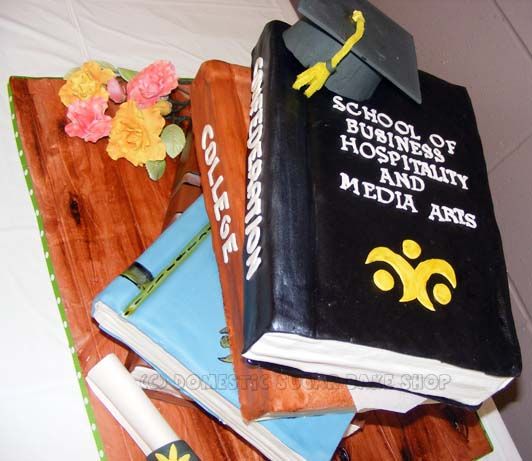
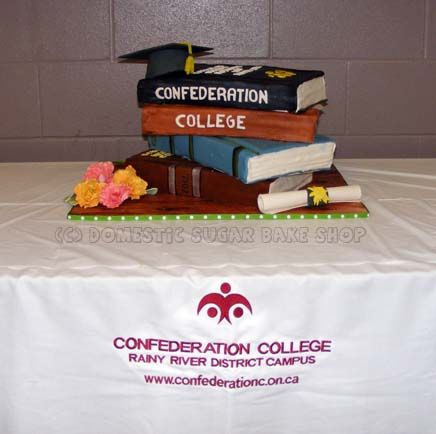
I have been meaning to do a book cake tutorial for a while, so I am very glad that I got another chance to make one. One of my friends at our local Confederation College asked me to make the grads a cake. How could I refuse? We decided that the stacked book cake would be ideal! Let's see:


So, what do you do to make the stacked book cake?
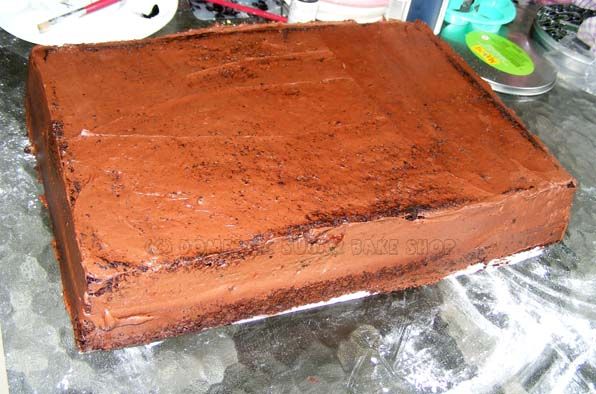
First, start by baking your favorite flavor of cake in a rectangular pan. If you only have a square, you can simply cut one side a little to make it into a rectangle. These books had to feed a lot of mouths, so I'm using a 12x9 pan.


Cut the cake, fill it, then dirty-ice it. Place in the fridge, and let settle up.


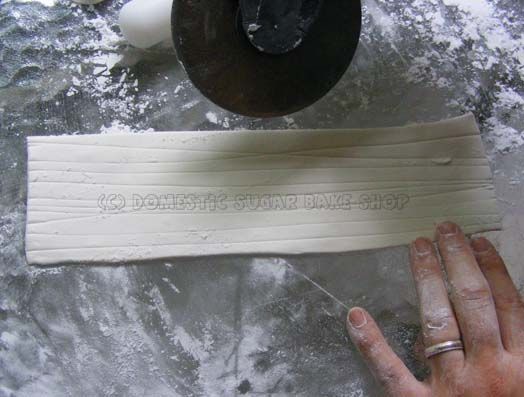
Next, begin by rolling out white fondant. I like to use MMF.
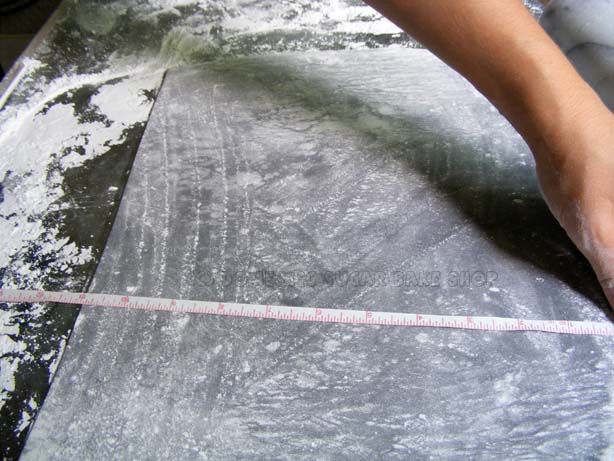
Measure the width and height, then, using a pizza cutter, cut it out to the right size.


Next, put book page lines in it using the pizza cutter and a light touch. You don't want to go through the fondant, so make sure that you press only hard enough to make lines. Don't worry if they are perfectly straight.


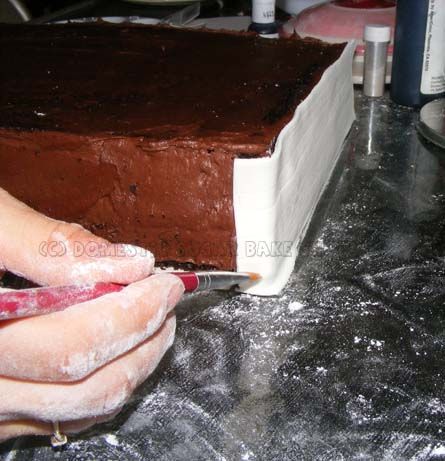
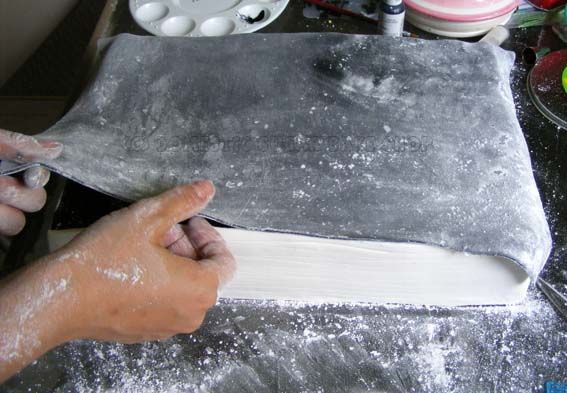
Now, remove the cake from the fridge and ice again. Put the fondant on the sides of the cake first, then the front. You only need to cover three sides white, the back will be the book's spine. I like to add a little water to help the 'pages' stick to each other. Use your fondant smoother or a smooth surface to flatten the fondant.


Now, measure out the book's top and roll out enough fondant to cover the top/spine of the book. I like to use a small tape measure to be sure it will cover the whole cake.


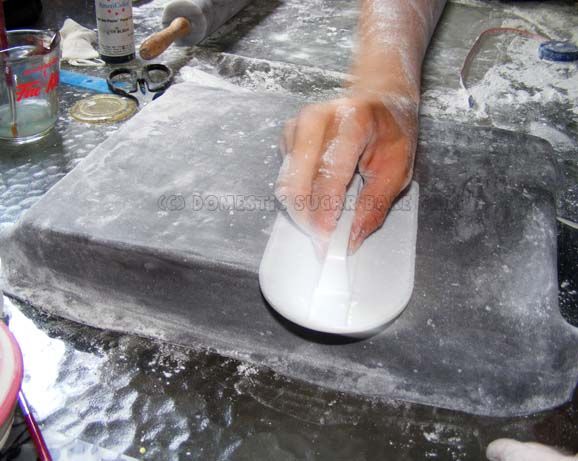
Again, use your fondant smoother to flatten the top of the cake.


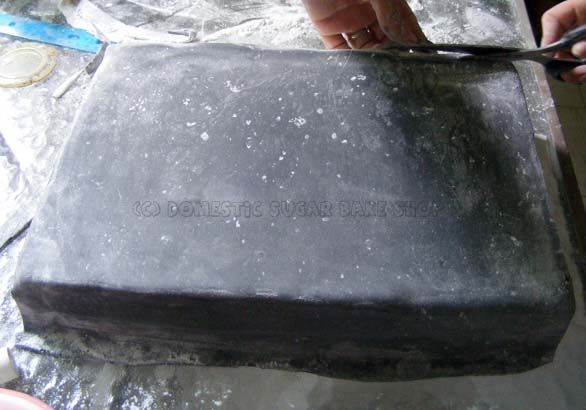
 Trim any excess fondant with a pair of sharp scissors. Once it is smooth, dust off excess powdered sugar, and you can sponge the top if you want more of a textured look.

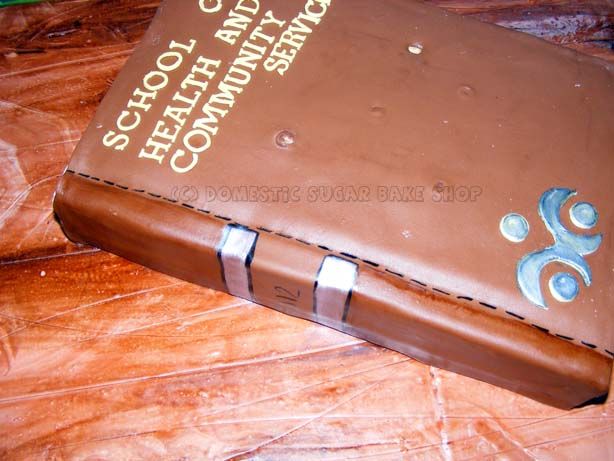
If you wanted, prior to rolling out the fondant, you can use a pattern maker to indent the fondant with some shape.... I like it to be slightly pocked.

And that's all!
Here are some examples:


Note that in the centers of the book there are round dowels. If you plan on stacking the cakes, you will need to be sure that each cake is on a cake board of its own, and that there are dowels enough to support the weight of the cake.


When stacking the cakes, be sure to distribute the weight evenly. If you plan on moving the cakes, you may wish to consider a middle, center post to hold all the cakes together. These cakes were made to be separated.


Hope this helps, and  I hope you enjoyed the tutorial!

post signature

Thursday, April 19, 2012

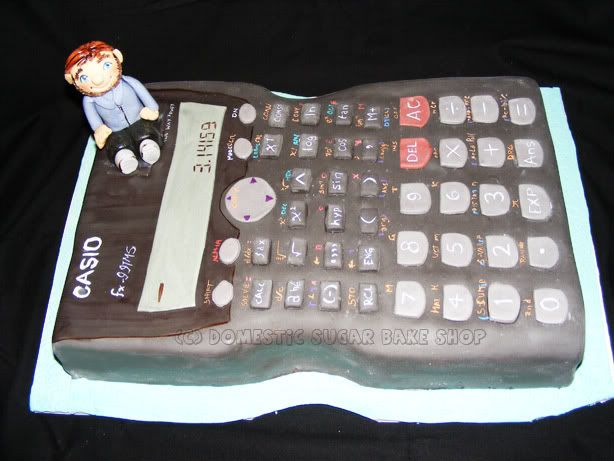
CASIO Calculator, because my Husband says it is the best

My husband, the science teacher, is always telling his students that the only way to go in the Calculator department is with a Casio. I don't know why, but he espouses the virtues of the mighty Casio.
So, on a boring day, when him and his students were killing time, he showed them my blog. They browsed through the cakes, cookies and desserts here. I mostly use this blog as a reason to bake... somewhere to show my desserts so I remember them.
Funny how things go when I get a letter from the students, written formally in pink ink, asking for a cake in the shape of a Casio Calculator. How could I resist?
So, I decided, WHY NOT?! I don't usually do requests from students, only their parents, but these kids are good, and with my husband's blessings, I began to make them a delicious treat.

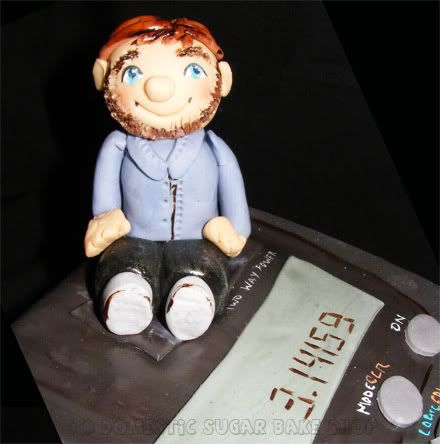
The cake itself is Chocolate Fudge with Mocha Buttercream, covered in Chocolate MMF and accented with a gumpaste Mr. Spooner (AKA Hubbie). 
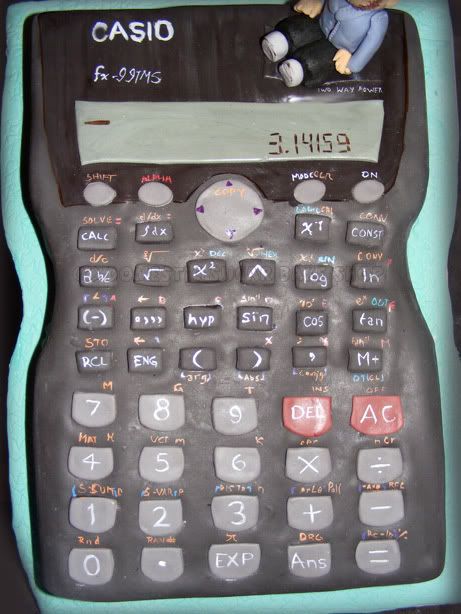

I had to look at Hubbie's calculator to get the writing just right, and hand painted each of the symbols on with wondrous Americolor gels (mixed with white to help them show up). 


It was good fore planning on my part that I was able to do the cake. I knew I would not have a lot of time tonight to do it, so I did most of the work last night. Good thing too, my back went out. I am happy to report that I am feeling better after some rest, but I was worried this cake would not get its finishing accents. Luckily, they were small, and easy to do.

Now, I am looking forward to a simple and easy weekend with no obligations and a really good book!
Hope you all have a great Weekend!
 
post signature

Thursday, April 5, 2012

Cupcake Course 2012

Hurray for Cupcakes!

The first ever Fort Frances Cupcake Course ended on a high. Most likely a sugar high! Participants decorated, mixed, piped, modeled, and ate their way through the 190 cupcakes I baked the day before. It was a absolutely amazing experience. And I thank everyone who participated for your patience and encouragements.

Here are some highlights from the course:


A Happy participant holds their beautiful cupcake creation. What an amazing rose!


Above: A bunch of creative cupcakes piped and decorated. Great experimentation!
Above: One participant was a little hungry, but not for sweets.


Cuppy-bears take shape!

Busily working to make various cupcake creations during experimentation time. 


Two participants show off their creations.


A Class Photo of cupcakes which represent the various members. 

This summer the College is planning a youth camp, and a Cake course for the fall. I have been super lucky to have been a part of this, and thank all participants for their feedback. The next course is going to be even more crazy! 

Hope to see you there!

post signature

Saturday, March 17, 2012

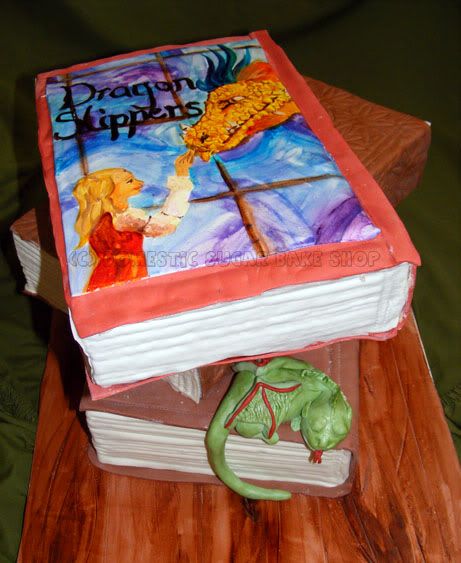
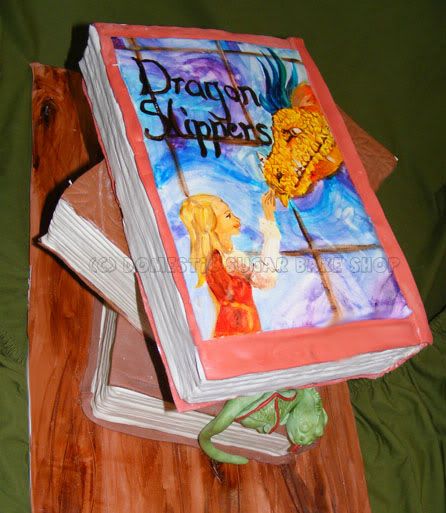
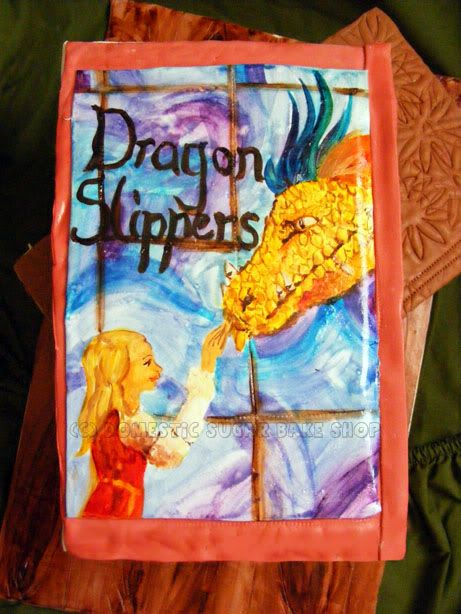
Book Cake: Dragon Slippers

My Final Cake for the March Break!

I am super happy with this cake. The series which starts with the book "Dragon Slippers" by Jessica Day George is a favorite of my friend's daughter. The lovely Courtney is super into the books, and requested this cake for her birthday. Or rather, a cake with the idea of Dragon Slippers. With some painting, the cake was personalized.

I used edible food color on Marshmallow Fondant to paint the book's cover. I let layers dry as I painted in order to prevent bleed.
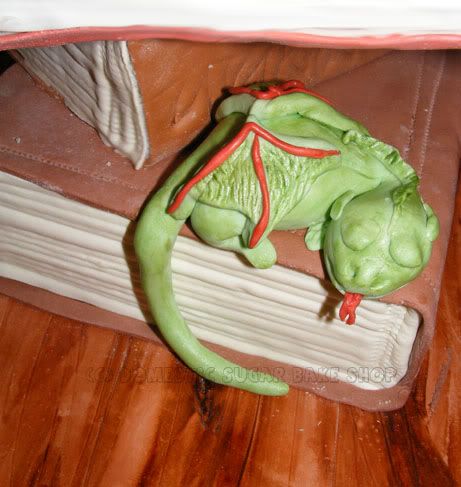
And, of course, the books would not be perfect unless there was a little accent on the book.
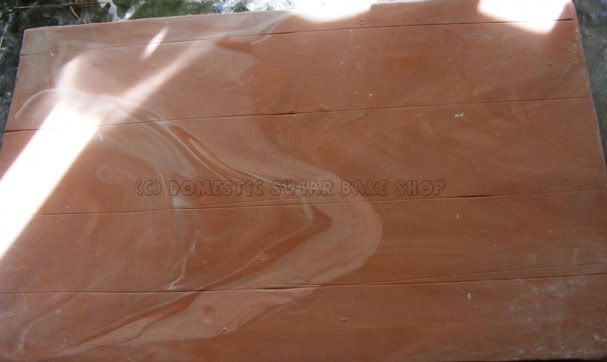
Now, if you looked very closely, you'll notice a wood grained board on the cake. That is my latest plaything. Using three colors of MMF (White, Tan and Brown) I marbled and rolled out a sheet big enough for the cake board.
Next, I cut lines in the MMF to look like planks.

Next, using a pointy tool, I cut small holes into the MMF, where the knots of the wood would be. Then, I used thye same tool to add lines for the wood grain.
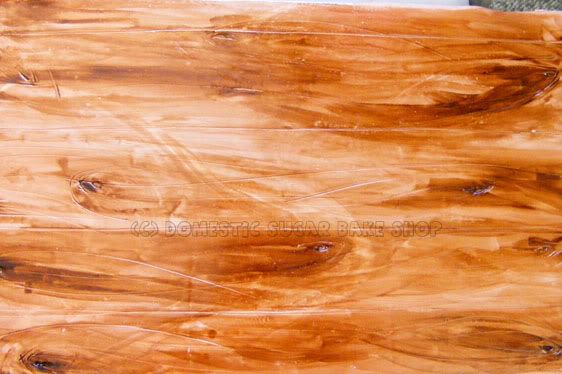
Finally, using Edible Brown Food Gels (I Used Americolor), I added in detail where the knots were, and lightly brushed the rest of the 'wood' with lots of water. This added a sheen to he wood, making it look like a polished wooden plank. Great for this cake! I just stacked the books on as per normal.


So, March Break Madness is over. I'm sad. I love making cakes! I was super super happy with all of them! Now, I have to get ready to go back to work. BOO! I have two more days of glorious sunshine. I guess I will go and enjoy it.

post signature

Thursday, October 6, 2011

Youth Leadership Conference cookies

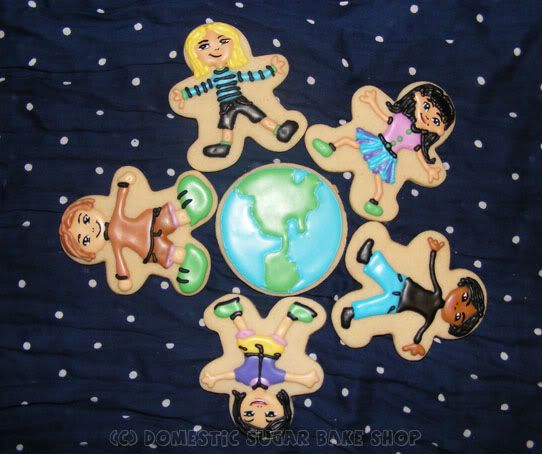
HURRAY FOR YOUTH LEADERS! This post come a little late, as these cookies were made for Monday, but given the AWESOME weather we've had, I simply delayed posting them.

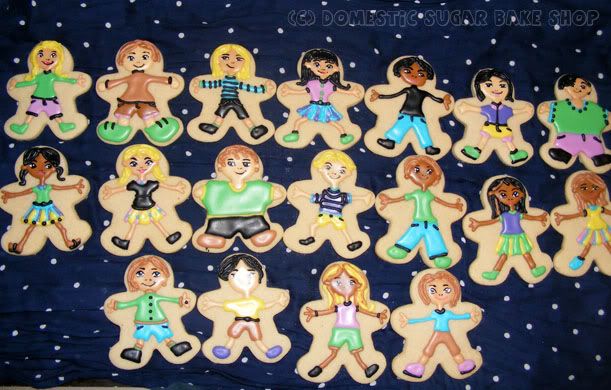
At our school, we have a group of students known as "Peer Mediators," whose job it is to help their fellow students resolve conflicts and provide a positive role-model to the younger students. As a reward for their efforts, our school requested some special cookies. Who could say no to that?

Each cookie was made as unique as the children; no cookie is the same. I made them in the same way I made my Cheerleader Cookies but I feel I've refined the process a little more.
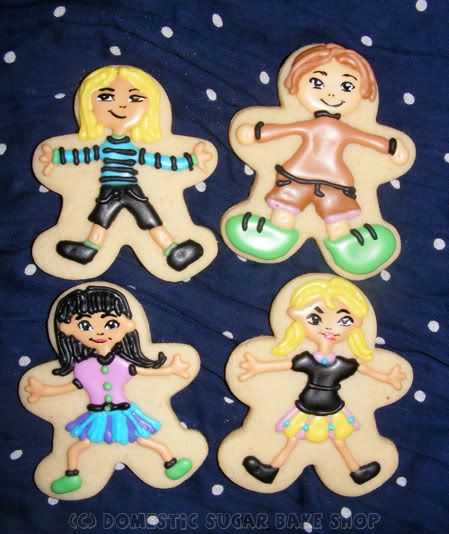
But... there were quite a few kids. I was asked to do two dozen cookies (Some Earth cookies, some kids). Here are the kids; each one is unique (My apologies for the bad photography)!
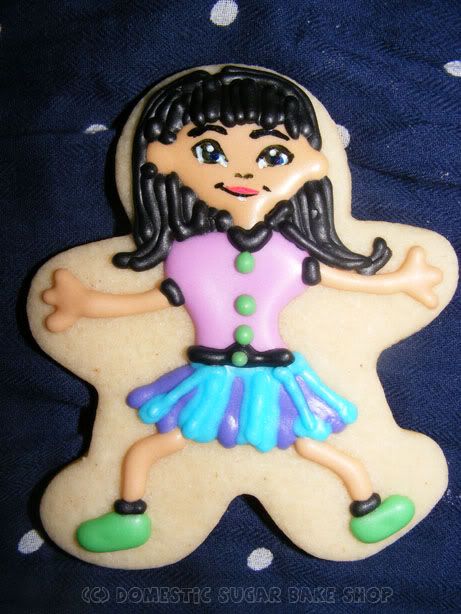
Of all the cookies, this one was my favorite:


So, this weekend is Canadian Thanksgiving (Le Jour de Grace). My parents are driving down here to celebrate. So far, the cabbage rolls are done, I'm thawing my turkey. My soup is ready. Bruschetta is stewing... so much preparation! Happy celebrations to all!

post signature

Sunday, September 11, 2011

[Recipe] Granola Bars - Homemade and Peanut-Free!

Finding good food for your kids (or husbands) to eat at school is becoming more and more expensive. Compounding the costs is the idea that many schools are 'peanut-free' due to severe allergies by staff and students. Limiting options have parents purchasing expensive lunch-treats that are not so healthy but fit the new standards. Since each day you need new treats, each day is a new bit of money thrown down the 'treat' drain.

Not anymore!

I offer to you my recipe for healthy granola bars that (if you so choose) are peanut-free and at a little healthier than other options. You customize what goes into them, and you choose what they taste like. This is a highly customizable recipe, and I LOVE IT. I make it every Sunday night for my school week; now you can too!

Recipe: Kitchen-Sink Granola Bars
1c quick oats (instant oatmeal stuff)
1/2 c corn syrup
1/2 c honey
3 tsp brown sugar
1 1/2 c rice crispy cereal
1/2 tsp vanilla
3 cups of anything (Marshmallows, seeds (sesame, pumpkin, flax), granola (strawberry/raspberry etc), cookie crumbs, chocolate chips, melted chocolate (1/2 c)...

Preheat oven to 325 degrees.

Mix all dry ingredients together, then add in the wet ingredients, stirring until everything is coated.

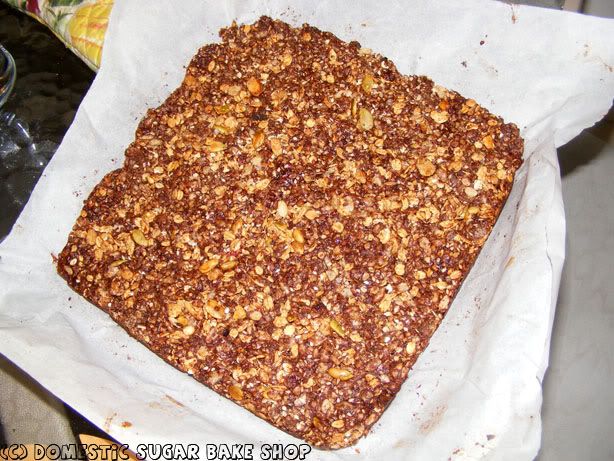
Place wet mix into 9X9 pan lined with parchment paper. Wet fingers with water and press down the granola bar mix into the pan; make sure all edges are pushed in and it is nicely packed. Keep fingers as wet as possible to reduce sticking and moving.

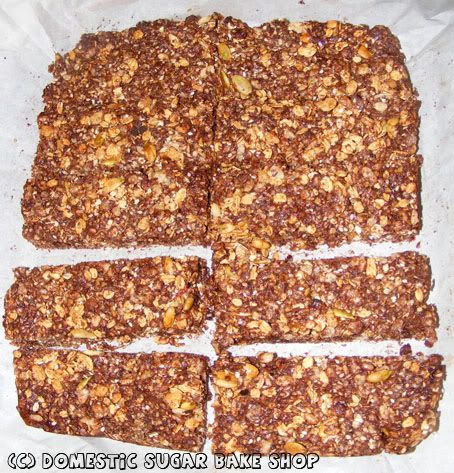
Bake at 325 for 15 minutes. Remove and cool:


Once the mix has cooled, but is still a little warm, cut it up into bars. Each mix makes 10 large bars which can be made smaller for smaller people. I find that two small bars is great for the 'balanced day' we have in our school board.


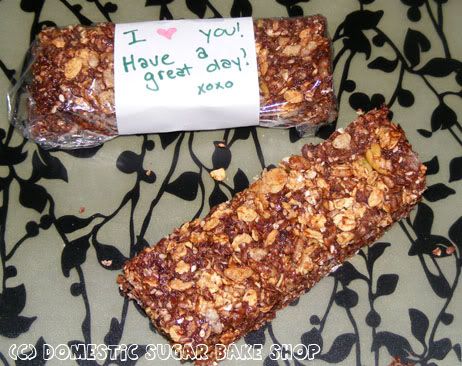
Not only is this a great recipe, but I love to personalize the bars, wrapping them in plastic wrap and putting a little note on the bar:

The last one is for myself... I always forget.
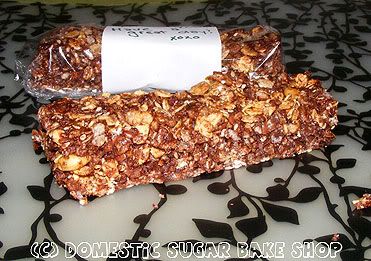

So, what do I like in MY Granola bars?
-1/2c melted chocolate
-1 c strawberry-banana granola
-1/2 c pumpkin seeds
-1/4 c sesame seeds
-1/4 c flax seeds
-1/2 c regular oats (I like em' hearty)

Give them a whirl. They are easy to make with the kids, and a staple in my house!

Happy Schoolin'

post signature