Breaking down the cookies now! This is tutorial Number THREE!
For tutorials Number One and Two, just click on the numbers.
For tutorials Number One and Two, just click on the numbers.
Let us continue, shall we?
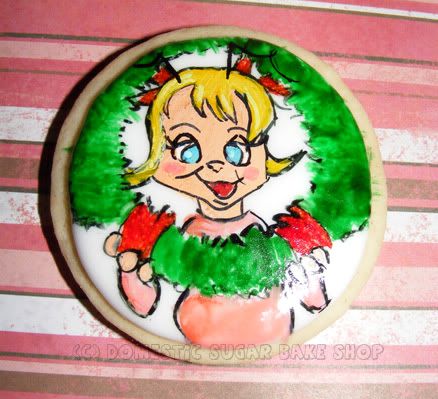
 The last Cindy Loo Hoo cookie was sort of sad. I didn't want to leave her looking like that, so I had to make one of her happy after Christmas comes back. So, I decided to do a cookie with her holding the Christmas Wreath.
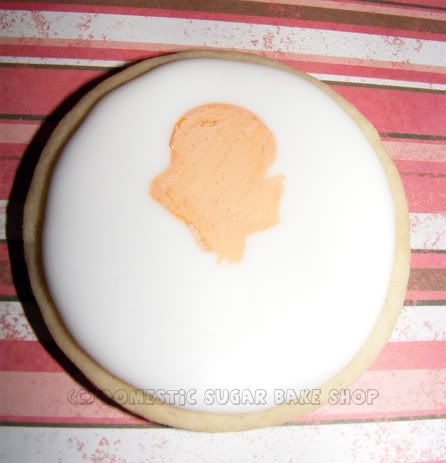
I start by using a 'pale peach' foodcolour (mix a small bit of pink, yellow brown, and quite a bit of white). I use this for her face shape, just to give me an idea of where everything will go in the end.

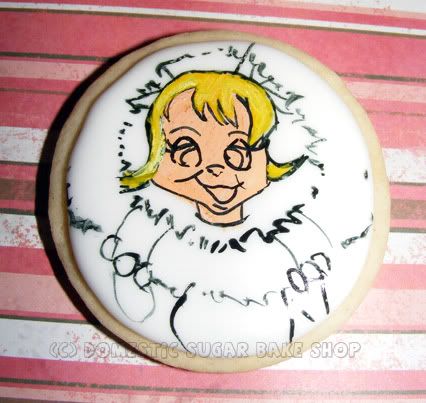
Next, I ink in the black lines. In the below picture, I forgot to stop, and I had actually drawn in her hair. You can choose to do that before or after the black. I caution you to make sure each colour is dry before continuing: it will take about 3 minutes for the 'paint' to dry.
It really helps to have a good reference picture!
It really helps to have a good reference picture!

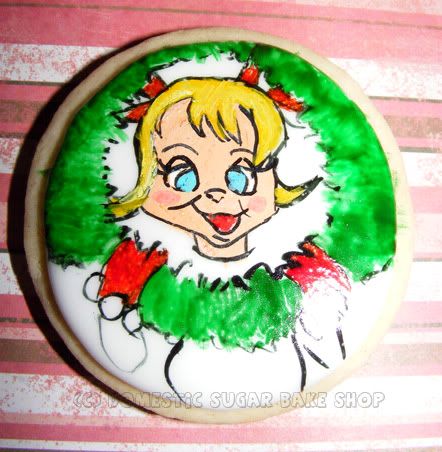
Next, after the black is all dry, I start to add in the colours. I dabbed on the green to give the illusion of a fluffy wreath (thicker paints will help with shading.

Finally, I add in shines and small details.
FINITO!
I took these pictures while the cookies were still wet. As they dry, the food color gets more glossy and less shiny. Sorry about the bad photo conditions.
FINITO!
I took these pictures while the cookies were still wet. As they dry, the food color gets more glossy and less shiny. Sorry about the bad photo conditions.

I had my students vote on which cookie they liked the most. They all liked MAX best. I'm going to save that one for last. I have two more days to cover.
Until Tomorrow!

2 comments:
this rocks....so are you outlining with food color "paint" right...NOT edible food writing pens. They look just great.
Oh I Love Cindy Lou Who!
You did a fabulous job!
I think I will try this with my Food Writing pens!
http://www.larkscountryheart.com/
Post a Comment