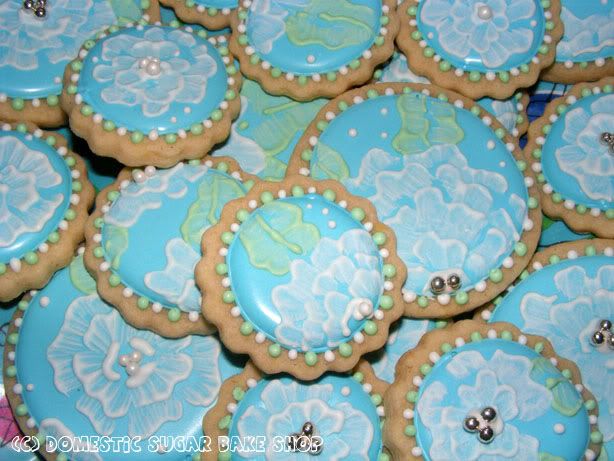
I am still a live, although some might have noticed a conspicuous absence (especially since I usually post at least twice a week on normal weeks). But, as I get deeper into the house thing, I am getting further from the kitchen. This week, I moved back into it to make these fabulous Brush Embroidery Flower cookies.
 This technique it super easy, and while some may have seen it, others may not have. I figured I would post a quick tutorial on brush embroidery and let you decide how you like it. This technique has also been used on my cakes (I used it on my Cheerleading Cake a while back).
So, all you really need is pre-baked cookies, royal icing (that's the kind that hardens), and a flat-sided paintbrush.
Okay, into the tutorial we go... you get to see more of my ugly picnic-indoor-eat-off-of-it table.
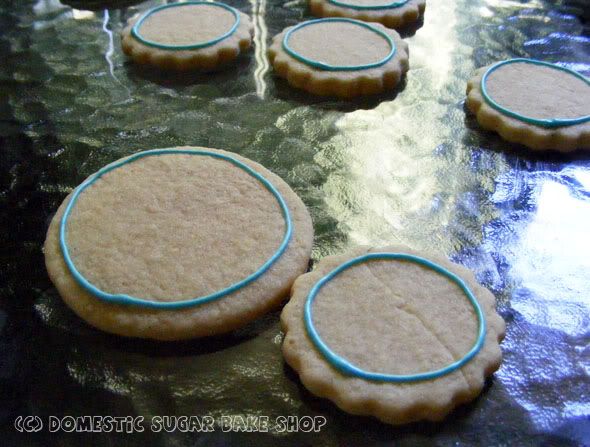
Step one. Using your royal icing in a piping bag, line the outside of the cookie... like this:
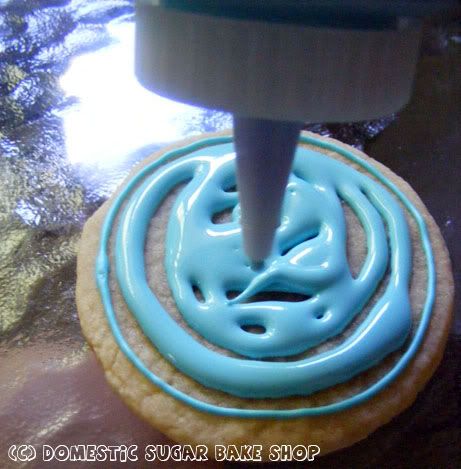
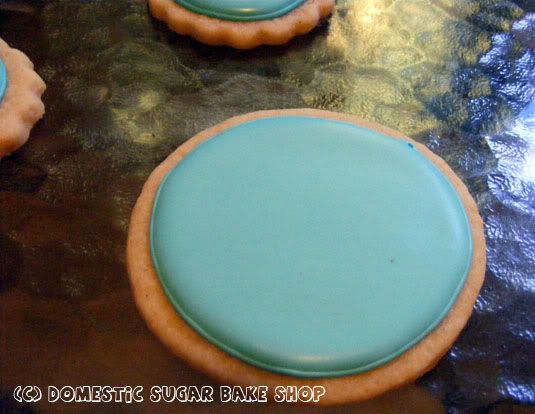
Let the outline dry for 10 minutes. Next, using a thinned royal icing called a 'flood', fill the circle so you will have a smooth cookie surface. I actually tap my cookies on the table to bring up air bubbles and pop them with a pin.
Once you have let that fill dry for at least 1 hour (depends on humidity etc), you can start painting. Mix a counter-color icing for the flower pattern... now we have fun!
 In a piping bag with a #1 or #2 tip Place begin piping the design on the flower. I used the broken petal method. Be careful not to have the icing too thin, if it is, it will be hard to get detail. I actually made my a little thin, but it came out nice all the same. It just needed more love ♥.
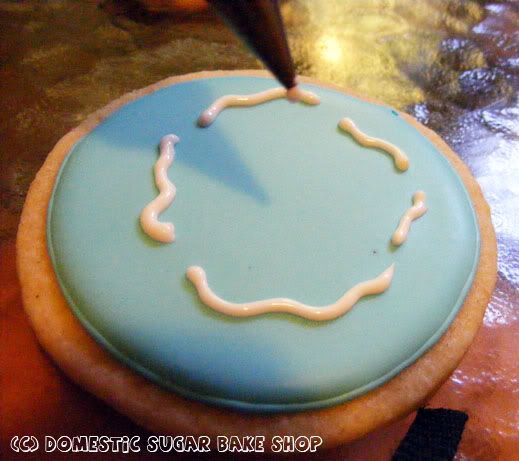 Now grab the brush and drag it downwards into the icing, moving towards the center of the cookie (or wherever you placed the flower. It does not necessarily need to be the center). I like to push up ever so slightly on the icing before brushing down, which gives it a little more ruffle int he petal, but it's your choice.
 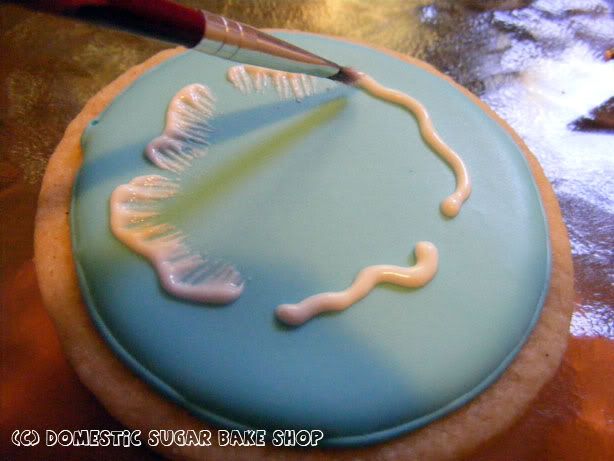 Continue to add petals moving into the center using the same technique.
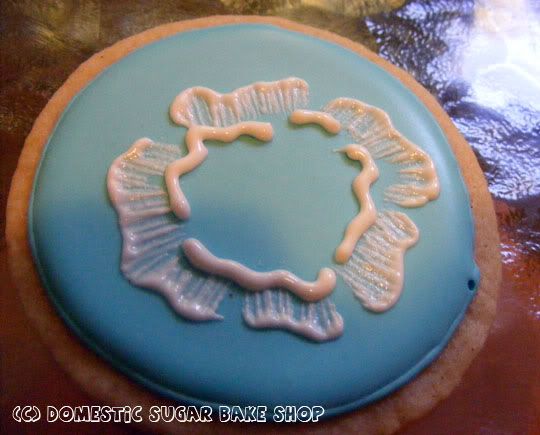
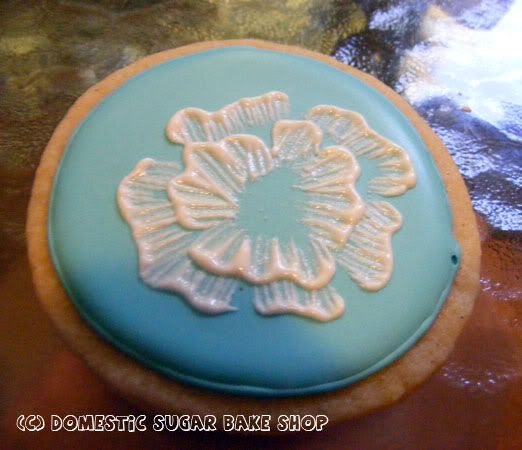
Keep going, then to finish, add lines (now you can see the thin-ness of the icing), and center it off with some kind of embellishment. I like using silver or white degrees, but there are other things you can use too.
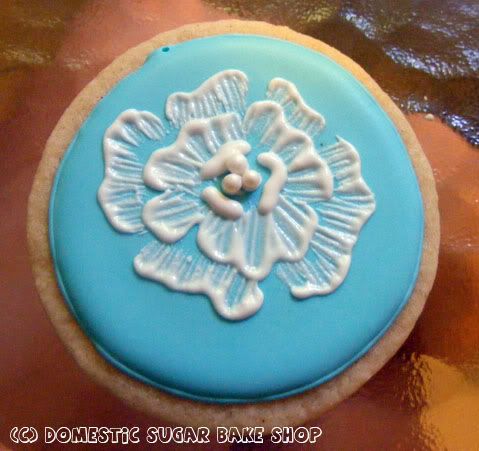

Like I said, you do not need to do a center flower each time. I like to add other flowers on the sides or off-center. I also thought it looked nice to add leaves to the sides of the flowers, a little green to contrast the blue and white.
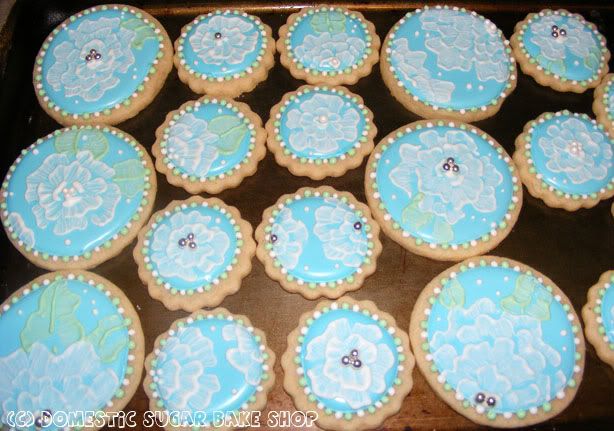 And that's how it's done. These cookies made their way to a lovely birthday party, though I got no photos. PHOOEY! I think I need a new camera... that way I have something to post good photos with, rather than these gloomy, grainy ones. You know you need a new camera when.
If you are feeling generous, and wish to send me one, please e-mail me :)
Until I get your e-mail, O mysteriously kind person, wherever you may be, I shall continue to post cookies and cakes.
Hope you are enjoying nice weather!

17 comments:
Those are beautiful! And great tutorial, totally makes sense :)
Such beautiful cookies!! Thank you for the tutorial!!
I love these cookies! Thanks for sharing! :0)
I'd almost swear that those cookies weren't real because they look like such works of art. You've got loads of talent. Thanks for sharing it with Sweets for a Saturday.
Wow, this is wonderful and the results of using the brush are amazing!
Lovely cookies, and what talent you have!
thx!! I am in love here...I have seen this style and wanted to good how to and now I found one! Much thanks fellow sugar lover. Long live pretty sweets!
These are STUNNINGLY beautiful... I think I can do it thanks to your PERFECT post...
Greetings. This is my first time on your blog, but you have a terrific one. I am always on the look out for new blogs, new ideas. I especially appreciate all the details you d0. Great photos makes it seem like anyone can replicate the recipe!
I am asking, would you please consider posting a few of your favorite recipes on erecipecards.com
http://erecipecards.com/
It is a tool for bloggers to see and to be seen. Your posts would fit in perfectly.
in addition, all photos, recipe titles as well as your blog name would link directly back to your blog. Thus giving you new attention and potentially new readers.
Or, if you just want to take a look at a lot of fellow food bloggers all in one place. A great learning experience to get ideas about how to establish your own blogging voice!
Please take a look. If you have any ideas or questions, please do not hesitate to write
Dave
http://erecipecards.com/
Contact@eRecipeCards.com
Excellent tutorial! I have wondered how to do this affect on cakes for a while now. I appreciate the pictorial...thanks for posting.
These are beautiful! Thanks for the tutorial!
So cute! Thanks for sharing :)
Those are just beautiful...I can't wait to do this. You made it look fairly easy (famous last words).
Saw it on Sweets for Saturday.
Think I am hungry. Am totally making those for my daughter's tea party. Thank u for sharing
Soooo pretty, thanks for the directions!
Oh my gosh those are wonderful Thank you for the instructions.
Beautiful cookies, thanks for sharing!
Sugar cookies are the one thing I'm asked to bring to parties - I can't wait to show them what you've taught me here! I have a feeling I'm gonna be here - a lot!
Your newest follower,
Carrie
Post a Comment