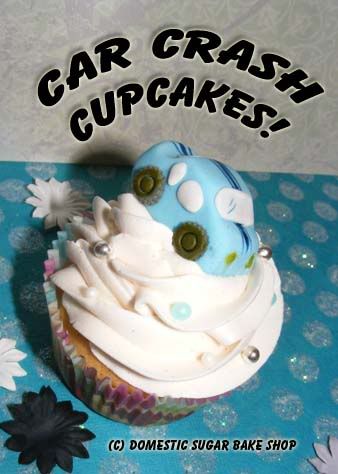
The Story!
 These cupcakes were inspired by my hubbie, who always seems to get into trouble. For example, this weekend past, I drove us into the country to visit a lovely couple who had just built a home similar to the one we are going to build. There had just been a recent dumping of snow, but nothing uncommon for North-Western Ontario, so I chugged along the small back roads slowly and cautiously.
After the day was through, and we had visited enough (LOVELY HOME, MAY I JUST SAY!), I asked my hubbie to drive home; I was feeling a little under the weather and did not want to drive. So, with the keys in hand, he drives 30 feet when, WHAM, we hit the side of the road and banked in the snow. Now, remember, I drove us there from town down the same road (which is about 5 mi, and did not get us stuck. He drives 30 feet and we are done. :: sigh ::
Now, in the country, there is a lot of snow, and most is not packed, so the stuff we were stuck in was very soft, very deep, and we caught an angle that was impossible to get out of without help. Dig and dig we did, placed boards and revved engines, but to no avail! Our poor hostess was forced to come and help us, and I felt terrible~ Even she could not get us out after 2 hours of trying! (and us Northerners are quite good at getting unstuck from snow)!
Finally, we called in for help. A friend with a 4X4 came and pulled our car out of the bank. THANK YOU SOOO MUCH!
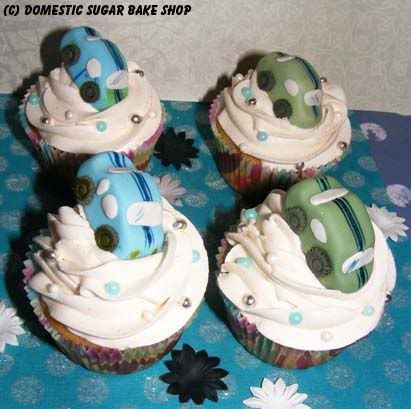
Now, here's where the cars come in. Notice they are not square on the cupcake as I would normally place them, but rather, they are tilted. Well, much like those cupcakes, our car was stuck at an odd angle. These cupcakes are 'thank you' gifts to the wonderful hostess and her friend who came and saved our Canadian Bacon!
To clarify, I ended up driving home anyway, and did NOT get us stuck!
So, Now you too can learn to make cars for your cupcakes (and place them nicely so as not to be stuck like mine!) Here are the steps:
 You will need three balls of fondant or gumpaste (I recommend gumpaste for these). You will need Black, White and another colour (any will do).
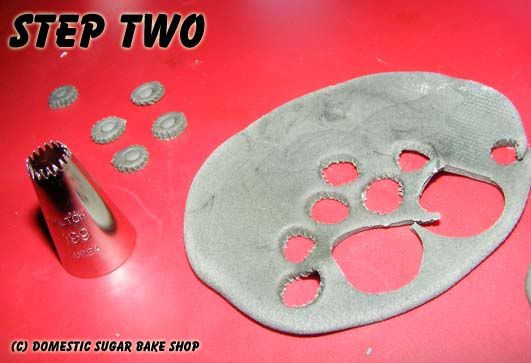 Step two: Roll our the dough and with a Wilton 199 tip (or any small round tip), cut out circles. You can use another tip to add in the center circle for the hub-cap too. Let these dry while you do the next parts.
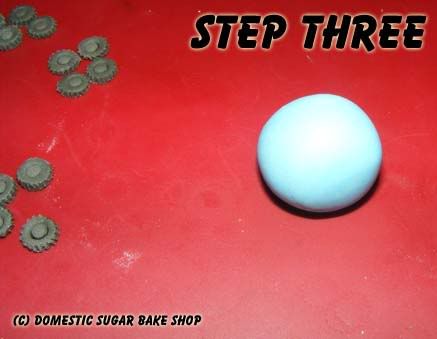 Step Three: While those wheels dry, take a small ball of your dough and roll it out into a circle.
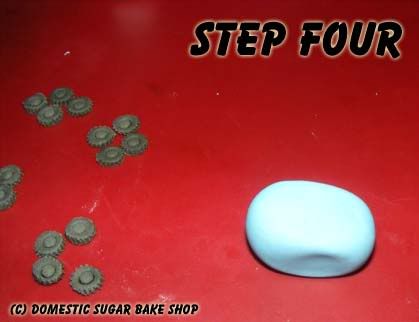 Step Four: Shape the circle into a nice rectangle. Do your best to get each side flat.
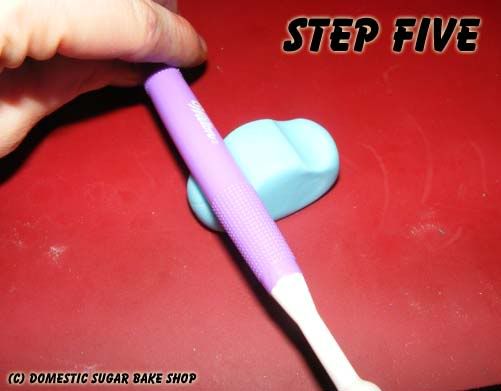 Step five: Using a pencil, pen or a fondant tool, shape the front end of the car by pressing down on the front of the rectangle.
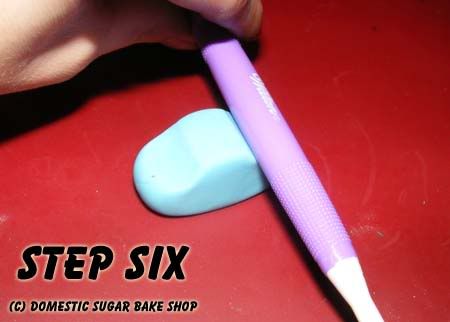 Front and back! Remember: For the back, you do not want to push it as low as the front. It should be slightly higher than the front end.
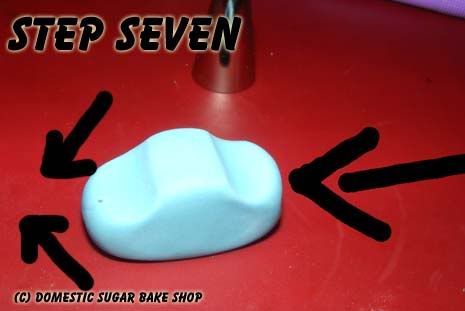 Now, to get a nice car shape, you will want to pull the front lowered part (engine part) in a little, not quite a triangle. And to get the back nice and shapely, push it flat with your finger. Even if this part is not perfect, the car will look great!
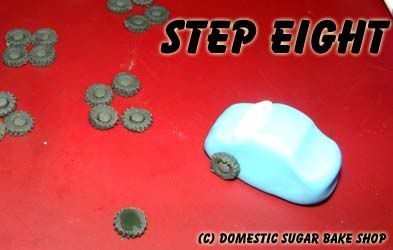 Now that you have the shape all done, add the wheels. They should be dry enough to handle. Simply dab on some gel or some water and press them lightly into the car.
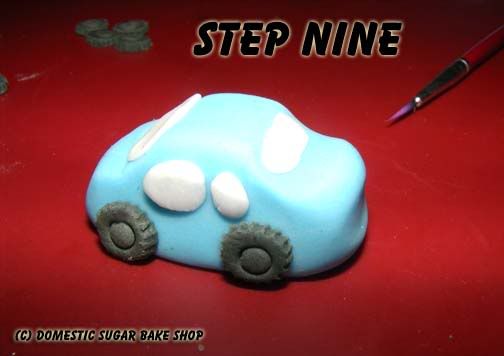 Finally, add in the windows with the white dough. Simple shape long thin slices of the dough, then round slices. Apply with water again and let set.
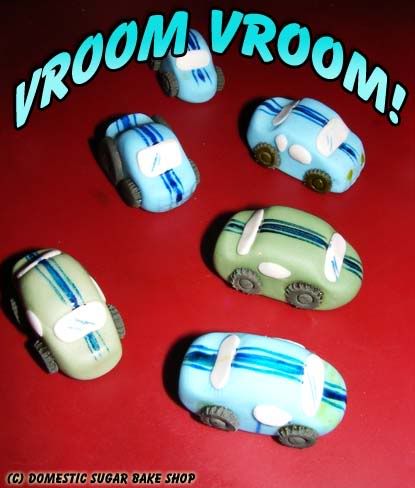
To add in the car's detail, simply dilute a little gel-colour (like Americolor) and paint on with a thin-tipped brush. I like the racing stripes!
Hope this helps you! And maybe next time, I'll make sure I drive home and avoid the snowbanks!

15 comments:
What a great story and tutorial!
Wow, that looks so much fun to do. Thanks for sharing. Cupcakes look absolutely adorable. I am your new follower. You can follow me back at http://showmemama.com. Make sure you leave a comment so I know you visited
I laughed while reading this. A lot. And you made the cutest little car toppers. Cutting the tires out with that tip is brilliant!
Great job on the cars. For me I tend to go toward the girlie stuff but my son would love these,
Thanks for sharing.
cute and easy! nice tutorial :)
-Jackie
http://jaclyndesigns.blogspot.com/
What a great tutorial! Thanks so much! These are great!
These are adorable! What a great tutorial. I'd for you to come share it at this weekend's party! Hope to see you there!
These are so cute! Good job!
erica @ http://bisforboycreations.blogspot.com/
These are adorable! Great tutorial.
I'd love to have you share this recipe with Sweet Tooth Friday! http://alli-n-son.com/2011/02/24/cream-cheese-brownies/
Thank you for posting this! I'm attending Camp Blogaway at the end of the month and there's going to be a fondant tutorial/ice breaker, which I've never, ever used before!
I LOVE the technique you used to make the tires! Great tute!
New follower, fer sure!
Jenn/Rook No. 17
Tantissimi complimenti per le tue creazioni, sono una più belle dell'altra, veramente grandi. Bravissima. New follower
I'm sorry .. I translate from italian
Many compliments for your creations, they are more beautiful than the other, really great. Very good. New follower
So very cute!
i wanted to say big thank you
this is amazing .... i made a really nice car with your tips
many thanks :)
Post a Comment